Hello, homemaker!
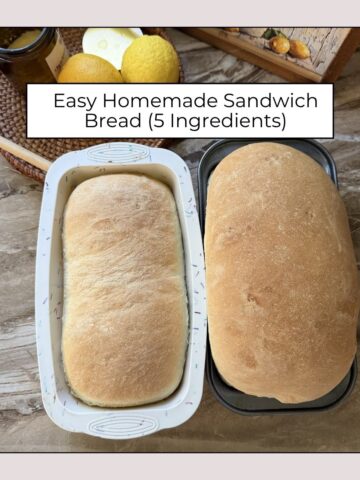
If you’ve been looking for a beginner-friendly, delicious sandwich bread, then you’ve found the right post!
There’s just something about baking your own bread at home that feels a little bit magical, isn’t there? The smell filling your kitchen, the quiet satisfaction of kneading dough, and that first warm slice with a pat of butter melting right in… it’s one of those simple joys that never gets old.
My family absolutely loves this homemade sandwich bread—and I’ve got to admit, this is by far the best sandwich bread I’ve ever made. Soft, fluffy, and just sturdy enough for sandwiches, it’s become a staple in our kitchen. In fact, I loved it so much that I decided to rewrite my old homemade white bread recipe and share this version instead.
So yes—this recipe is essentially the same as my homemade white bread. I decided to write this post with “sandwich bread” in the title to make it easier to find, since that’s what most of us type in when we’re looking for a good, everyday loaf.
Why Make Your Own Sandwich Bread?

For me, switching to homemade bread wasn’t just a preference—it started out of necessity.
Store-bought bread was causing us discomfort. It would give us acidity, and somehow it even seemed to trigger my husband’s IBS. That alone was enough to make me pause and reconsider what we were eating daily.
When I finally took a closer look at the ingredient list, I was honestly surprised. Over 20 ingredients… for something as simple as bread? That didn’t sit right with me—especially knowing I could make a better loaf at home with just 5 simple ingredients.
Another thing I noticed? Store-bought bread does not go bad for weeks, even more than a month! And its taste really does not compare to homemade bread.
One of the biggest reasons I now bake my own bread is the control it gives me over the ingredients. I get to choose what goes into our food, and that matters a lot to me. For example, I prefer using unbleached flour instead of bleached, which is what I used to rely on before. It’s a small change, but one that feels better for our family.
Homemade bread, in the end, is simpler, fresher, and made with intention. And once you experience that difference, it’s really hard to go back.
What Makes This Bread So Good?
This recipe hits that perfect balance.
It’s:
- Soft without being too airy
- Firm enough to hold fillings without falling apart
- Lightly golden on the outside
- Tender and fluffy on the inside
It’s the kind of bread you can use for everything—peanut butter and jelly, grilled cheese, egg sandwiches, or just a warm slice with butter and honey.
And the best part? It’s beginner-friendly.
Simple Ingredients You Likely Already Have
One of the things I love most about this recipe is how simple it is. No fancy ingredients, no complicated steps.
You’ll need:
- 1 ½ tablespoons of yeast (instant or active dry)
- ¼ cup sugar
- 1 ½ teaspoons salt
- Oil or melted butter ( I use refined coconut oil but vegetable oil will do)
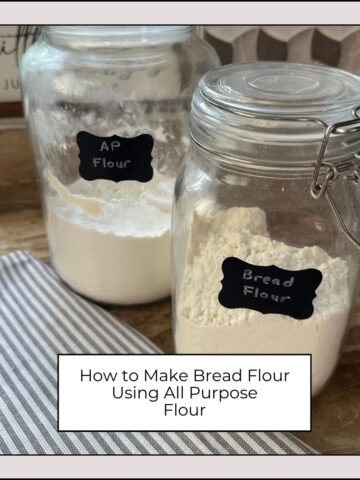
- 6 cups of bread flour ( I use my own homemade bread flour but you can use store-bought bread flour)
And of course , water which which I’m guessing you’ve got!
- 2 cups of warm water
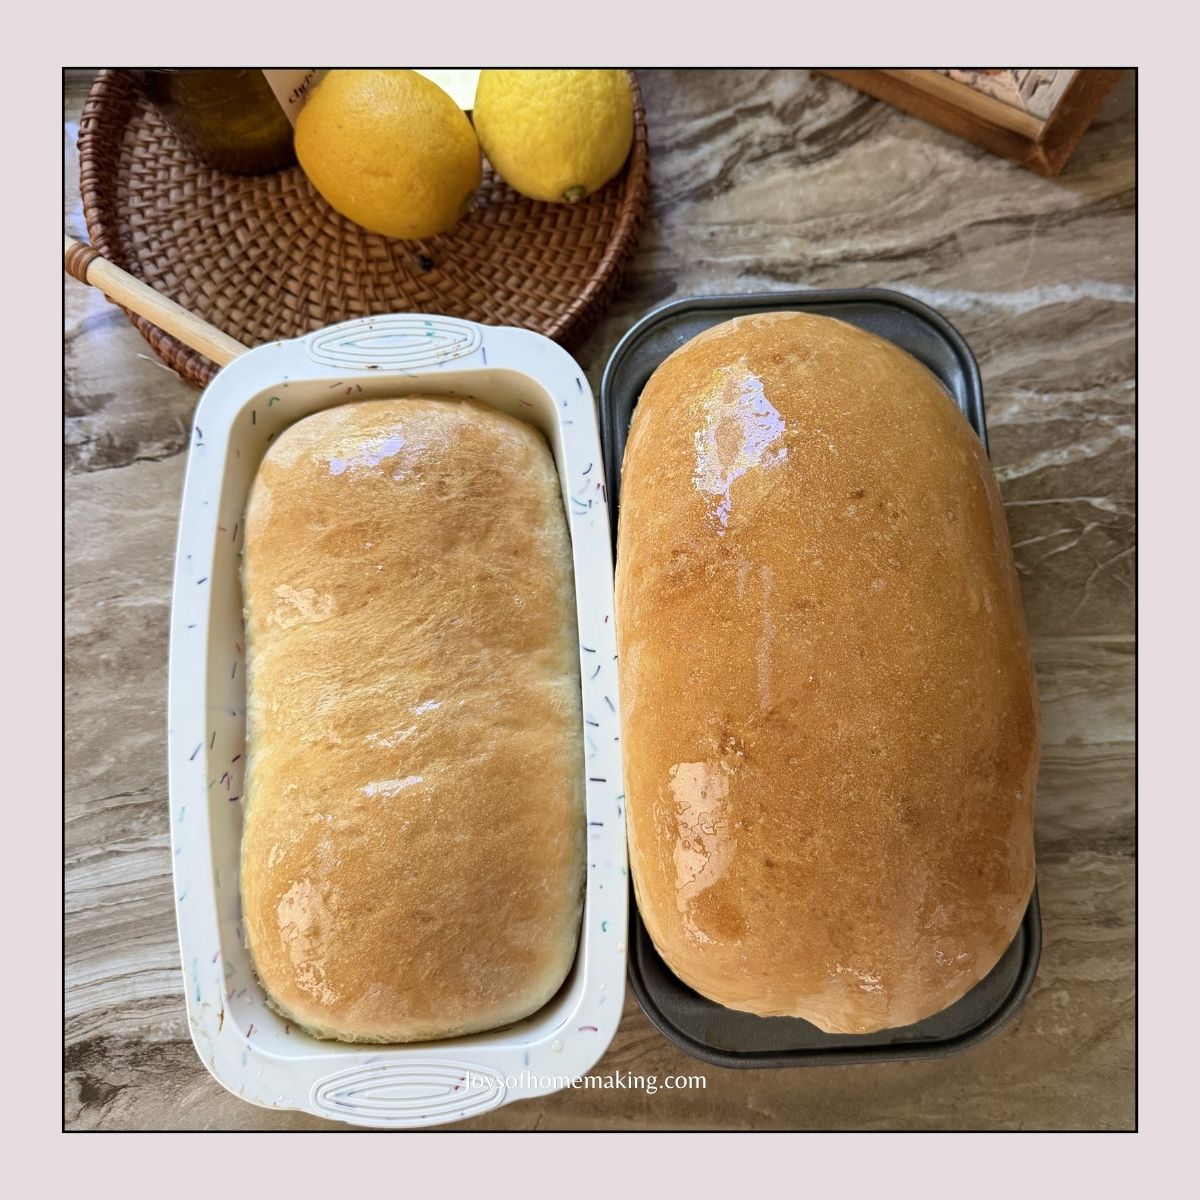
Optional: 1 tablespoon butter for brushing.
That’s it. Real, wholesome ingredients you probably already have in your kitchen.
A Gentle, Beginner-Friendly Process
If you’re new to bread baking, don’t worry—I’ll walk you through the feel of it.
Activate the yeast
Mix your warm liquid with sugar and yeast. Let it sit until it’s foamy. This step always feels a little like watching life happen in a bowl.
Mix the dough
Add your oil, salt, and flour gradually. Stir until a soft dough forms.
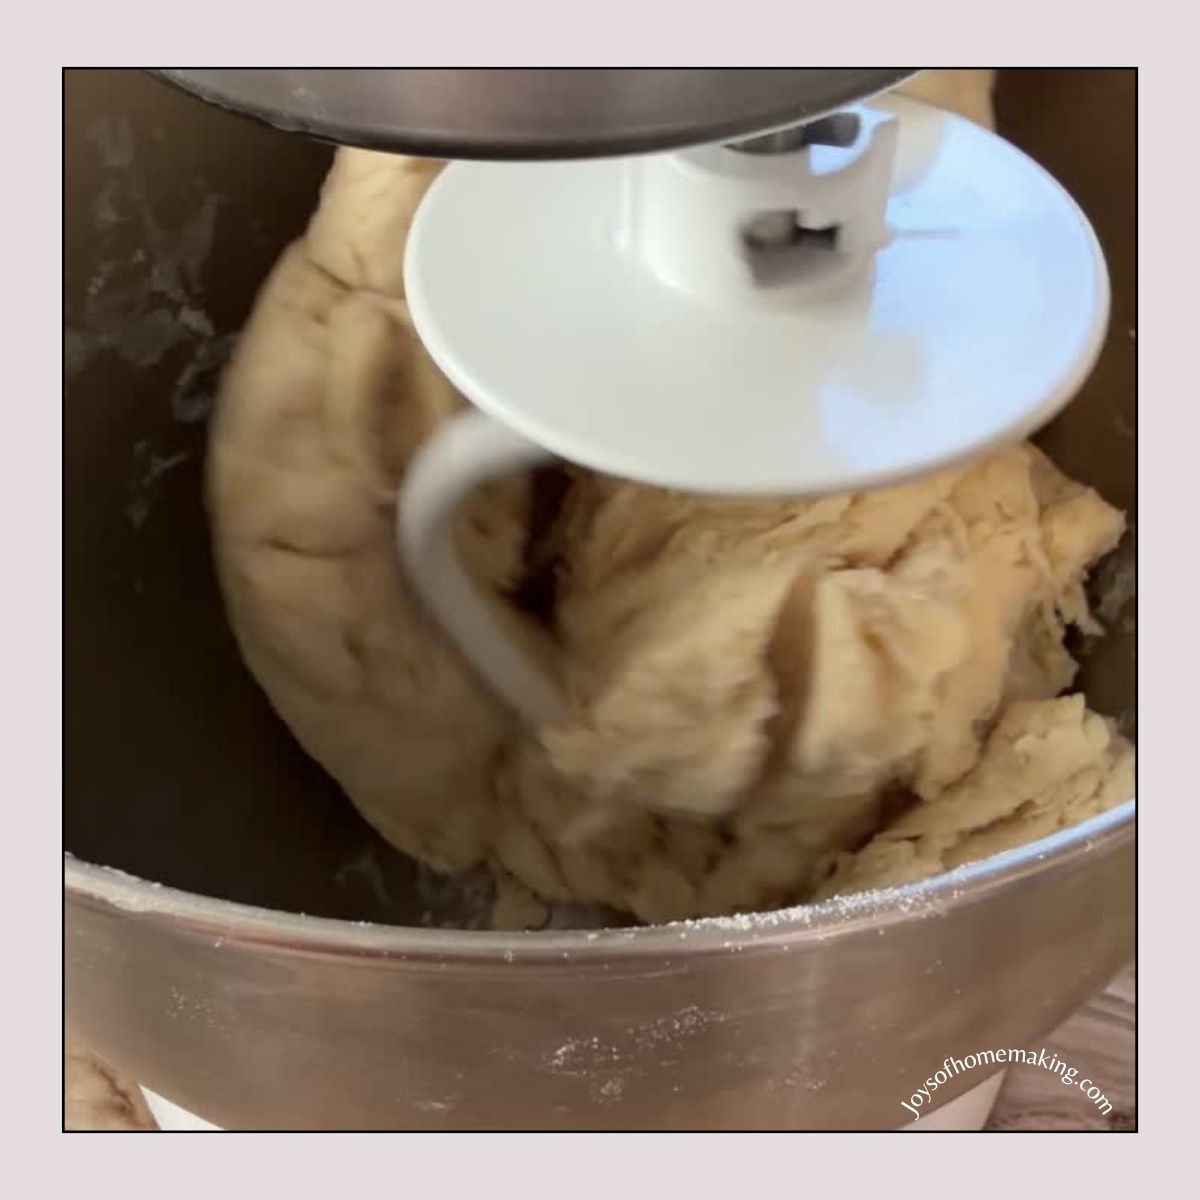
Knead
Turn it onto a floured surface and knead for about 8-10 minutes. You’re looking for a smooth, elastic dough. It should feel soft, not sticky. If using a mixer, mix for 5-10 minutes. I usually just let it mix for 10 minutes using an electric mixer.
First rise
Place it in a greased bowl, cover, and let it rise until doubled. This usually takes about an hour.
Shape the loaf
Gently deflate the dough, shape it into a loaf, and place it into a greased pan.
Second rise
Let it rise again , for 45 minutes to an hour, until it crowns just above the pan.
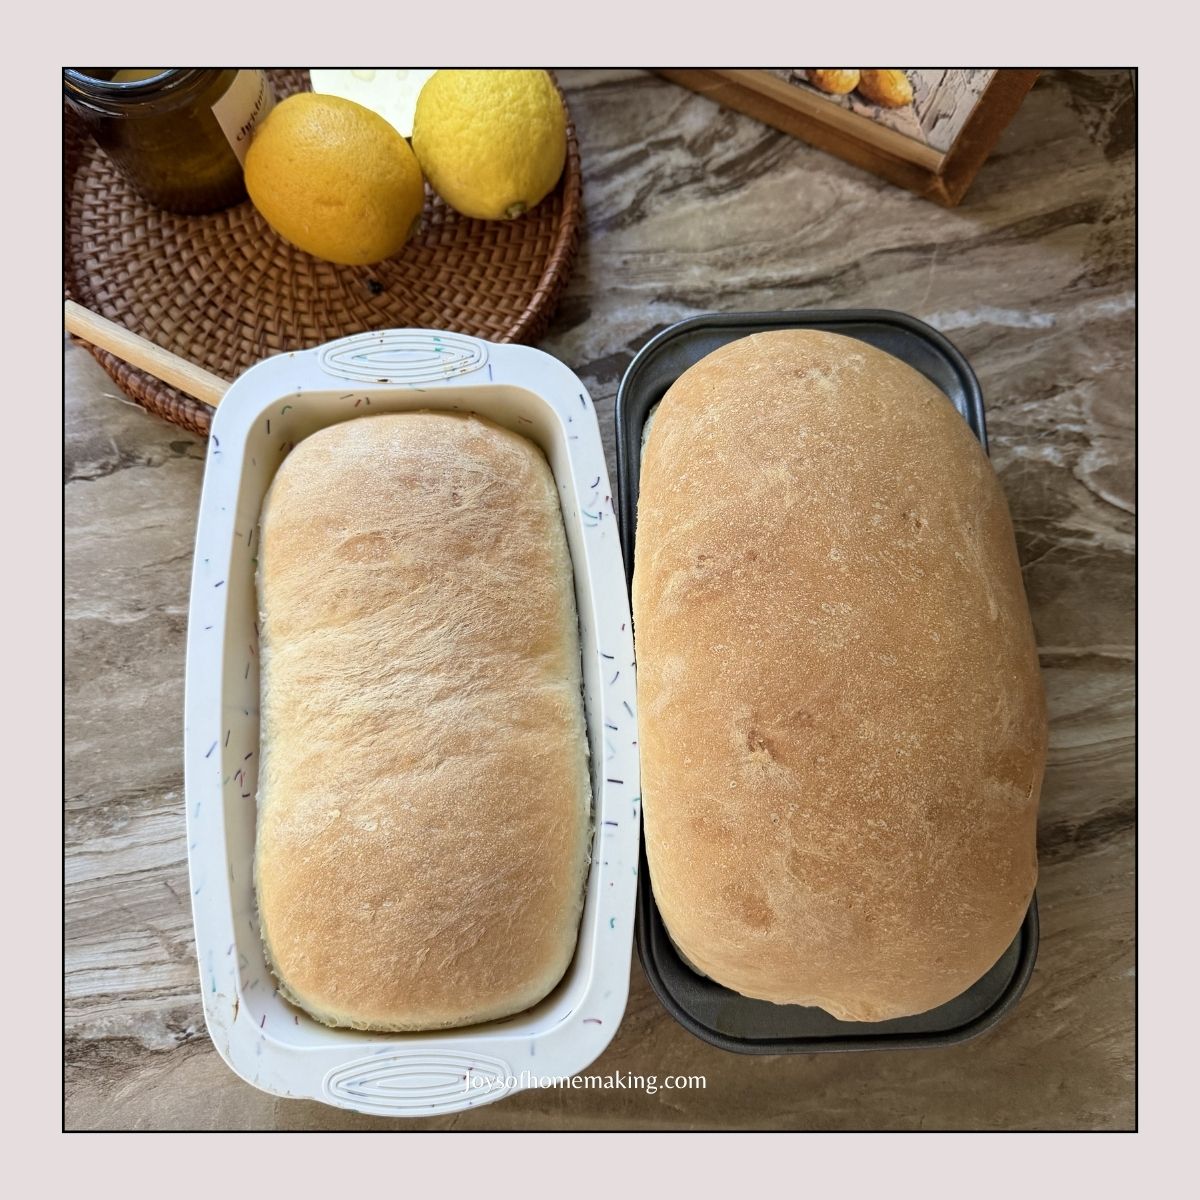
Bake
Bake for 30 minutes or until golden brown and your kitchen smells like a dream.
Cool (the hardest part!)
Let it cool before slicing—this helps keep that soft texture.
A Few Tips from My Kitchen
Over time, I’ve picked up a few little things that make a big difference:
- Don’t rush the rise. Good bread takes a little patience.
- If your dough feels too sticky, add a little flour—but not too much.
- If your kitchen is cold, let your dough rise in a slightly warm oven (turned off).
- Brush the top with butter after baking for an extra soft crust.
How We Use This Bread at Home
This loaf never lasts long in our house.
We use it for:
- School lunches
- Weekend grilled cheese
- Toast with eggs in the morning
- Simple butter-and-jam snacks
Sometimes I’ll even bake two loaves at once—one for now and one for the freezer. It freezes beautifully, which makes it perfect for busy weeks.
Looking for More Homemade Ideas?
Take a look around the blog for more simple, from-scratch recipes and homemaking inspiration.


Final Thoughts
This homemade sandwich bread has truly become a favorite in our home. It’s simple, dependable, and so comforting to make.
If you’re searching for a soft, reliable sandwich bread, this one definitely checks all the boxes.
If you try it, I hope it becomes a staple in your kitchen too.
And if your house smells like fresh bread while it’s baking… well, that’s just a bonus you’ll never get tired of. 🙂