Hello, homemaker!
I’ve been in a baking mood lately. I’ve also been trying to be more intentional about living sustainably, which for me means learning how to make more things from scratch instead of relying so much on store-bought goods. Baking our own bread is a small but meaningful step in that direction.
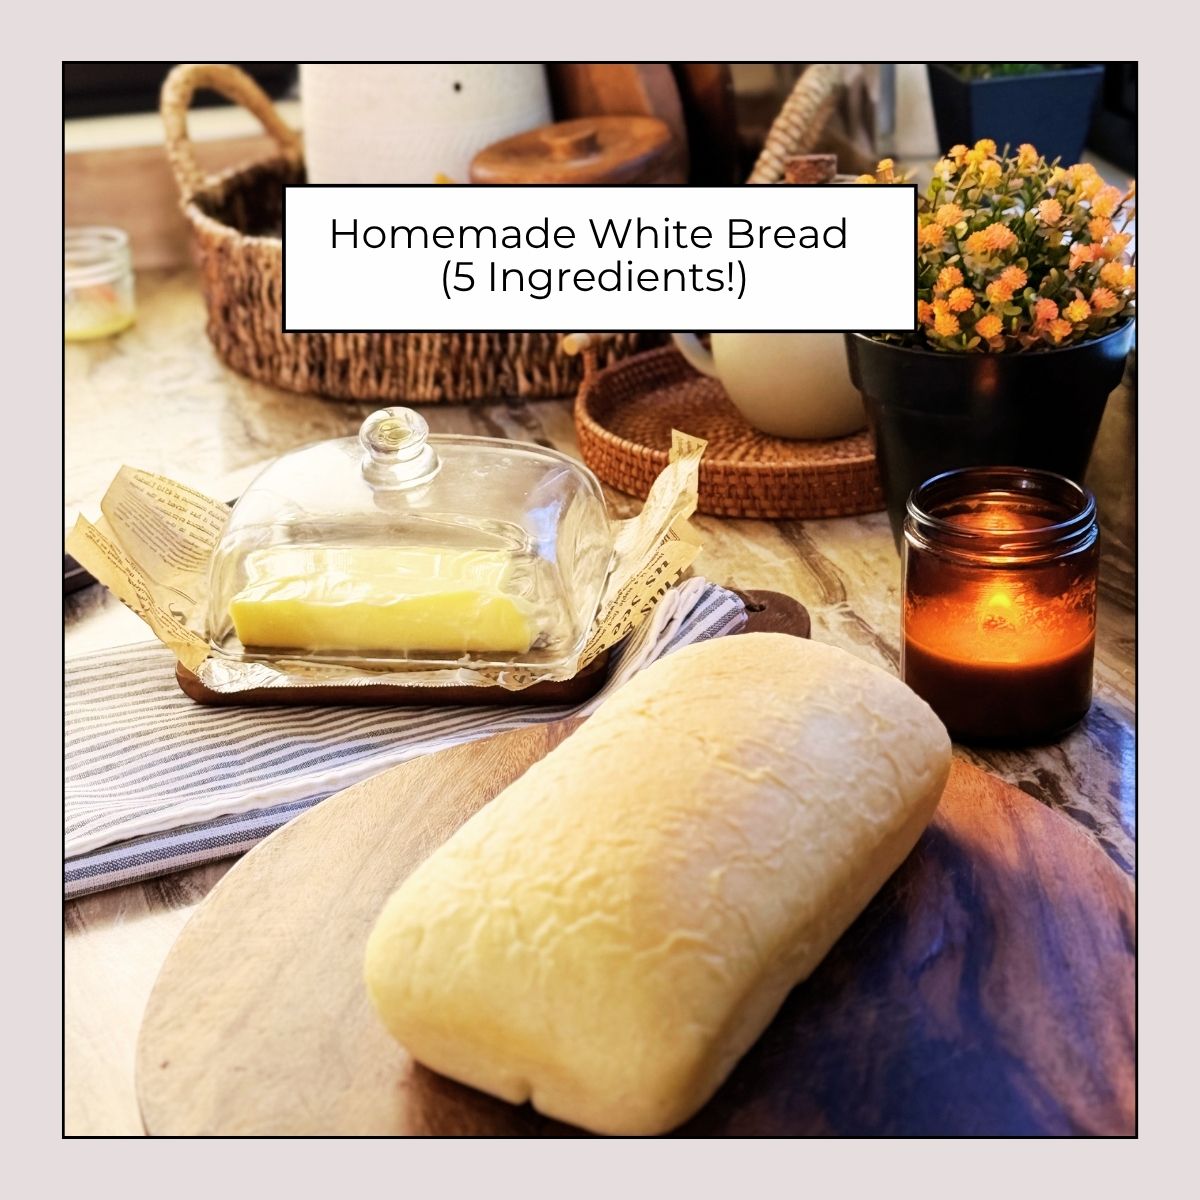
I recently made this homemade white bread after searching for a simple, beginner-friendly sandwich bread recipe that actually tastes good. After a few tries, I finally found one that checks all the boxes: easy, soft, and absolutely delicious.
I tweaked this recipe a few times, and this is by far my favorite version. If you've found this post before, I highly recommend trying this new recipe below because it's a more improved version.
This homemade sandwich bread is similar to my no-knead bread for beginners, but with a few key differences. This version requires kneading, and has a soft, sandwich-style texture rather than a dense one.
It’s quickly become a staple in our home. We enjoy it with fruit jams for breakfast, as the base for our sandwiches, and even turned into garlic bread for dinner.
If you’ve been wanting to bake your own bread at home but feel intimidated, this is a great place to start. I truly believe you’ll love this simple recipe—it’s easy to follow, and you don’t need to be an experienced baker to make it.
Why You’ll Love This Recipe
- Only 5 simple ingredients
- Soft, fluffy texture
- Beginner-friendly
- Shorter rise time compared to many bread recipes
- No preservatives or additives
- Made with unbleached flour
Ingredients
You only need 5 pantry staples to make this homemade white bread
- 6 cups bread flour (I use my homemade bread flour but you can use store-bought bread flour)
- 1 ½ tablespoon active dry or instant yeast
- ¼ cup sugar
- ¼ cup oil ( I used refined coconut oil)
- 1 ½ teaspoon salt
1 tablespoons butter for brushing (optional)
Plus water, which I’m guessing you’ve got!
- 2 cups cup warm water (not too hot)
How to Make Homemade White Bread
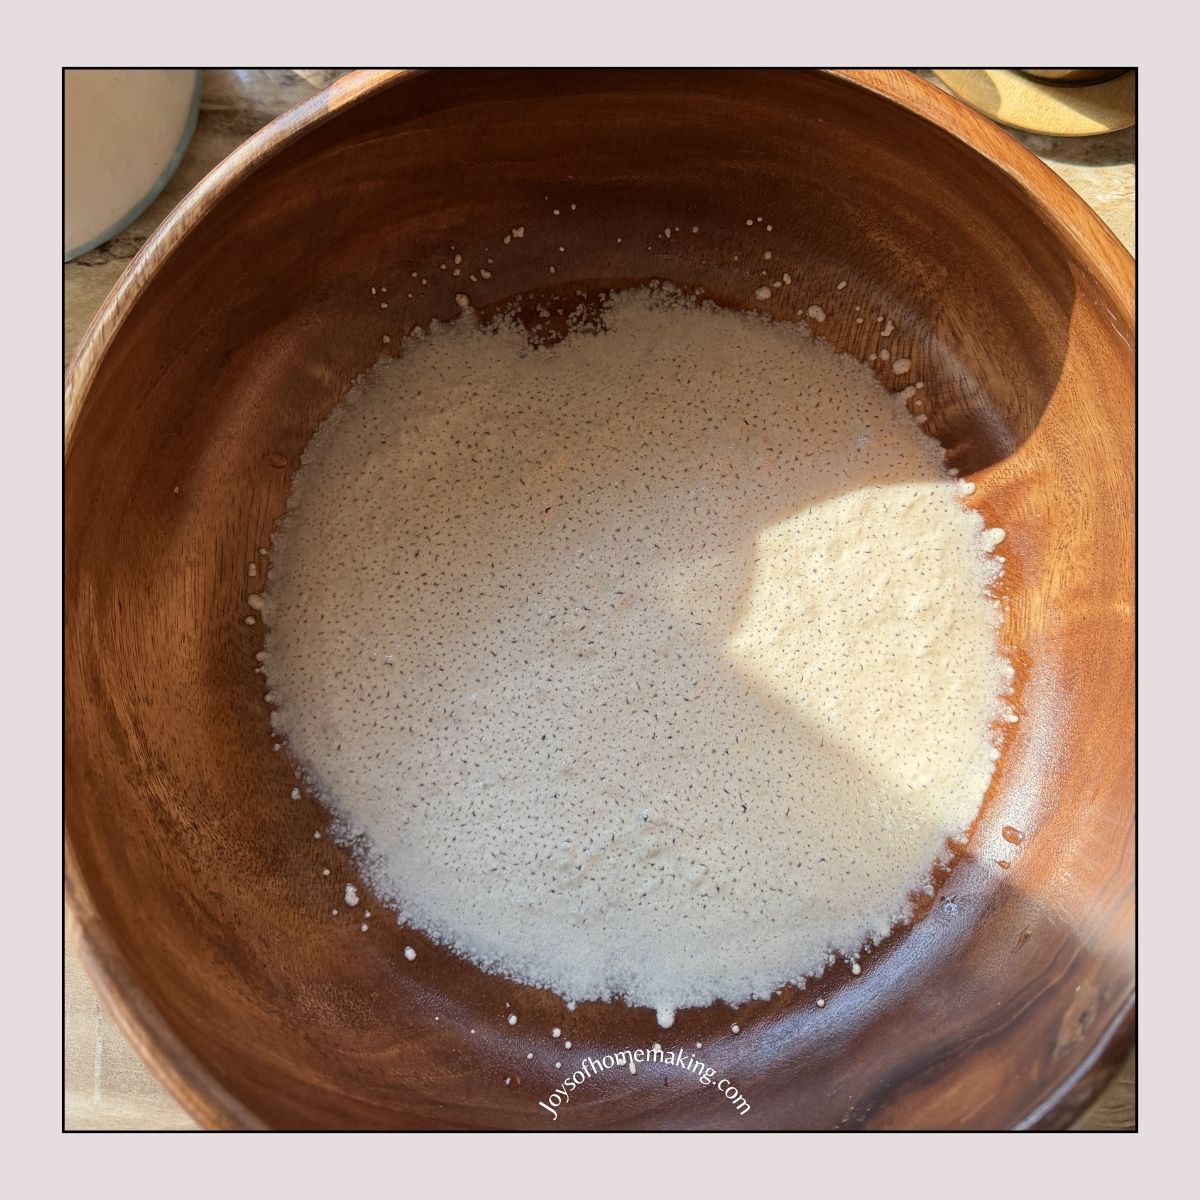
Step 1: Activate the Yeast
In a large bowl, combine warm water, sugar, and yeast. Let it sit for about 5–10 minutes until it becomes foamy. This step ensures your yeast is active and ready to help the bread rise.
Step 2: Mix the Dough
Add the salt and oil into the yeast mixture. Stir until combined. Gradually add the flour until a soft dough forms.
Step 3: Knead the Dough
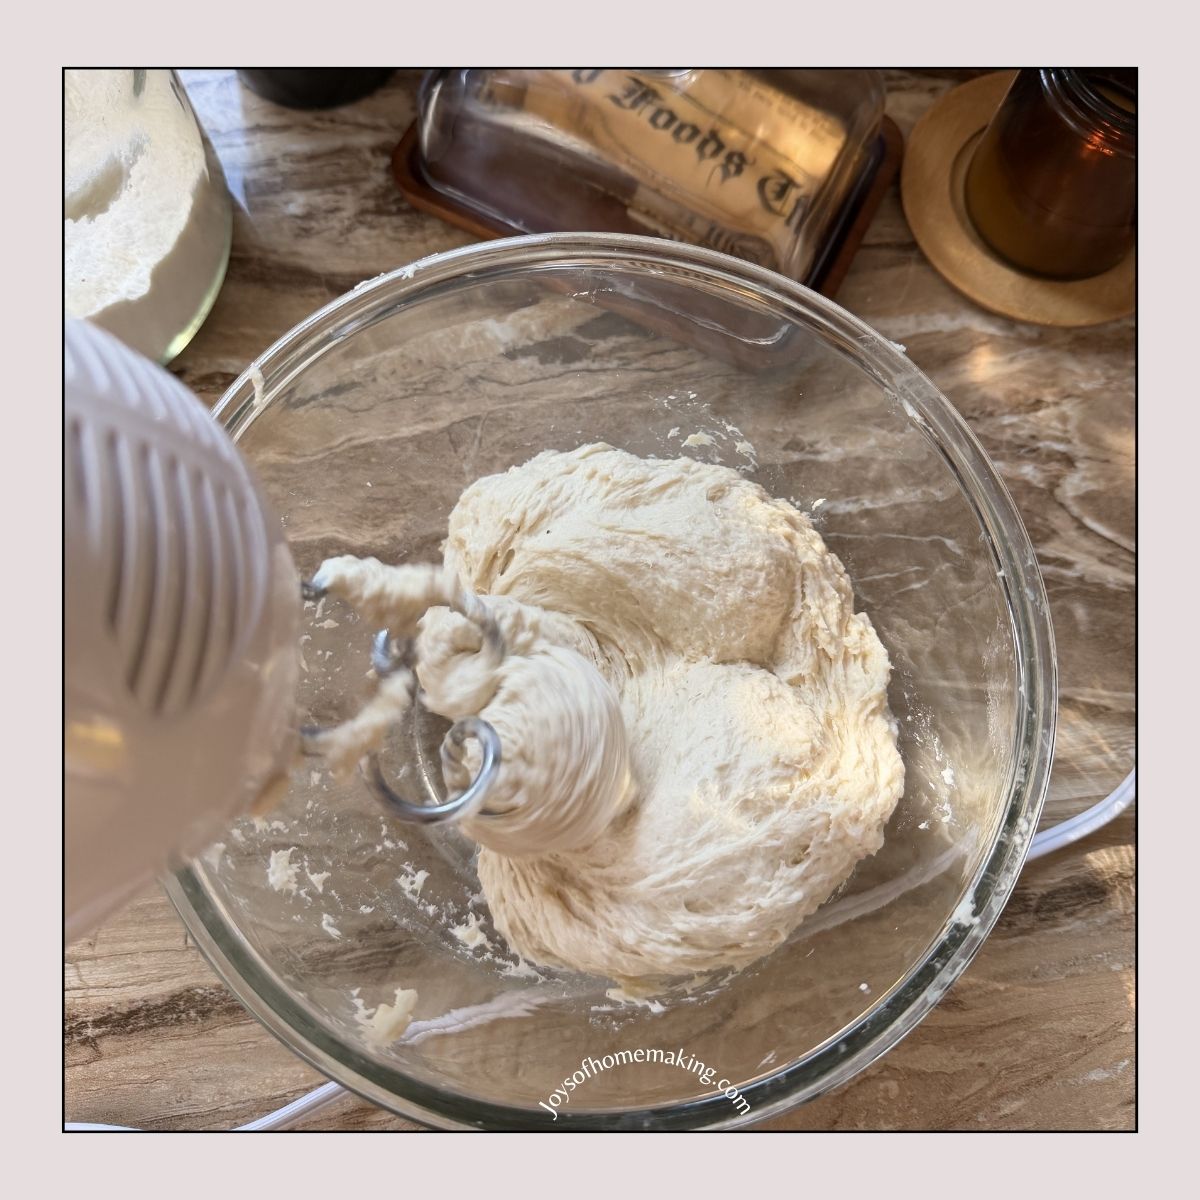
Transfer the dough onto a lightly floured surface and knead for about 8–10 minutes. The dough should become smooth and elastic. If it’s too sticky, sprinkle a little more flour as needed.
If you have a mixer, then even better! Use the dough hook and let it mix the dough for 6-10 minutes. I usually knead the dough for 10 minutes until the dough looks smooth and feels elastic.
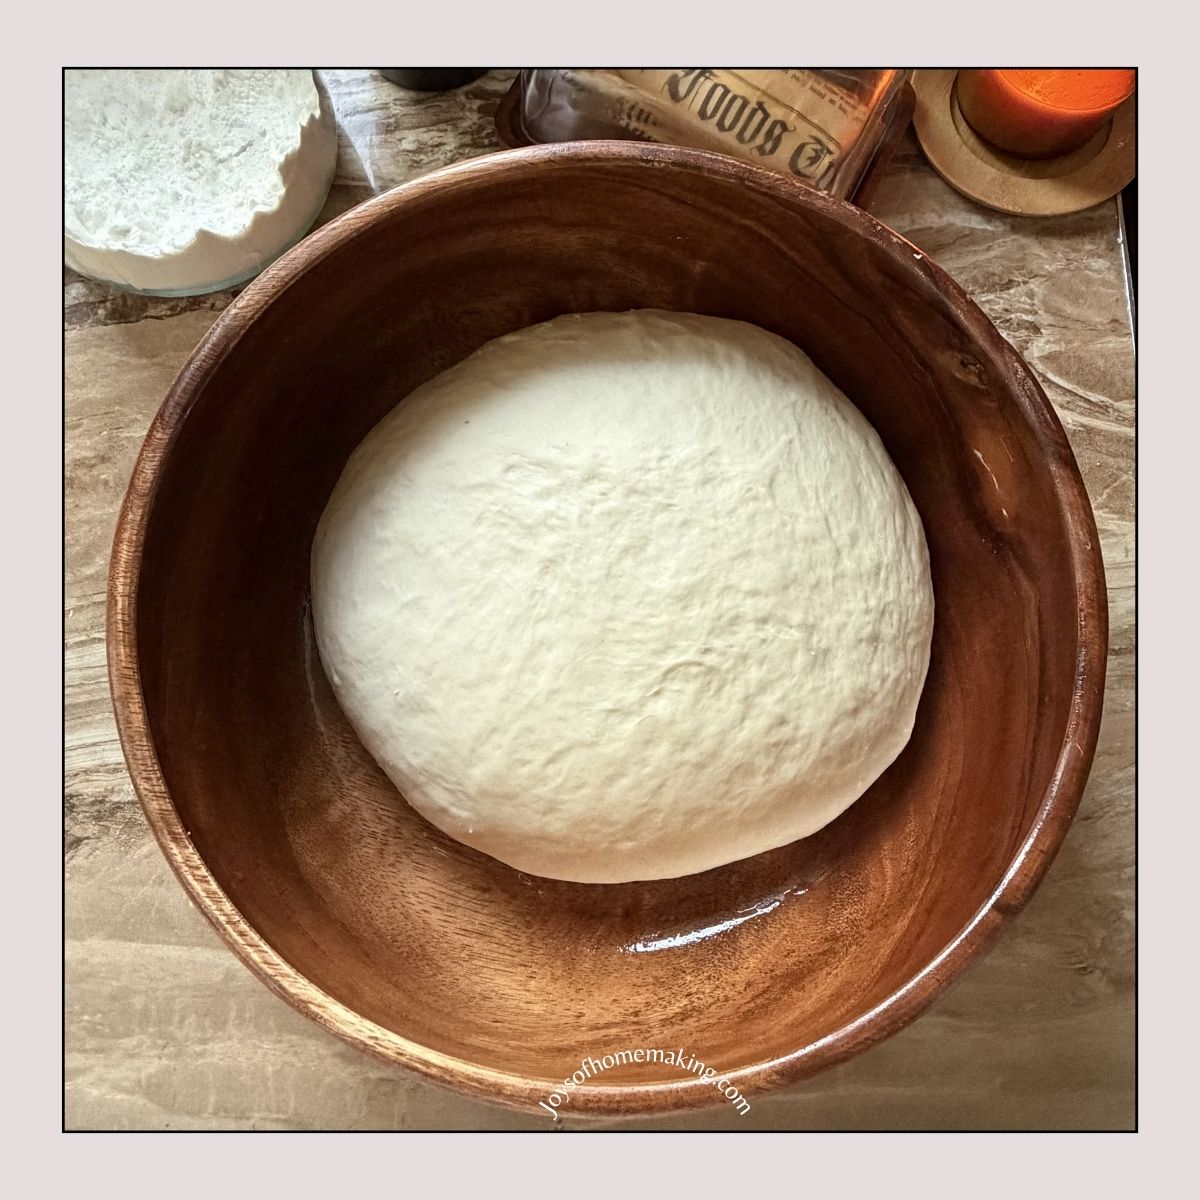
Step 4: First Rise
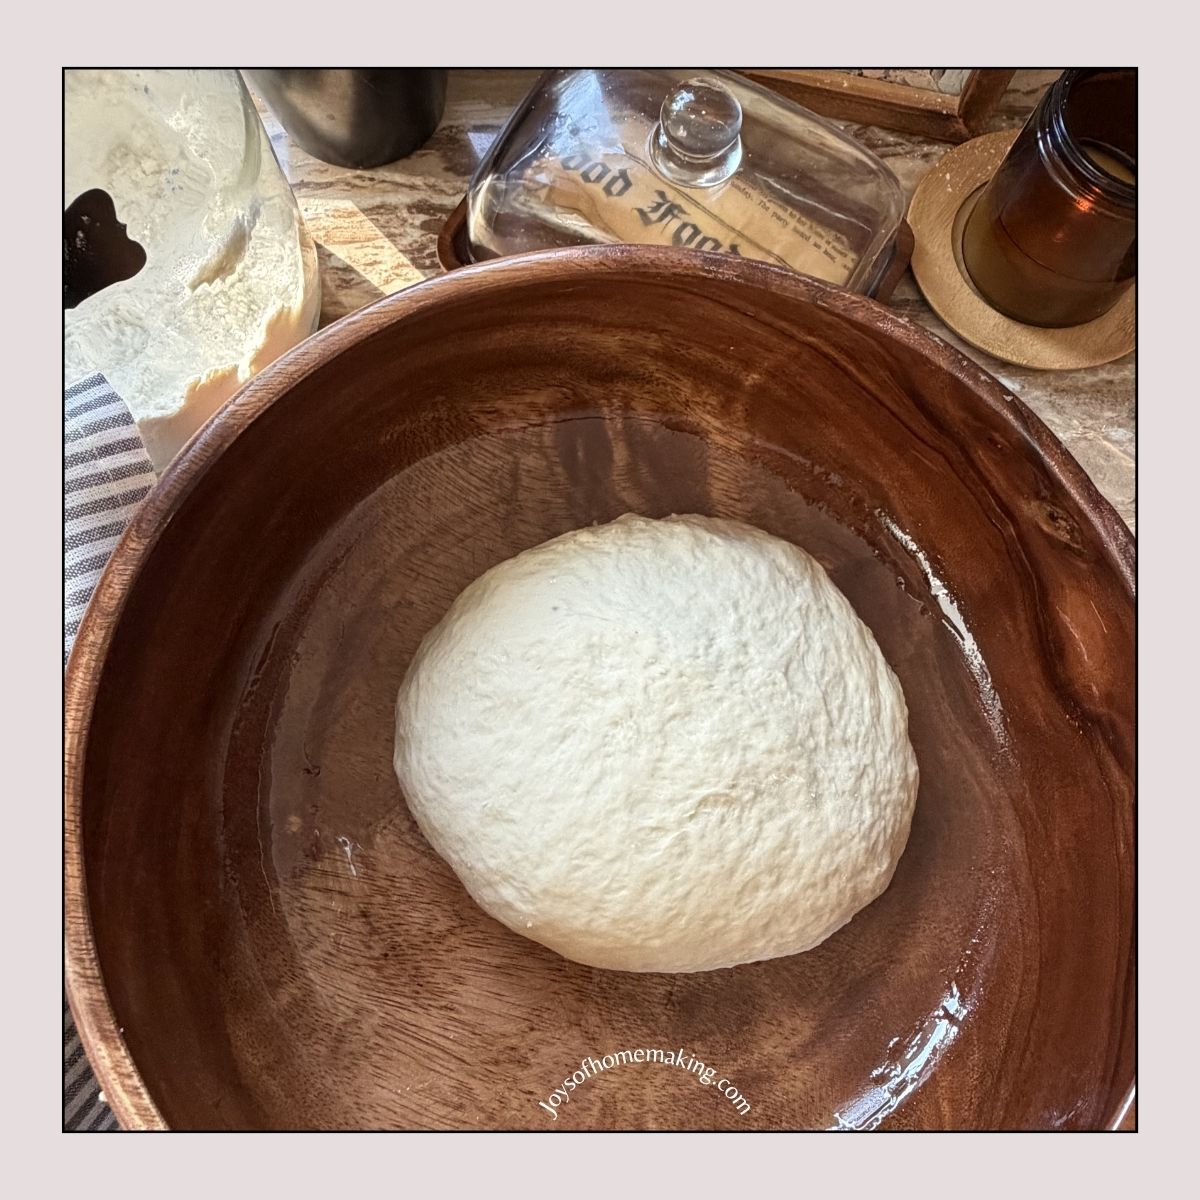
Place the dough in a greased bowl, cover with a clean towel, and let it rise in a warm place for 45 minutes to 1 hour, or until it doubles in size.
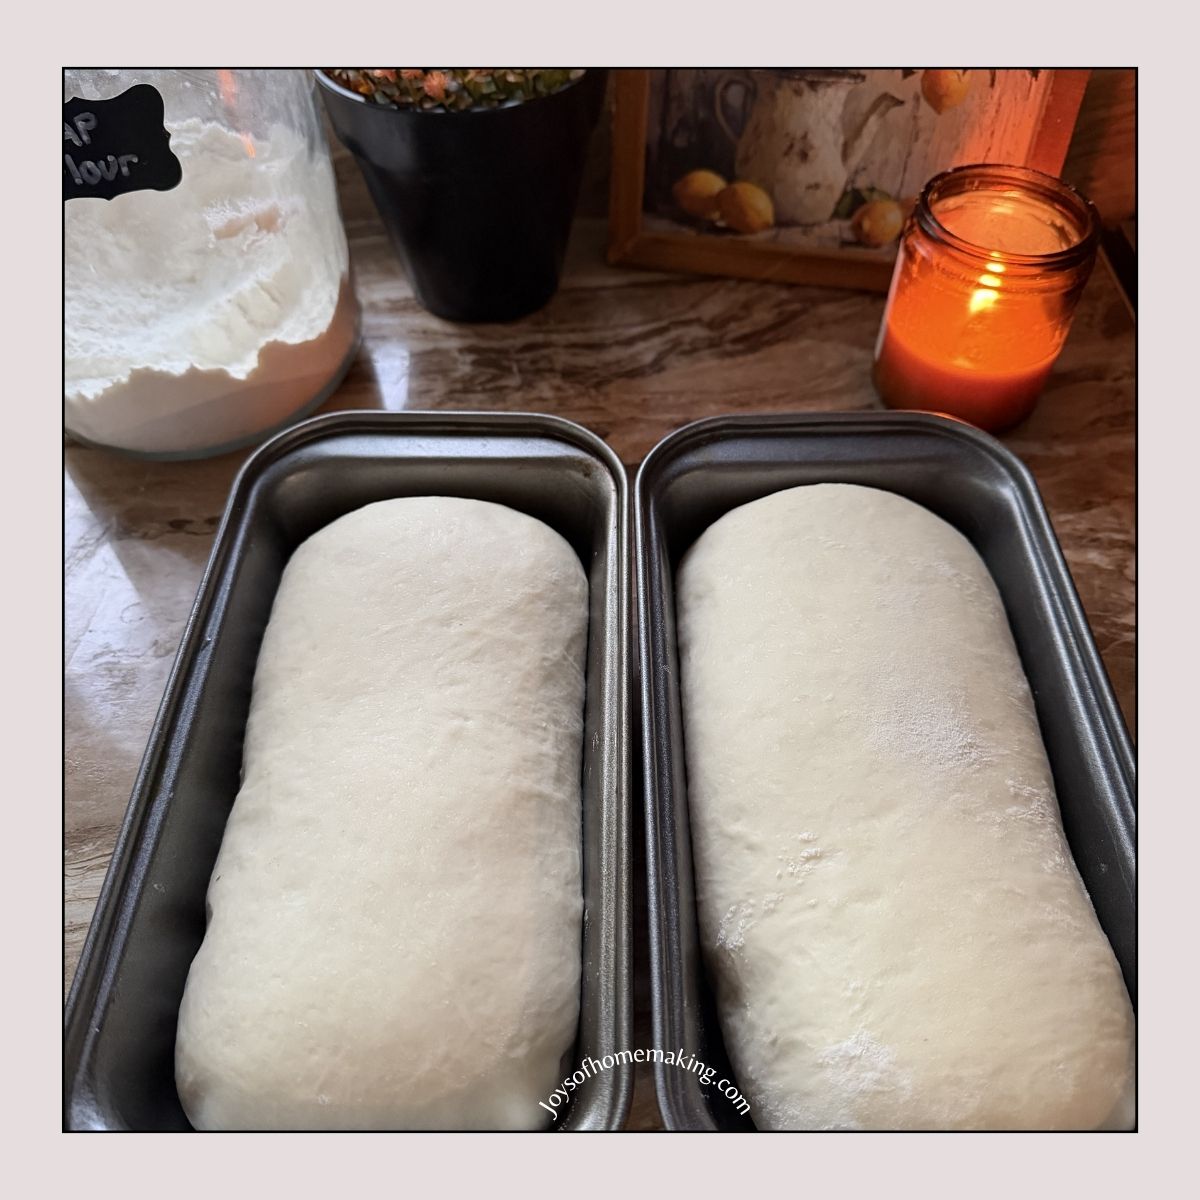
Step 5: Divide and Shape the Dough
You can divide the dough into two portions to make two smaller loaves, or keep it whole for one larger, taller loaf. If making one big loaf, simply place the dough into a large greased loaf pan and shape as needed.
Step 6: Second Rise
Cover and let it rise again for about 45 minutes, or until it has risen slightly above the edge of the pan.
Step 7: Bake
Preheat your oven to 175°C. Bake for 30 minutes, or until the top is lightly golden brown and the loaf sounds hollow when tapped.
Step 8: Cool and Slice
Remove from the pan and let it cool on a wire rack before slicing. This helps the bread set properly and prevents it from becoming gummy.
Tips for Perfect Homemade Bread
Use warm—not hot—water
Water that’s too hot can kill the yeast. Aim for a temperature that feels warm to the touch.
Knead properly
Kneading develops gluten, which gives the bread structure and that soft, chewy texture.
Be patient with rising time
If your kitchen is cool, the dough may take longer to rise. You can place it in a slightly warm oven (turned off) to help.
Don’t overbake
Keep an eye on your bread during the last few minutes. Overbaking can make it dry.
How We Enjoy This Bread
This bread has quickly become a favorite in our home. Here are some of our favorite ways to enjoy it:
- Toasted with butter and fruit jam for breakfast
- As sandwich bread for lunch
- Made into garlic bread for dinner
- Paired with soups and stews
The soft texture and slightly buttery flavor make it incredibly versatile.
Why Homemade Is Better
One of the biggest reasons I love making this bread at home is knowing exactly what goes into it. Many store-bought white breads contain many ingredients which includes preservatives and are often made with highly processed flour. I like our breads to be made with unbleached flour or whole wheat flour.
Using unbleached flour gives this bread a more natural taste and texture. It may seem like a small difference, but it really adds to the overall quality of the loaf.
Final Thoughts
If you’ve never baked bread before, this recipe is a great starting point. It’s simple, forgiving, and produces a soft, flavorful loaf that’s perfect for everyday use.
There’s something truly satisfying about slicing into a loaf of bread you made yourself. Once you try it, you might find yourself reaching for homemade bread more often than store-bought.
Let me know if you try this recipe—I’d love to hear how it turns out in your kitchen.
Did you enjoy this post? Save this image to Pinterest so you can easily find your way back to this post when you need it.