Hello, homemaker!
Have you ever noticed how our favorite chocolate brands from childhood just don’t taste the same anymore? Over time, it seems many of these well-known makers have changed their recipes, and now their “chocolates” taste more like chocolate-flavored oil than the rich, comforting treat we remember.
When I started paying closer attention, I looked at the labels—and honestly, I wasn’t surprised to find ingredients like hydrogenated oils, something we try to avoid in our home.
That’s what led me down this path. For quite some time now, I’ve been wanting to learn how to make my own chocolate bars at home. Not completely from scratch (since I’m not harvesting cacao beans in the backyard), but close enough to feel confident about what goes into each bite. At the very least, I know it’s free from hydrogenated oils and synthetic emulsifiers.
And let me tell you—this is one of those simple, satisfying skills that fits beautifully into a more intentional, health-conscious home.
If you’ve been feeling the same way about store-bought sweets, this might be the perfect place to start.
Why Make Your Own Chocolate?
Chocolate is one of those pantry staples that seems simple but often contains unnecessary additives: emulsifiers, artificial flavors, and low-quality fats.
When you make your own, you get:
- Real ingredients you can trust
- Control over sweetness
- A richer, more authentic flavor
- The satisfaction of making something from scratch
And honestly, once you taste homemade chocolate, it’s hard to go back.
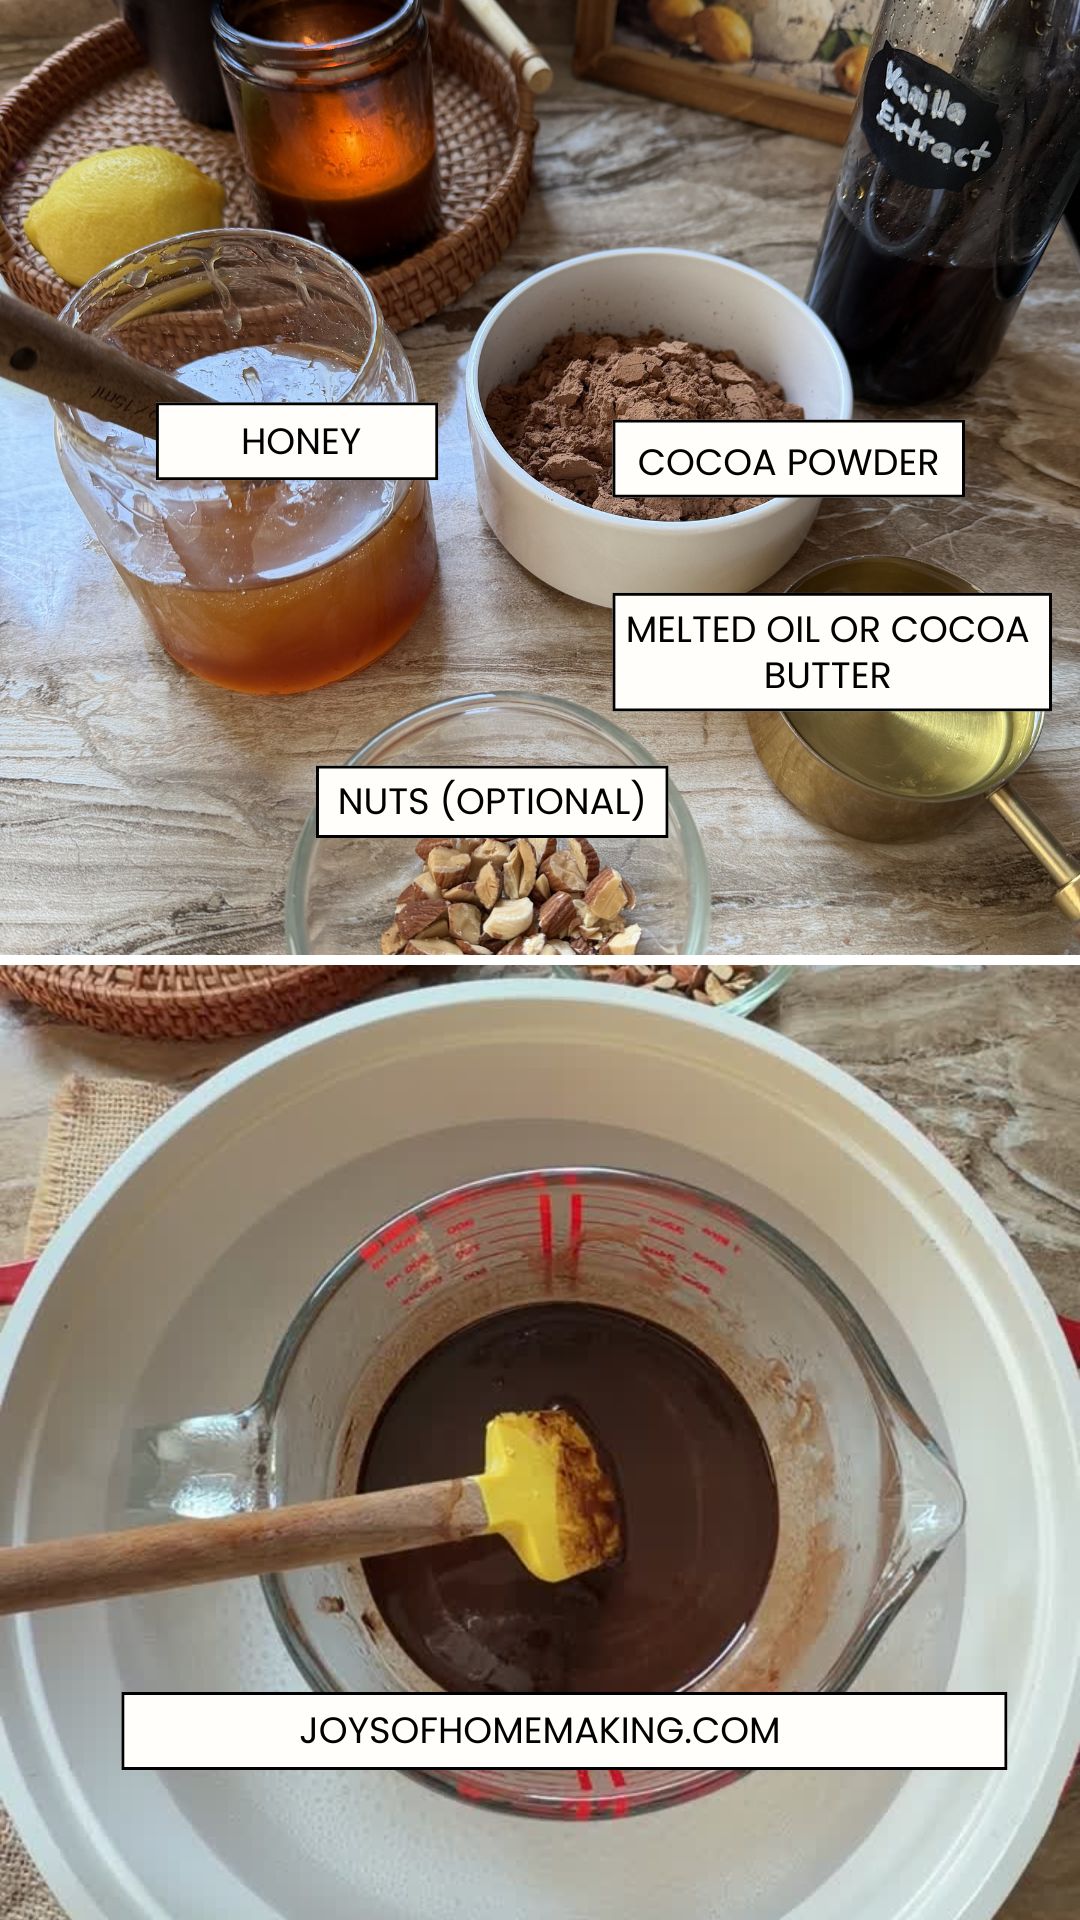
Ingredients You’ll Need
This recipe keeps things simple and approachable. You don’t need fancy equipment—just good ingredients.
Cocoa Butter (Food-Grade) or Coconut Oil
If you’re new to working with cocoa butter, it comes in solid chunks or wafers and has a mild chocolate aroma. It’s the key to that smooth, melt-in-your-mouth texture. It also gives that firm, crisp snap when broken. However, it can be more expensive. If you don’t have it on hand, coconut oil is a good substitute. I used refined coconut oil for its neutral taste.
Unsweetened Cocoa powder
Try to choose high-quality, pure cocoa powder—this is where most of your flavor comes from. A good, rich cocoa makes all the difference.
Sweetener
I prefer using honey or maple syrup but if you don't have either, you can also replace 1 tablespoon of honey with sugar. If you do, make sure it melts completely with the other ingredients before pouring into your mold—this helps create a smoother texture.
Vanilla Extract
Optional but enhances the flavor.
Sea Salt
Sea salt balances the sweetness.
Recipe
- ½ cup cocoa butter (food-grade)
- ½ cup unsweetened cocoa powder
- 2–4 tablespoons raw honey or maple syrup (adjust to taste)
- 1 teaspoon vanilla extract
- A pinch of sea salt
Optional add-ins:
- Chopped nuts (almonds, walnuts)
- Dried fruits (raisins, cranberries)
- Coconut flakes
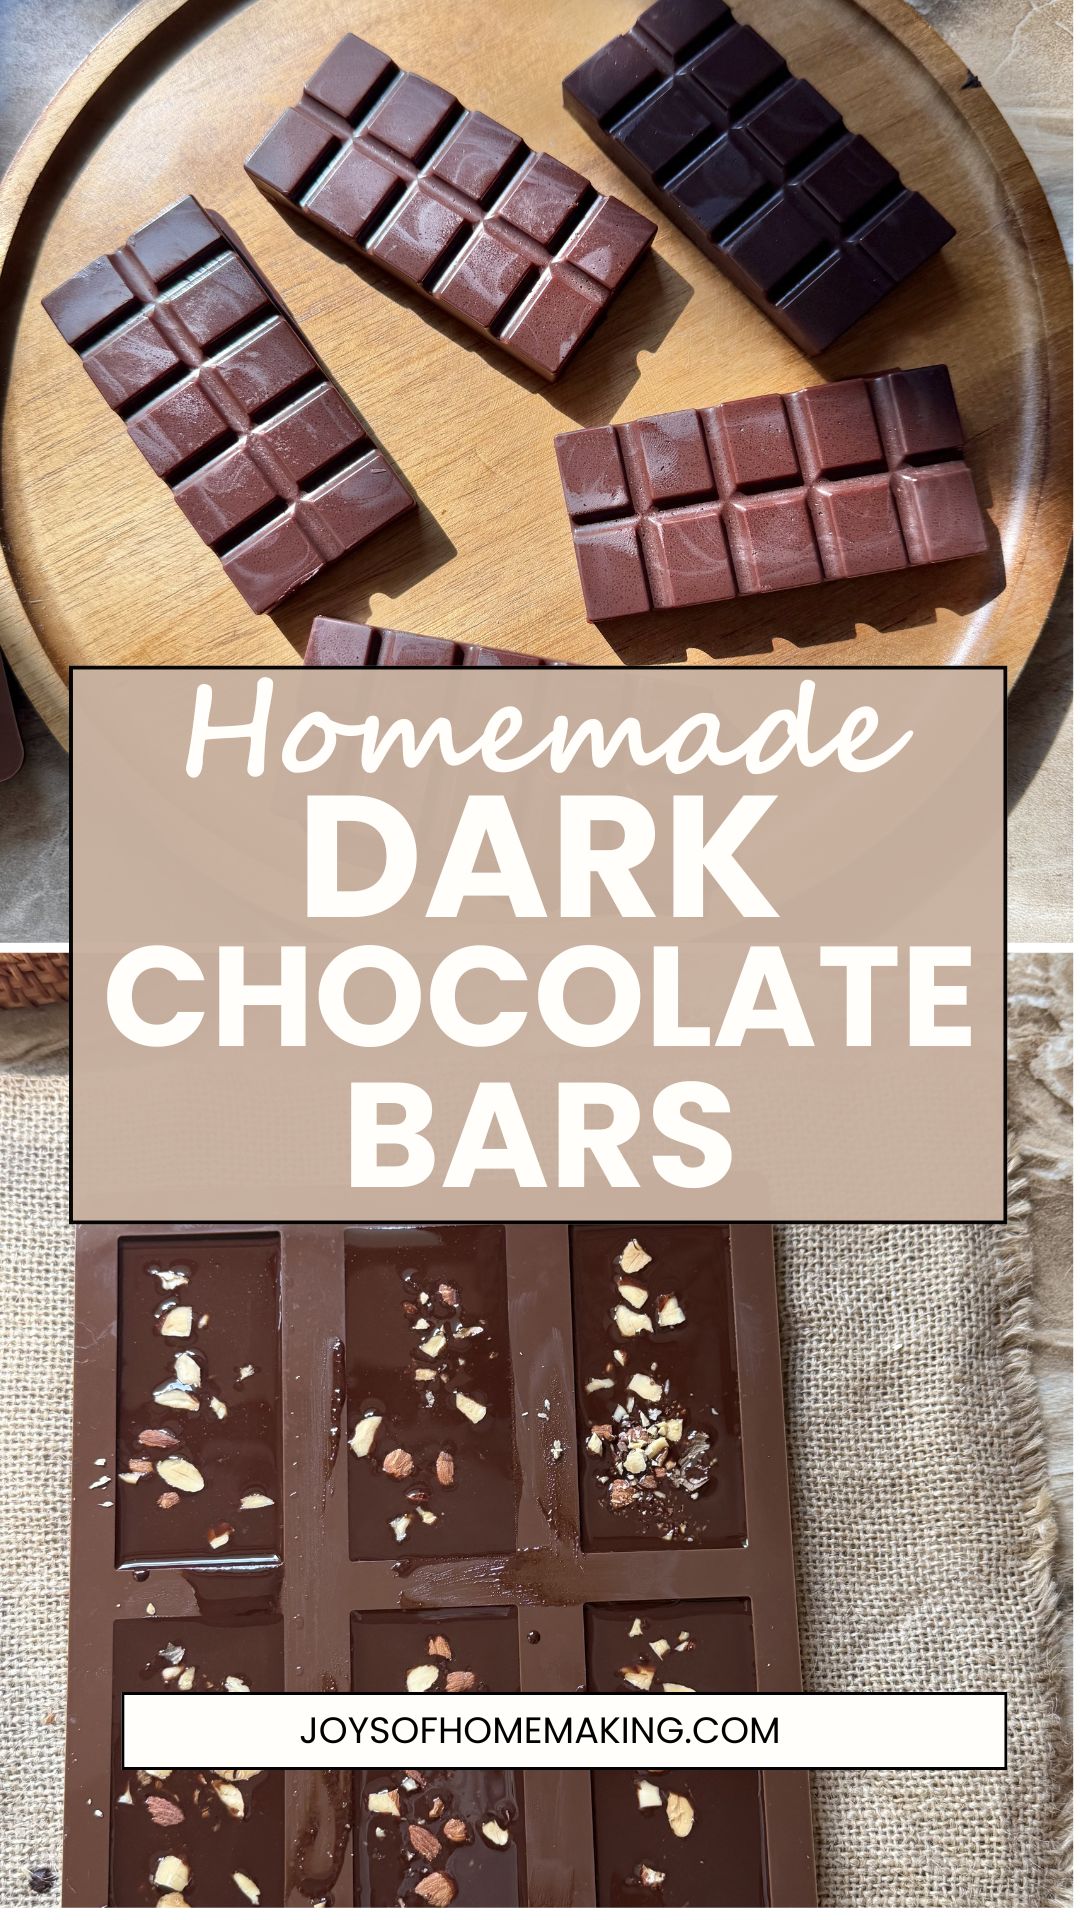
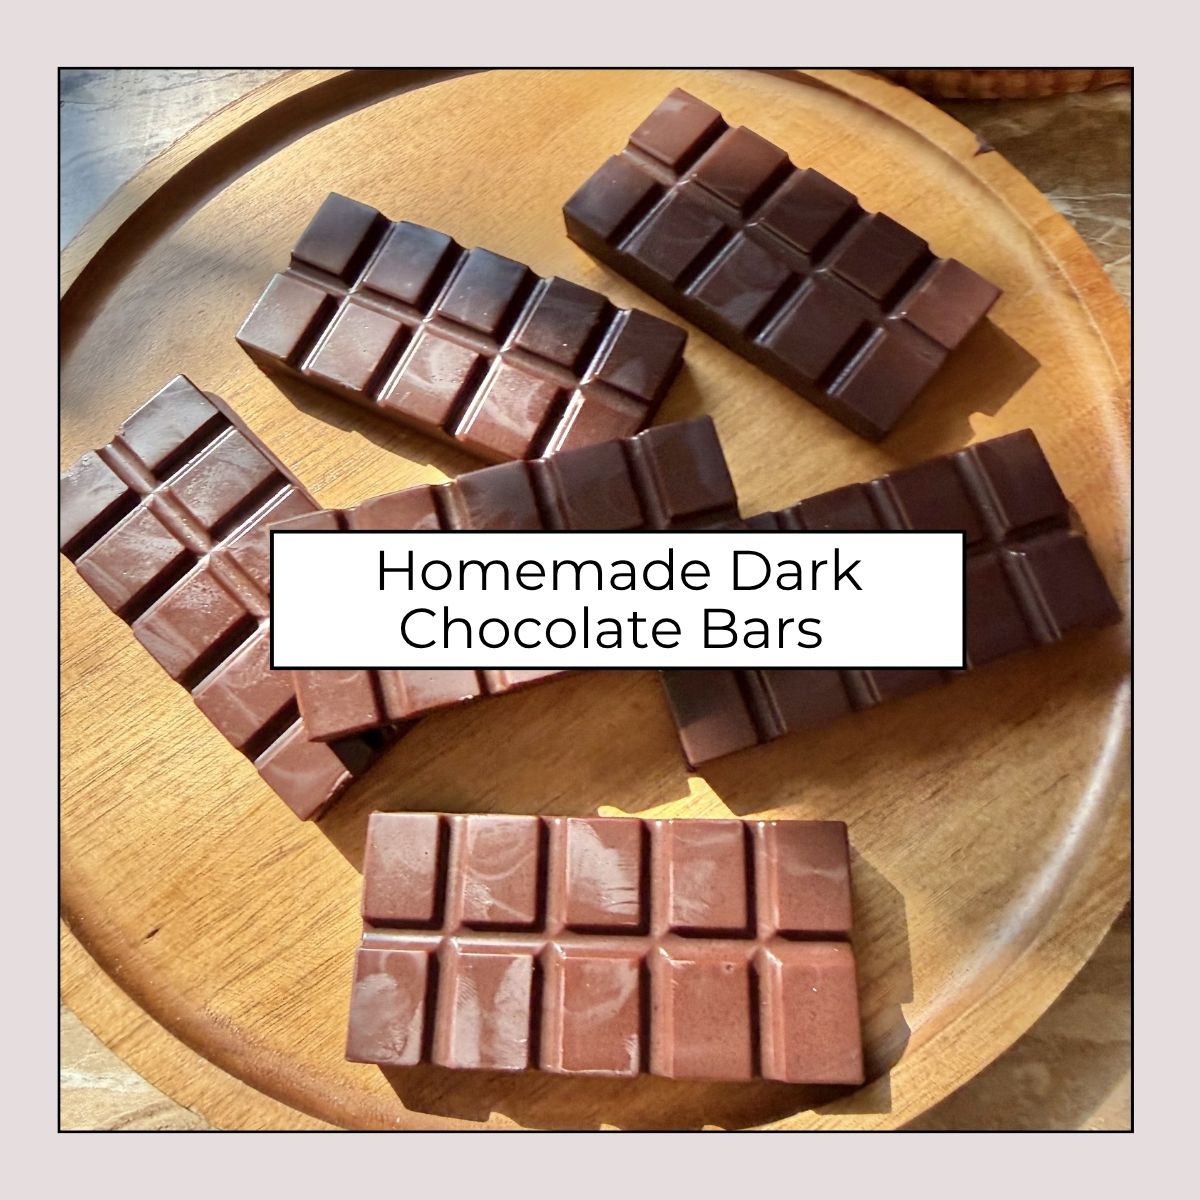
How to Make Homemade Dark Chocolate Bars
1. Melt the Cocoa Butter
Using a double boiler (or a heat-safe bowl over a pot of simmering water), gently melt the cocoa butter. Keep the heat low—this isn’t something you want to rush.
2. Stir in Cocoa Powder
Once melted, slowly whisk in the cocoa powder until smooth and fully combined. You’ll start to see that deep chocolate color come alive.
3. Sweeten to Taste
Add your honey or maple syrup. Start small—you can always add more. Stir well until everything is fully incorporated.
If using sugar, melt the sugar completely to ensure smooth texture.
4. Add Flavor
Mix in the vanilla extract and a pinch of sea salt. That little bit of salt really brings out the richness of the chocolate.
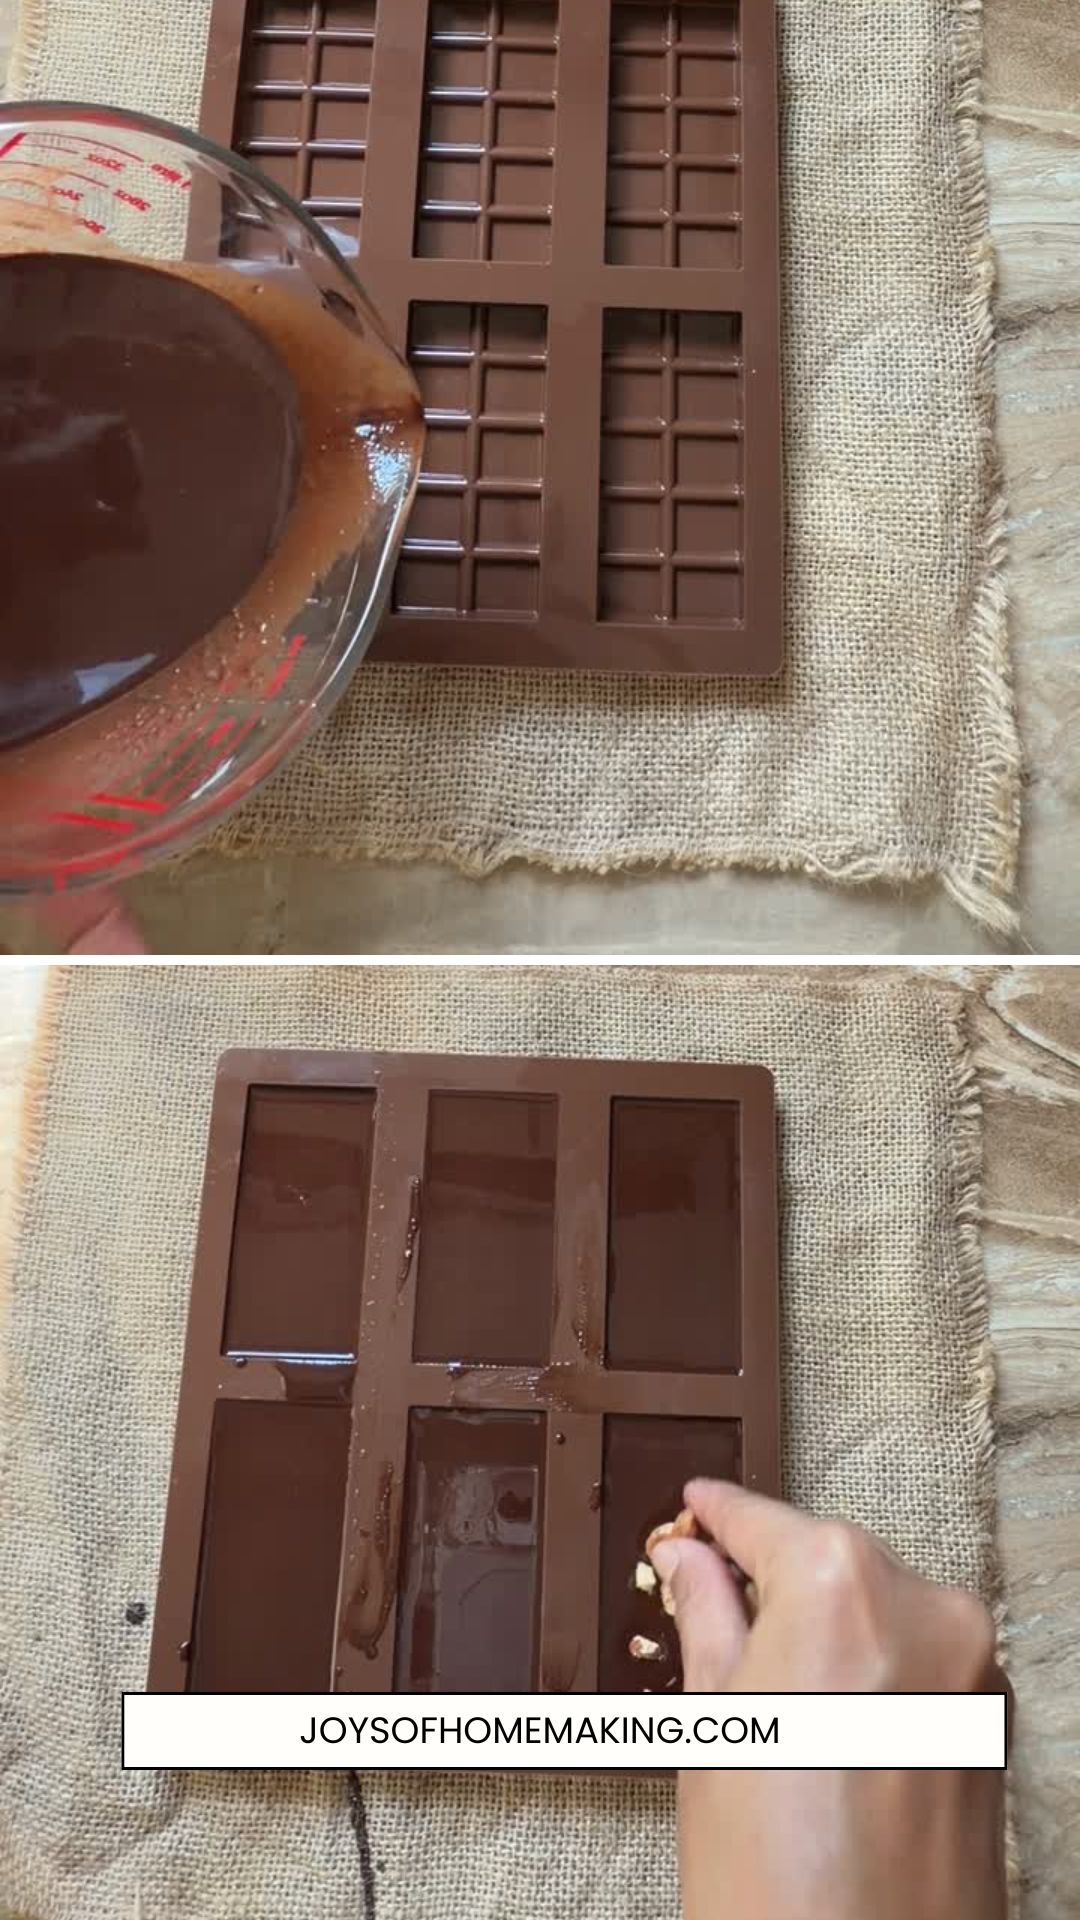
5. Pour into Molds
Pour the mixture into silicone molds, a lined baking dish, or even a simple tray. Tap gently to remove air bubbles.
6. Add Toppings (Optional)
Sprinkle your favorite add-ins on top or mix them in before pouring.
7. Let It Set
Place in the refrigerator for about 1–2 hours, or until fully hardened.
8. Enjoy
Once set, pop them out and store in a cool place. Break into pieces and savor each bite.
What to Expect
Homemade chocolate has a slightly different texture than store-bought—and that’s a good thing. It’s more rustic. The flavor is bold and real, not overly sweet or waxy.
You might notice:
- A softer melt at room temperature
- A richer cocoa taste
- Less sweetness (unless you adjust it)
It feels like chocolate the way it used to be.
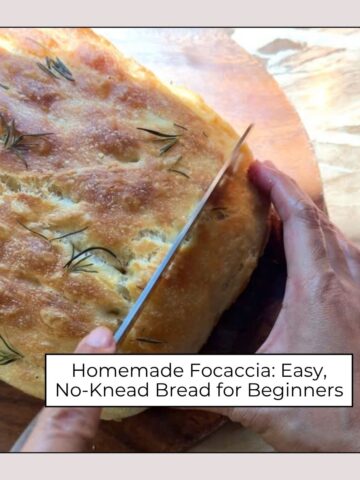
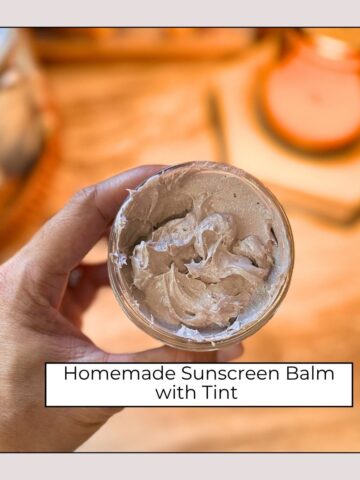
Looking for More Inspiring Homemade Ideas?
Take a look around the blog for more simple, from-scratch recipes and homemaking inspiration.


A Small Step Toward a Simpler Kitchen
So if you’ve been disappointed with store-bought chocolate lately, making your own is a good place to start. It’s a simple process, uses ingredients you can feel better about, and lets you adjust the flavor to your liking.
It may not be completely from scratch, but it’s a practical step toward a more intentional kitchen.
If you give this a try, I’d love to hear how it turned out for you. Feel free to share your experience or any variations you made in the comments below.