Hello, homemaker!
If you've been following my homemaking journey for a while, you probably already know that I make a lot of things from scratch, including applesauce.
I've been making homemade applesauce for my son for years now. It's one of his favorite snacks, and I always try to keep a jar or two in our refrigerator.
So, I thought, why not make something a little different this time?
That's how I ended up making homemade apple butter!
Think of it as a richer, thicker, more flavorful version of applesauce, with all those delicious, warm spices that make your kitchen smell absolutely wonderful.
And let me tell you, it turned out so good!
It's smooth, rich, naturally full of apple flavor, and perfectly spiced with cinnamon, nutmeg, and cloves. You can spread it on warm toast, spoon it over pancakes, use it as a filling for baked treats, or even eat it straight from the jar.
I certainly wouldn't judge you for that last one!
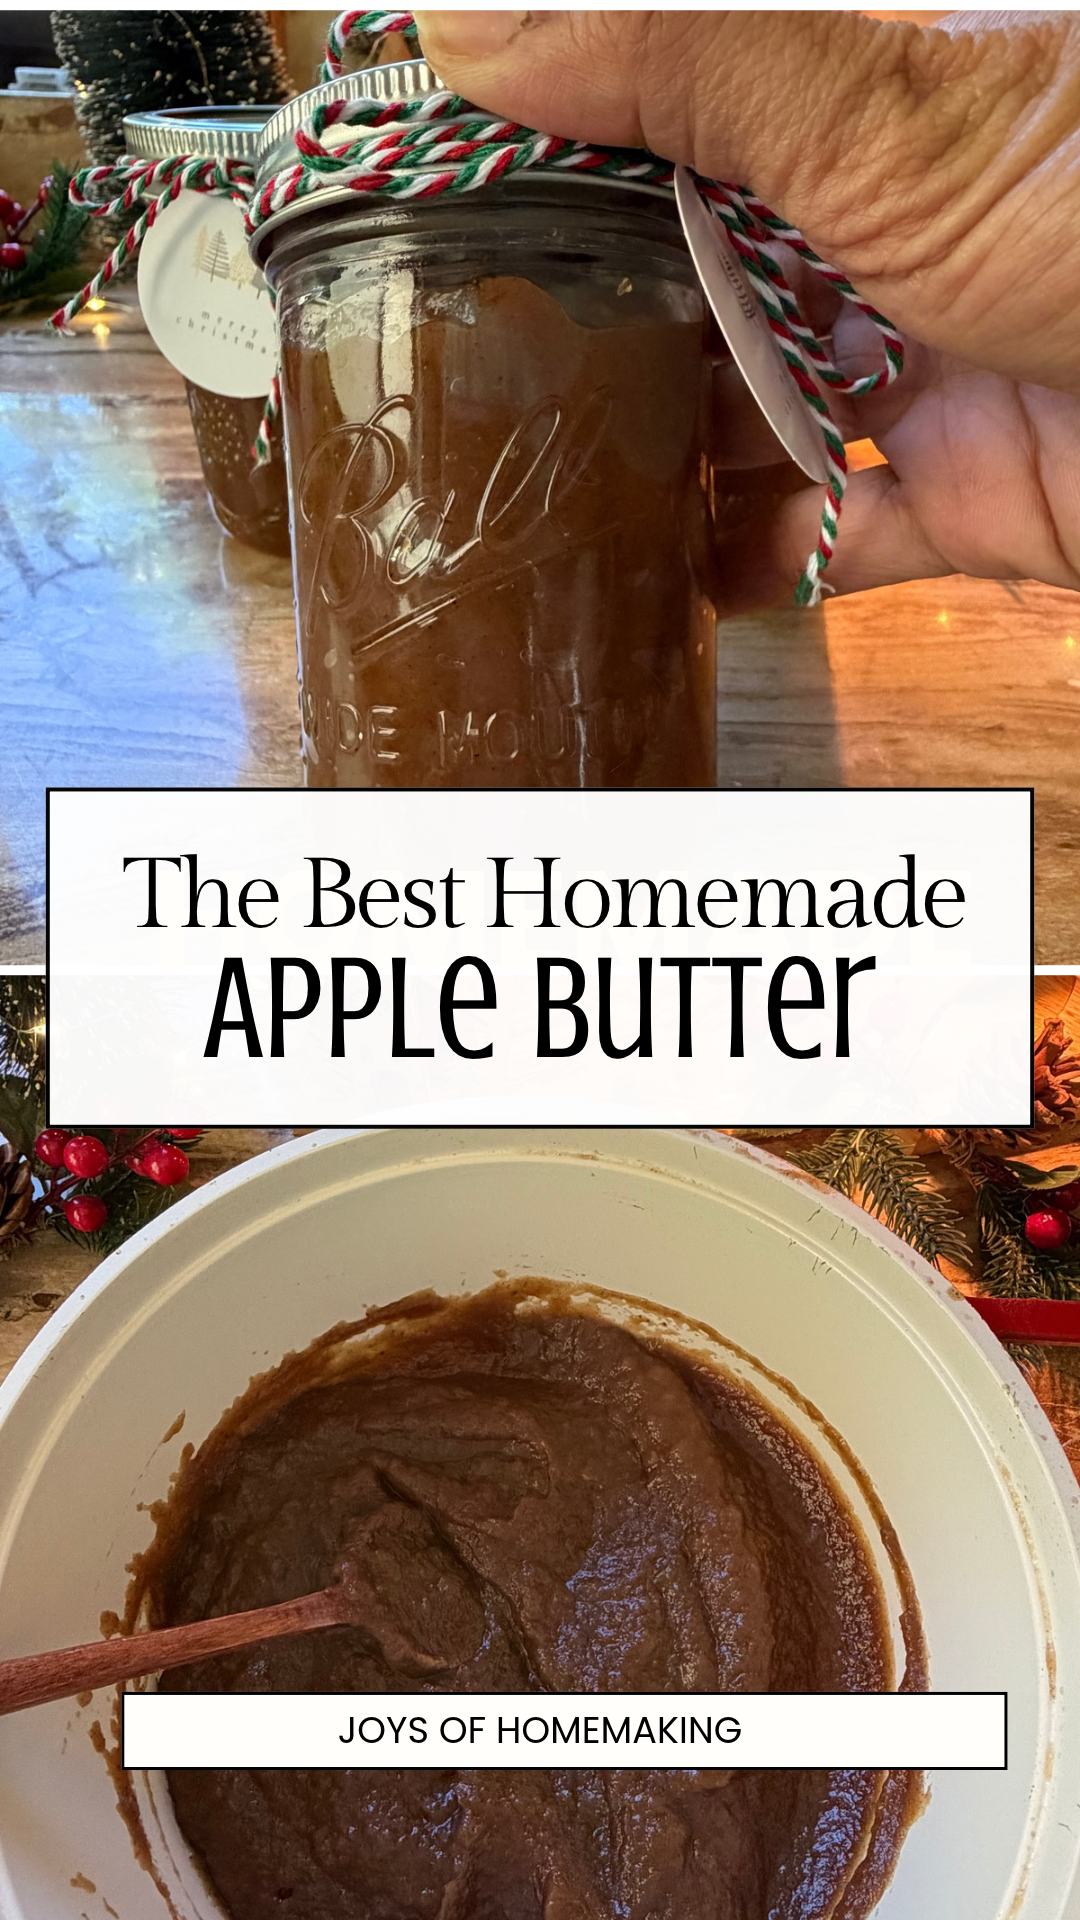
I made three jars of this homemade apple butter, thinking they would last us a while. Well, we went through all three jars pretty quickly!
Now I'm thinking I might have to make another batch, not just for us but also to give away during the holidays.
Fortunately, apple butter is surprisingly easy to make at home.
If you have some apples, a few pantry spices, and a little patience, you can make this delicious spread right in your own kitchen.
What Is Apple Butter?
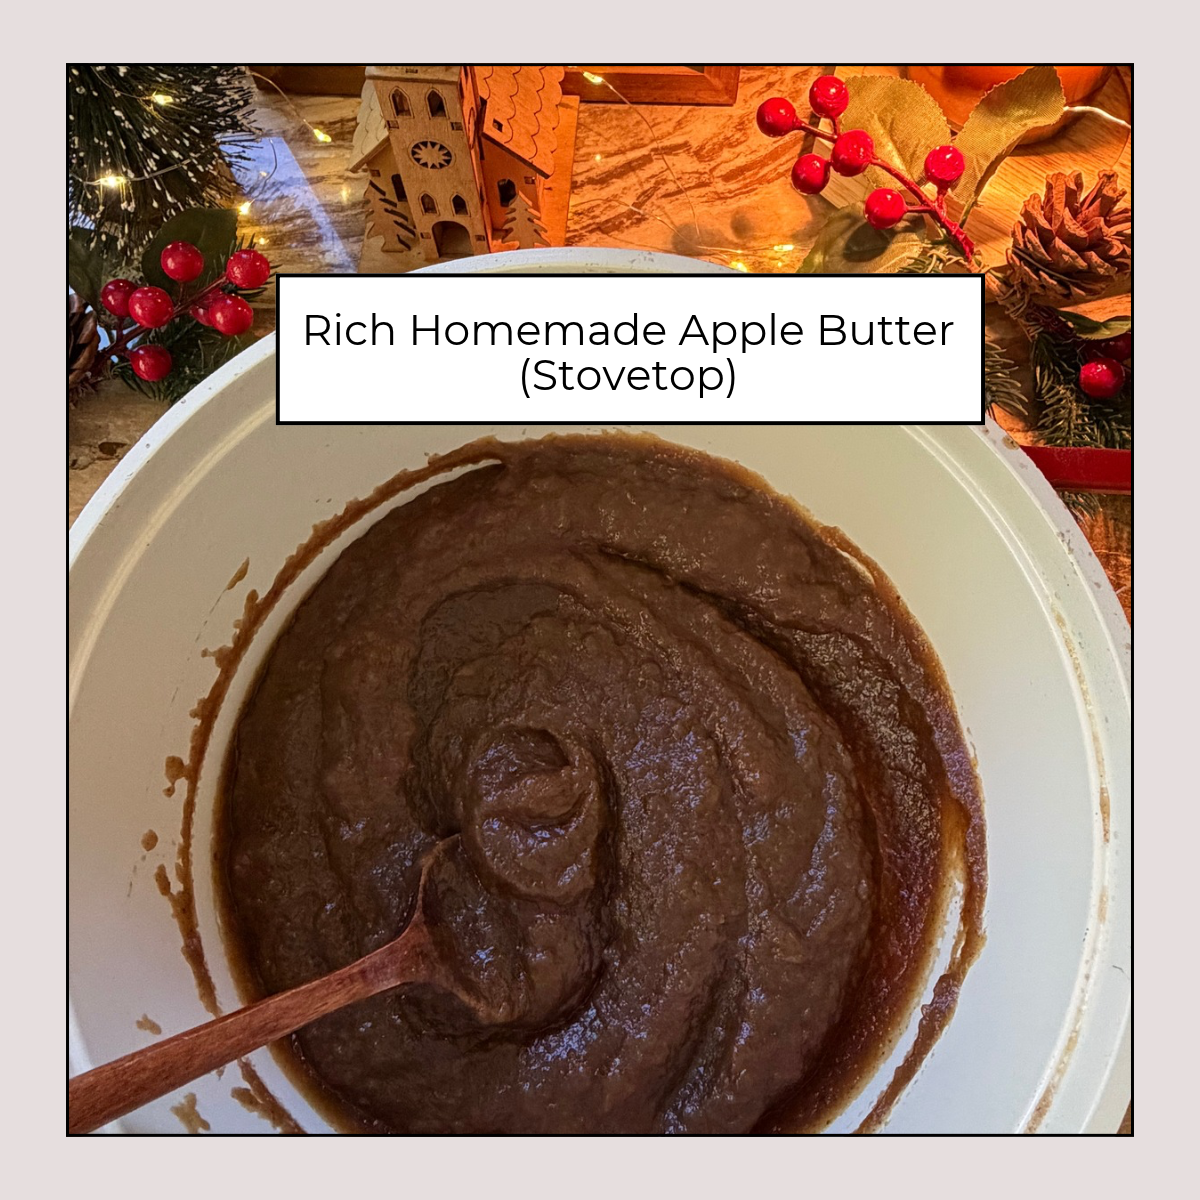
If you've never tried apple butter before, you might be wondering what exactly it is.
First, despite its name, apple butter doesn't actually contain butter!
It's made by slowly cooking apples until they become incredibly soft, then continuing to cook the puree until it thickens and develops a deep, rich flavor.
It's similar to applesauce, but the texture and taste are quite different.
While applesauce is usually lighter, fruitier, and sometimes a little chunky, apple butter is smooth, concentrated, and much thicker.
The long cooking time allows some of the water in the apples to evaporate, giving apple butter its spreadable consistency and deeper flavor.
Add a few warming spices, and you have something that tastes like autumn in a jar!
And while I love a good homemade applesauce, I have to say that apple butter is becoming another favorite in our home.
Why You'll Love This Homemade Apple Butter
There are so many reasons to make your own apple butter instead of buying it from the store.
- Made with simple ingredients. You only need apples, a few pantry spices, and a little sugar, depending on how sweet your apples are.
- You control the sweetness. Some apples are naturally sweet enough that you can reduce the added sugar.
- It's incredibly versatile. Use it as a spread, topping, baking ingredient, or sweet treat straight from the jar.
- It's a wonderful way to use extra apples. If you have more apples than you know what to do with, this is a delicious way to enjoy them.
- Your kitchen will smell amazing. Honestly, this is one of my favorite parts of making apple butter!
- It makes a lovely homemade gift. Spoon it into clean glass jars, add a cute label and ribbon, and you have a thoughtful gift for friends, neighbors, or family.
equipment for homemade apple butter
- Immersion blender or regular blender
- Pot with lid
- Spatula
Ingredients for Homemade Apple Butter
You don't need anything fancy to make apple butter. In fact, you probably already have most of these ingredients in your pantry.
Ingredients
- 4 pounds apples (about 1.8 kg), cored and chopped - Approximately 7-8 large apples.
- 1 cup brown sugar, or to taste
- 2 tablespoons mascovado sugar (optional)
- 1 cup water
- 1 tablespoon ground cinnamon
- ¼ teaspoon ground nutmeg
- ¼ teaspoon ground cloves
- 1 teaspoon vanilla extract or vanilla bean paste (optional)
- 1 tablespoon lemon juice
A Few Notes About the Ingredients
Apples: You can use almost any variety of apples for this recipe. Fuji, Gala, Golden Delicious, and Granny Smith are all good choices.
Brown sugar: This adds a lovely caramel-like sweetness, but you can adjust the amount depending on your preference. If you're using very sweet apples, start with less sugar and add more toward the end if needed.
Cinnamon: This is the main spice that gives apple butter that wonderful warm flavor.
Nutmeg and cloves: You only need a little of each. These spices are quite strong, so I recommend starting with the suggested amounts.
Vanilla extract: This is optional, but I love how it rounds out the flavor. I use my homemade vanilla extract whenever I have some on hand.
Lemon juice: A little acidity helps balance the sweetness and brighten the apple flavor.
Water: You only need enough liquid to help the apples soften without scorching during the first part of cooking.
How to Make Homemade Apple Butter on the Stovetop
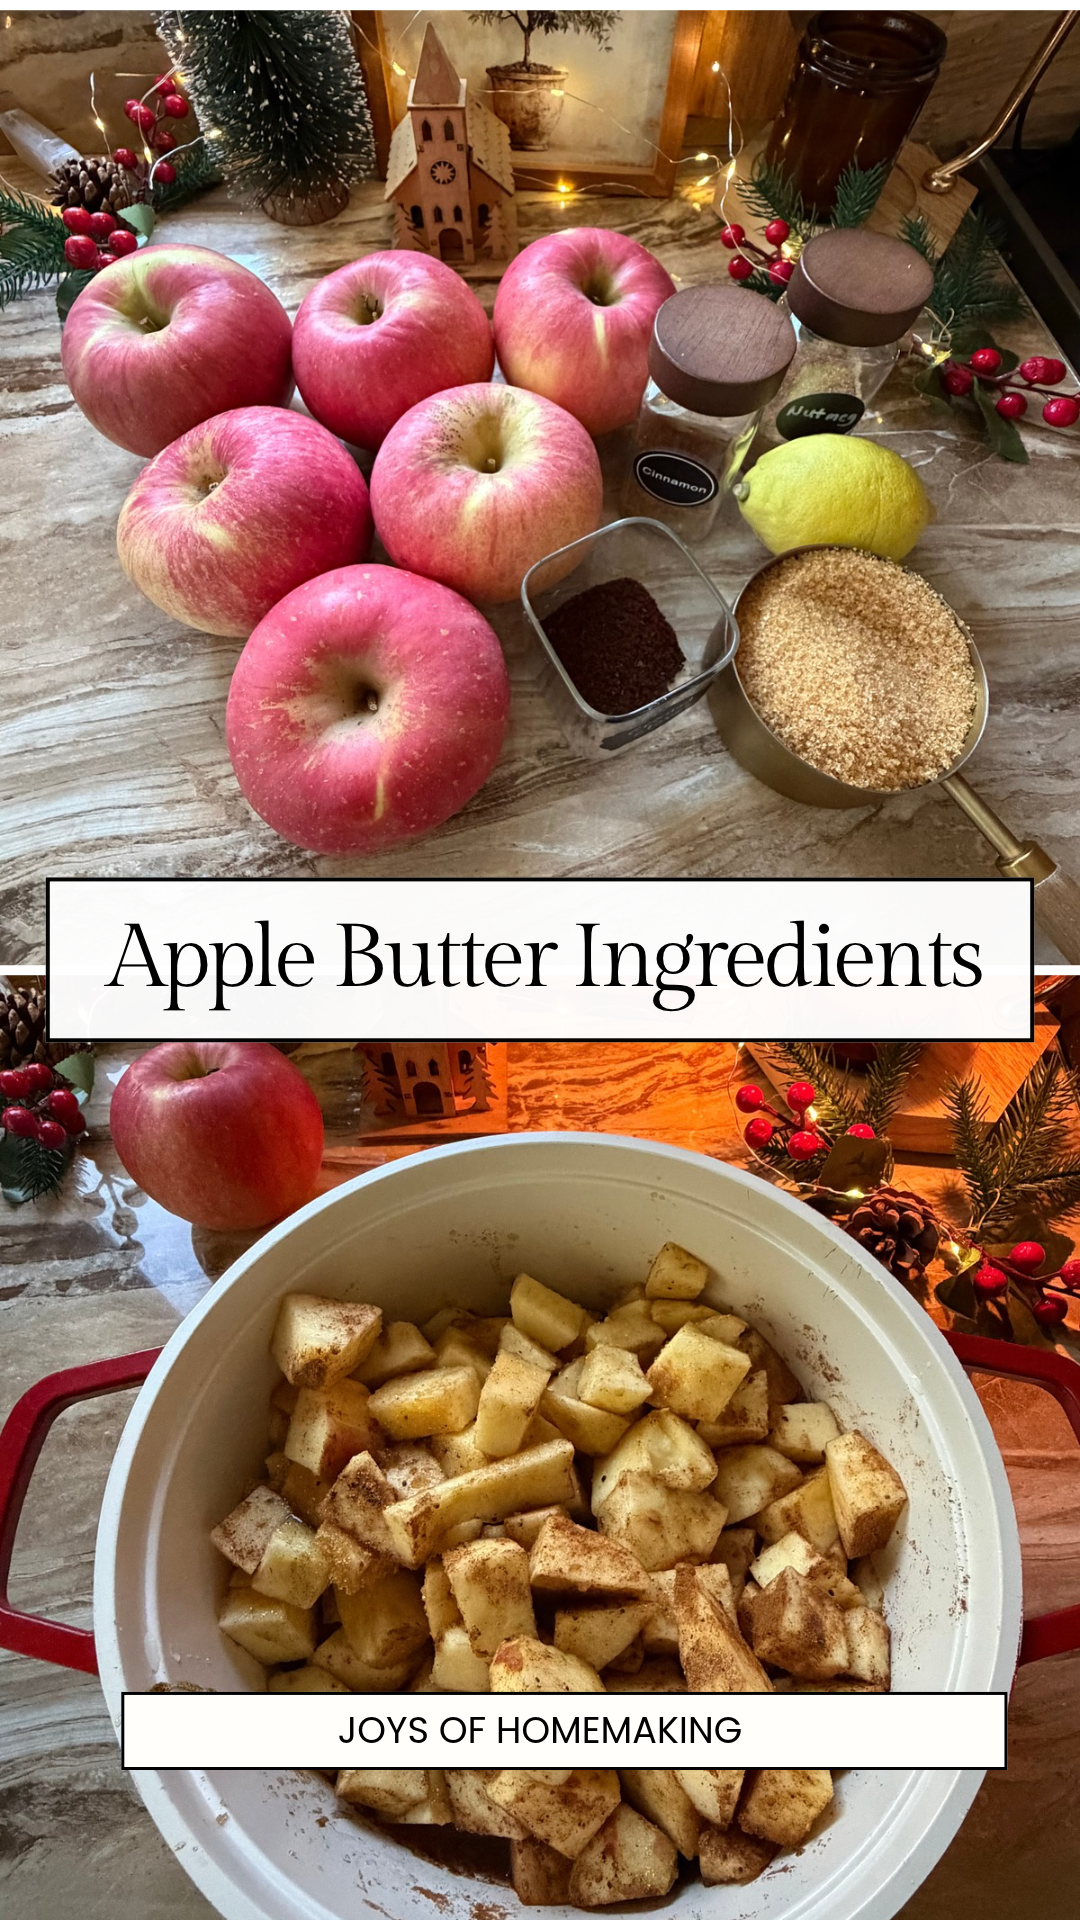
Making apple butter is very similar to making applesauce. The biggest difference is that you're going to cook it much longer to get that lovely thick consistency.
Step 1: Prepare Your Apples
Wash the apples thoroughly, remove the cores, and chop them into small pieces.
You can peel them or leave the skins on since everything will be blended later.
Step 2: Add the Sugar and Spices
Stir in the brown sugar, cinnamon, nutmeg, cloves, lemon juice, and salt.
Mix everything thoroughly.
Step 2: Cook the Apples
Place the chopped apples in a large, heavy-bottomed pot.
Add the water, cover the pot, and cook over medium-low heat for about 20–30 minutes, stirring occasionally, until the apples become very soft.
If the pot starts looking dry before the apples soften, add a small splash of water.
Step 3: Blend Until Smooth
Once the apples are soft, use an immersion blender to puree them directly in the pot.
You can also carefully transfer the cooked apples to a regular blender, working in batches.
Just make sure to handle the hot mixture carefully and follow your blender's instructions for blending hot foods.
Blend until the apples are completely smooth.
At this stage, you've basically made a spiced applesauce!
But we're not stopping here.
Step 5: Cook Until Thick and Rich
Return the pot to low heat and continue cooking the apple puree uncovered for approximately 1 ½ to 3 hours, stirring frequently.
The exact time will depend on the type of apples you're using, how much water they contain, and how wide your pot is.
As the mixture cooks, it will gradually darken and become thicker.
Make sure to stir more frequently as it thickens because apple butter can easily stick to the bottom of the pot.
If it starts bubbling and splattering, reduce the heat and use a splatter screen. You can also continue cooking half covered.
You'll know it's ready when it has a thick, smooth, spreadable consistency and holds its shape briefly when you drag a spoon across the bottom of the pot.
Another simple test is to spoon a little apple butter onto a chilled plate. If it holds together without a watery ring forming around it, it's probably thick enough.
Step 6: Add Vanilla and Adjust the Flavor
I usually just add the vanilla together with the spices but it's best to add it once the apple butter reaches your desired consistency.
Taste it and adjust the sweetness or spices if necessary.
Remember that apple butter will thicken a little more as it cools.
Step 7: Transfer to Jars
Allow the apple butter to cool slightly, then spoon it into clean glass jars suitable for refrigerator storage.
Let it cool promptly, then cover and refrigerate.
And that's it! You now have delicious homemade apple butter to enjoy.
Important: This is a refrigerator apple butter recipe, not a shelf-stable canning recipe. Simply filling jars while the apple butter is hot does not make them safe to store at room temperature.
Can You Make Apple Butter in a Slow Cooker?
Absolutely!
If you have a slow cooker, making apple butter is even more hands-off.
Place the chopped apples, liquid, sugar, spices, lemon juice, and salt into your slow cooker.
Cook on low for approximately 6–8 hours, or until the apples become very soft.
Blend until smooth, then continue cooking until the apple butter reaches your preferred consistency.
You can leave the lid slightly ajar during the final cooking stage if your slow cooker manufacturer permits it, allowing excess moisture to escape.
Stir occasionally, especially as the mixture becomes thicker.
The cooking time will vary depending on your slow cooker and the moisture content of the apples.
Add the vanilla extract at the end.
I love that both methods use the same simple ingredients, so you can choose whichever works best for your day.
How to Use Homemade Apple Butter
One of the reasons I love this recipe so much is that there are so many ways to enjoy it.
Here are some of my favorites:
- Spread it on homemade bread or toast. This is probably the simplest way to enjoy apple butter, especially on warm, freshly baked bread.
- Spoon it over pancakes or waffles. It's a delicious alternative to syrup.
- Use it as a filling for baked treats. Try it in turnovers, hand pies, thumbprint cookies, or as a flavorful addition to an apple pie filling.
- Swirl it into yogurt or homemade ice cream. Add a spoonful to plain homemade yogurt with some granola for a delicious snack.
- Spread it over biscuits or dinner rolls. A warm, buttery biscuit with apple butter is such a wonderful combination.
- Add it to oatmeal. It brings natural apple flavor and warming spices to an otherwise simple bowl of oatmeal.
- Enjoy it straight from the jar. Yes, it's that good!
I particularly love it on toast and pancakes. But honestly, this apple butter is delicious enough to eat on its own.
Homemade Apple Butter Makes a Wonderful Holiday Gift
Since we finished our three jars so quickly, I'm already planning to make more.
And with the holidays coming up, I think homemade apple butter would make such a lovely gift.
I've been making more of our everyday essentials from scratch, but lately I've also been thinking about how these little homemaking skills can become a way of giving to others.
For gifting, I love the idea of using small glass jars, adding a simple handwritten label, and tying a little ribbon or twine around the lid.
You could even pair a jar of apple butter with a loaf of homemade bread, a batch of biscuits, or a small breakfast gift basket.
How cute would that be?
Just remember that homemade apple butter made using this recipe needs to stay refrigerated. If you're giving it away, keep it chilled during transport, let the recipient know it must be refrigerated, and include a storage label.
If you want to make shelf-stable apple butter for holiday gift baskets, use a current, scientifically tested apple butter canning recipe and follow its ingredients, jar sizes, processing method, and altitude adjustments exactly.
How to Store Homemade Apple Butter
Since this recipe isn't designed for canning, I store my apple butter in the refrigerator.
Refrigerator: Store in clean, covered containers in the refrigerator at 40°F (4°C) or below. For best quality and a cautious homemade storage window, use within about 7–10 days.
Freezer: Apple butter also freezes well! Transfer it to freezer-safe containers, leaving enough room for expansion. Freeze for up to 3 months for best quality. Thaw in the refrigerator before using.
Always use a clean spoon when serving to help prevent contamination.
And if you make a big batch like I did, freezing a portion is a wonderful way to enjoy your homemade apple butter later without worrying about finishing everything right away.
Frequently Asked Questions
Do I need to peel apples before making apple butter?
No, peeling is optional. Apple skins soften during cooking and can be blended into the puree. However, peeling the apples can help produce an extra-smooth texture, especially if you're not using a high-powered blender.
What's the difference between applesauce and apple butter?
Applesauce is cooked just until the apples soften and can be mashed or blended. Apple butter is cooked much longer, allowing moisture to evaporate and the flavor to become more concentrated.
This gives apple butter its thick texture and deeper color.
Can I make apple butter without sugar?
Yes! If your apples are naturally sweet, you can omit the added sugar or reduce it considerably.
Just keep in mind that the flavor will depend on the apples you use. You can always taste the mixture toward the end and adjust it.
Why is my apple butter too runny?
It probably needs more cooking time.
Keep simmering it over low heat, uncovered, until more moisture evaporates. Remember to stir frequently to prevent burning.
Can I use apple butter in apple pie?
Definitely! Apple butter is wonderful as a flavor booster in apple pie.
I recommend spreading a thin layer over the bottom crust or mixing a few spoonfuls into your regular apple pie filling for extra apple flavor and spice.
Just remember that apple butter is concentrated and often sweetened, so you might want to reduce the added sugar in your pie filling.
Looking for More Homemade Ideas?
Browse through the following and get inspired!

A Little More Homemade Goodness
I started making homemade apple butter simply because I wanted to try something different from the applesauce my son loves so much.
And now, after going through three jars, I think it's safe to say this recipe is going to become another favorite in our home.
If you've never made apple butter before, I hope you'll give this recipe a try.
And if you're looking for simple, meaningful homemade gifts this holiday season, I think a little jar of homemade apple butter would be a wonderful place to start.
For more ideas, be sure to check out my other homemade pantry staples, from-scratch recipes, and handmade gift ideas here at Joys of Homemaking.
Happy homemaking!
Ingredients
Equipment
Method
- Step 1: Prepare Your ApplesWash the apples thoroughly, remove the cores, and chop them into small pieces.You can peel them or leave the skins on since everything will be blended later.
- Step 2: Add the Sugar and SpicesStir in the brown sugar, cinnamon, nutmeg, cloves, lemon juice, and salt. Mix everything thoroughly.
- Step 2: Cook the ApplesPlace the chopped apples in a large, heavy-bottomed pot.Add the water, cover the pot, and cook over medium-low heat for about 20–30 minutes, stirring occasionally, until the apples become very soft. If the pot starts looking dry before the apples soften, add a small splash of water.
- Step 3: Blend Until SmoothOnce the apples are soft, use an immersion blender to puree them directly in the pot. You can also carefully transfer the cooked apples to a regular blender, working in batches.Just make sure to handle the hot mixture carefully and follow your blender's instructions for blending hot foods.Blend until the apples are completely smooth.At this stage, you've basically made a spiced applesauce! But we're not stopping here.
- Step 5: Cook Until Thick and RichReturn the pot to low heat and continue cooking the apple puree uncovered for approximately 1 ½ to 3 hours, stirring frequently.The exact time will depend on the type of apples you're using, how much water they contain, and how wide your pot is.As the mixture cooks, it will gradually darken and become thicker. Make sure to stir more frequently as it thickens because apple butter can easily stick to the bottom of the pot. If it starts bubbling and splattering, reduce the heat and use a splatter screen. You can also continue cooking half covered.You'll know it's ready when it has a thick, smooth, spreadable consistency and holds its shape briefly when you drag a spoon across the bottom of the pot.