Hello, homemaker!
I love having wood in our home, whether it is furniture, little decorative accents, cutting boards, bowls, or the wooden utensils I use every day in the kitchen.
There is just something about wood that makes a home feel warm and lived-in. And unlike plastic, a good wooden spoon, cutting board, or serving bowl can last for years when it is properly cared for.
But because I use my wooden kitchenware so often, I started noticing that some pieces would eventually look dry and dull. Wooden spoons can start feeling rough, and cutting boards lose that rich, conditioned look they had when they were new.
That is where homemade wood butter comes in.
Wood butter is a simple conditioning balm made with just two ingredients: food-grade mineral oil and beeswax. I rub it onto my unfinished wooden utensils, cutting boards, and bowls to help condition the wood and keep it from becoming overly dry.
And like many of the homemade things I have been learning to make around our home, it is surprisingly easy.
What Is Wood Butter?
Wood butter is basically a thick wood-conditioning balm.
Food-grade mineral oil penetrates the wood and helps condition it, while beeswax gives the mixture a thicker consistency and leaves a light protective coating on the surface.
You may also hear it called:
- cutting board cream
- butcher block conditioner
- board butter
- spoon butter
- wood conditioner
Whatever you call it, the idea is the same: give unfinished wooden kitchenware a little extra care when it begins looking dry.
I especially like using it on wooden spoons because mine get washed constantly. After a while, the grain can start looking pale and feeling rough. A little wood butter makes such a difference.
Homemade Wood Butter Ingredients
You only need two ingredients.
Food-Grade Mineral Oil
Make sure you are using food-grade mineral oil intended for cutting boards, butcher blocks, or kitchenware. You can buy food-grade mineral oil here.
Mineral oil is commonly used for wooden kitchen utensils because it does not become rancid the way many cooking oils can.
I would avoid using regular olive oil, vegetable oil, or other cooking oils for this project. Although it may be tempting to use something already sitting in your pantry, many cooking oils can oxidize over time and develop an unpleasant smell.
Beeswax
Beeswax thickens the mineral oil into a soft balm and adds a light protective coating to the surface of the wood.
I already use beeswax for several homemade projects around our house, such as beeswax wrap and peppermint salve, so this is another nice way to put it to use.
You can use beeswax pellets or finely chopped beeswax.
Easy Homemade Wood Butter Recipe
Ingredients
- 6 tablespoons food-grade mineral oil
- 2 tablespoon beeswax pellets
This is an easy 3 parts mineral oil to 1 part beeswax ratio.
You can easily make a larger batch while keeping the same ratio.
Supplies
You will also need:
- A double boiler. If you don't have a double boiler, use a small heat-safe glass jar or measuring cup ( I used this mason jar) and a small saucepan.
- Spoon or stirrer
- Small clean jar with lid for storage (This jelly jars is perfect.)
How to Make Wood Butter
1. Combine the Mineral Oil and Beeswax
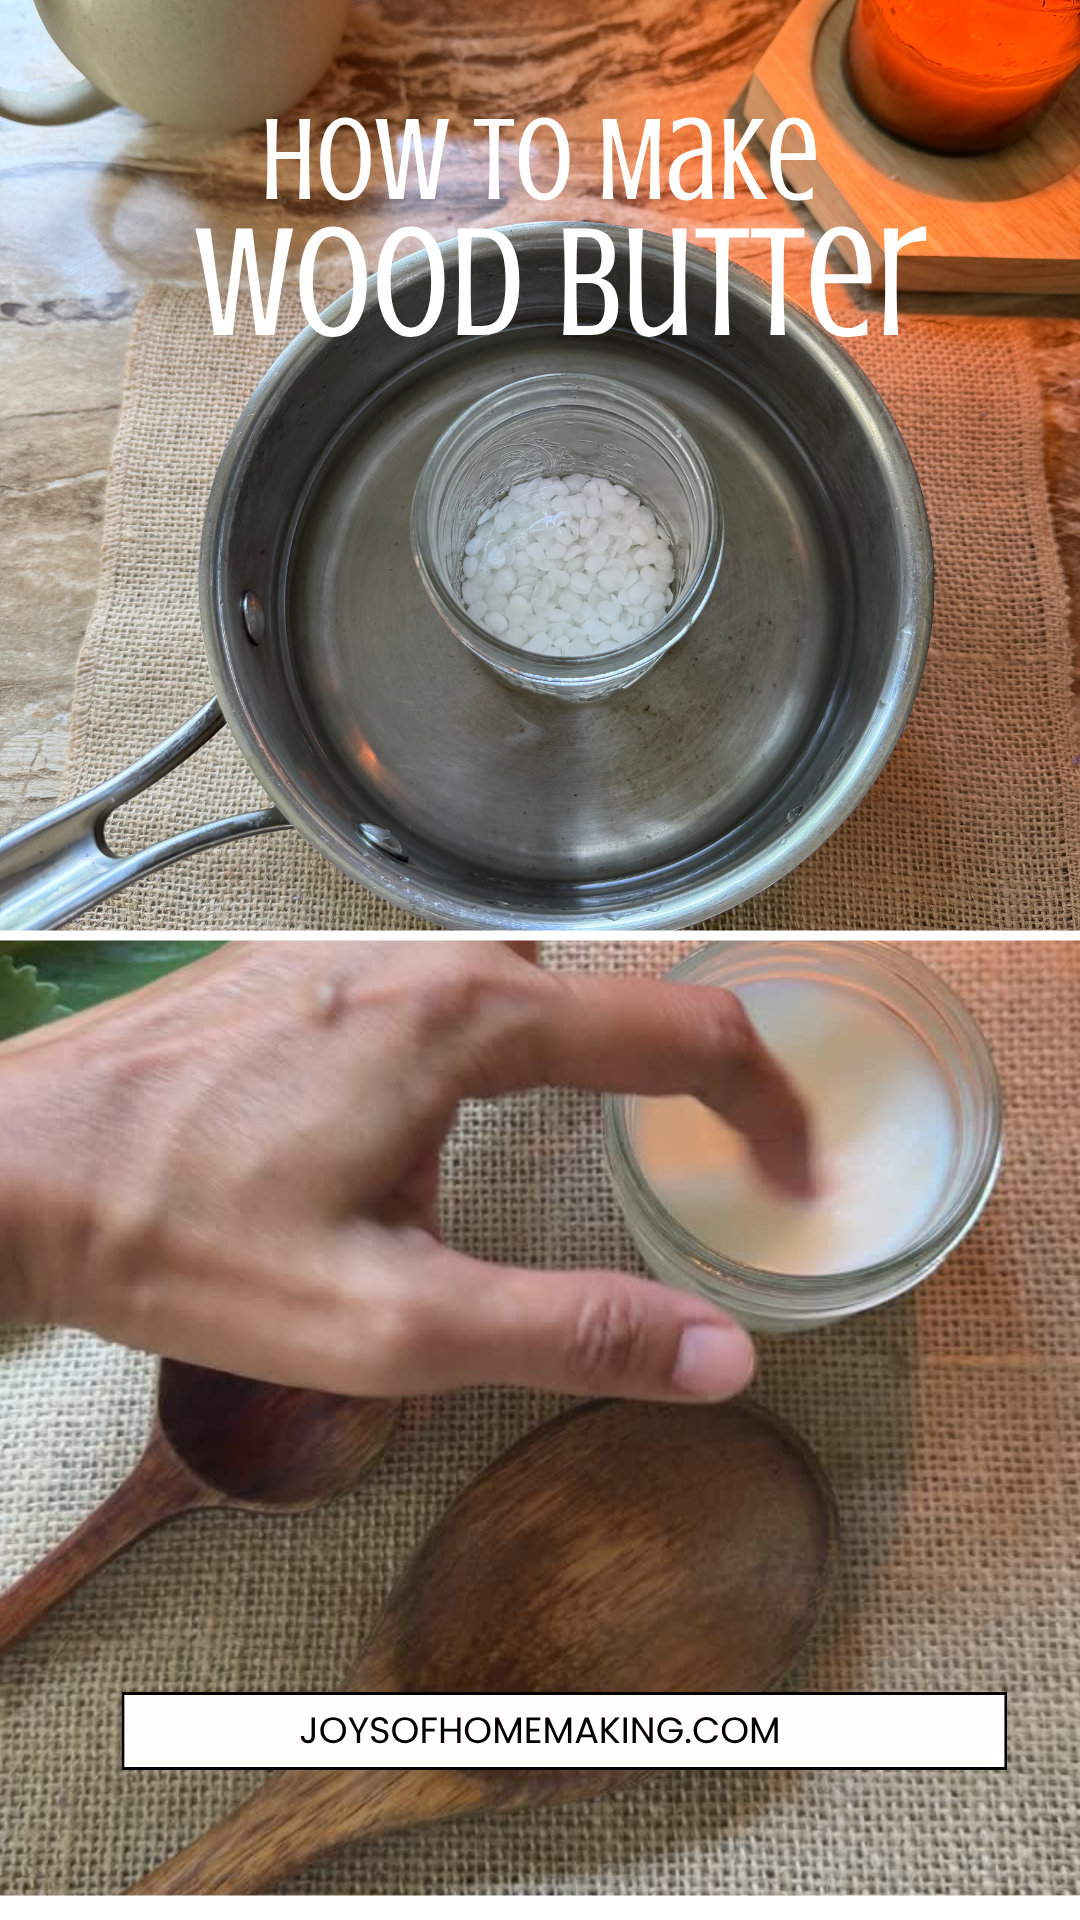
Place the food-grade mineral oil and beeswax into a small heat-safe glass measuring cup or jar.
2. Create a Double Boiler
Add a little water to a saucepan and place the glass container inside.
Heat the water gently over low to medium-low heat.
You do not need a hard boil. You simply want enough gentle heat to melt the beeswax.
3. Melt the Beeswax
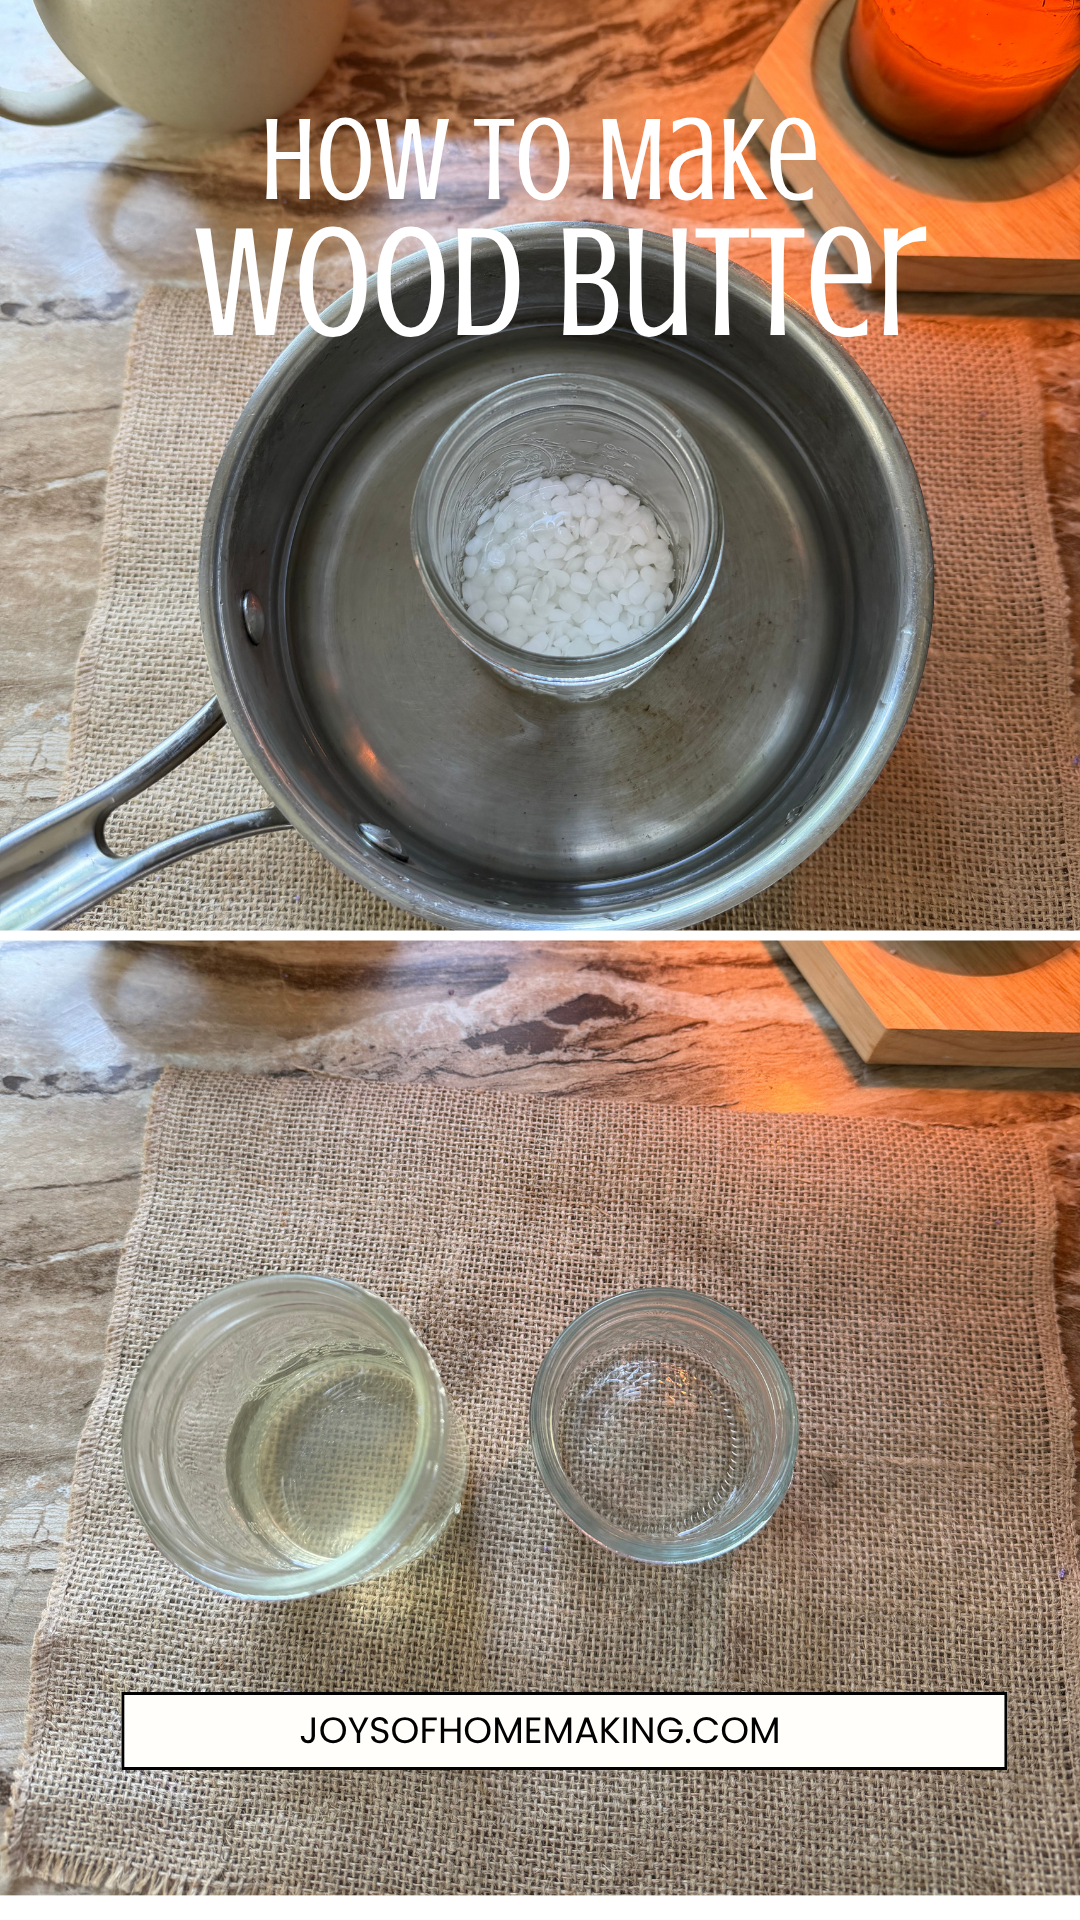
Allow the mixture to warm until the beeswax has completely melted into the mineral oil.
Stir occasionally.
Once everything is melted and the mixture looks clear and completely combined, remove it from the heat.
Be careful when handling the container because it will be hot.
4. Pour Into a Jar
Carefully pour the melted wood butter into a small clean jar.
Leave the lid off while it cools.
As the beeswax cools, the mixture will gradually thicken into a soft balm.
Once it has completely cooled, put the lid on.
That's it.
Your homemade wood butter is ready to use.
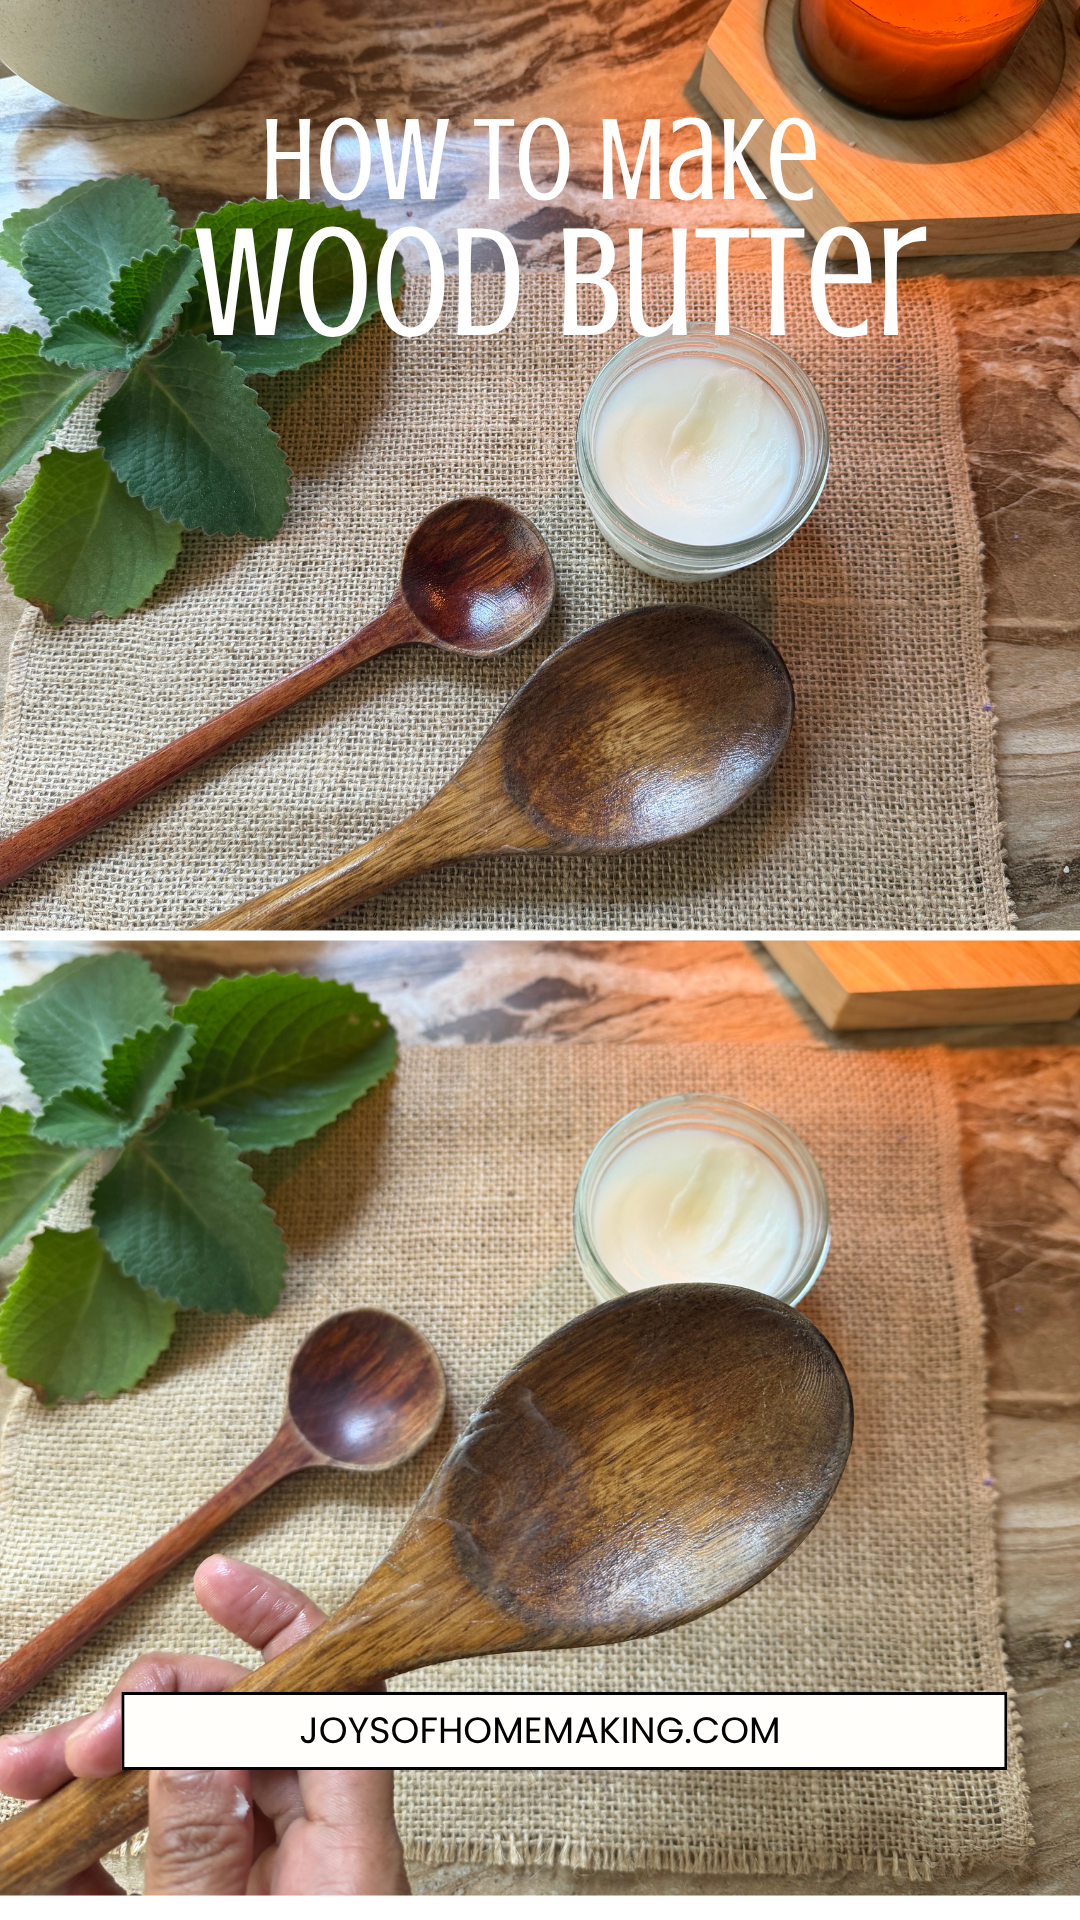
How to Use Wood Butter
Make sure your wooden utensil, cutting board, or bowl is clean and completely dry before conditioning it.
Then:
- Scoop out a small amount of wood butter with a clean cloth or paper towel.
- Rub it into the wood, following the direction of the grain.
- Apply a thin, even layer over the entire unfinished wooden surface.
- Allow the conditioner to sit and absorb. I like leaving it for several hours or overnight.
- Buff away any excess with a clean, dry cloth.
The wood usually looks richer and less dry afterward.
You do not need a thick coating. A little goes a long way.
What Can You Use Wood Butter On?
I keep mine primarily for unfinished wooden kitchen items such as:
- Wooden spoons
- Wooden spatulas
- Cutting boards
- Butcher blocks
- Wooden serving boards
- Salad bowls
- Wooden rolling pins
- Wooden handles
- Wooden trays
- Charcuterie boards
I would not automatically apply it to every piece of wooden furniture in the house. Furniture can have varnish, lacquer, polyurethane, paint, or other finishes that require different care.
Wood butter is best suited for unfinished or oil-finished wood where an oil-and-wax conditioner is appropriate.
How Often Should You Condition Wooden Utensils?
There really is no strict schedule.
I simply look at the wood.
If my wooden spoons start looking pale, rough, or unusually dry, I know it is probably time to condition them again.
Cutting boards that are washed frequently may need conditioning more often than decorative serving boards that only come out occasionally.
Your climate can make a difference too.
The easiest rule is simply to pay attention to your wooden pieces and give them a little care when they start looking thirsty.
Can You Use Coconut Oil Instead?
You may see wood butter recipes online made with coconut oil.
For wooden kitchenware, I prefer food-grade mineral oil because it is stable and does not become rancid.
Most ordinary cooking oils are not my first choice for conditioning wooden utensils for that reason.
If you want to avoid mineral oil, look specifically for an oil intended and tested for conditioning food-contact wooden surfaces rather than automatically substituting whatever cooking oil you have in the pantry.
Tips for Caring for Wooden Kitchen Utensils
Wooden utensils really are simple to maintain, but a few habits can help them last longer.
Do Not Leave Them Soaking in Water
Wood absorbs moisture.
Leaving wooden utensils or cutting boards sitting in the sink for long periods can cause swelling, cracking, or warping.
Hand Wash Them
I hand wash my wooden utensils and don't use a dishwasher because I also don't have one.
Dishwashers expose wood to prolonged moisture and high heat, which can be very harsh on it.
Let Them Dry Completely
After washing, allow wooden utensils and cutting boards to dry thoroughly before storing them.
For cutting boards, standing them upright can help air circulate around both sides.
Condition Them When They Look Dry
You do not need to obsess over maintaining wood.
Just keep your little jar of wood butter somewhere convenient and apply some whenever your cutting boards or utensils begin looking dry.
How to Store Homemade Wood Butter
Store your wood butter in a clean jar with a lid in a cool, dry place away from excessive heat.
Because this recipe contains mineral oil and beeswax rather than water, there is no need to add a preservative to the mixture.
Always use clean hands or a clean cloth when taking product from the jar.
If the balm feels too firm for your liking, you can melt it again and add a little more mineral oil.
If you want it firmer, melt it again and add a little more beeswax.
That is one of the nice things about making it yourself—you can adjust the texture until it is exactly how you like it.
Final Thoughts
Homemade wood butter is a simple way to care for wooden spoons, cutting boards, bowls, and other unfinished wooden kitchen items. With just food-grade mineral oil and beeswax, you can make a small batch in minutes and keep it on hand whenever your wood starts looking dry.
If you enjoy simple homemade projects like this, be sure to check out my other homemaking projects here on the blog. I share from-scratch recipes, homemade household essentials, natural DIYs, and practical projects you can make at home.