If you’ve found this post, then perhaps you’re looking for an alternative to cling wrap or one-use containers. You’ve come to the right place!
Recently, as part of our homeschooling, I taught my boy how important it is to limit our use of plastics in everyday life. We talked about where plastic often ends up, how frequently it’s used just once, and how small changes at home can truly add up over time. Then we did something hands-on together—I showed him how to make beeswax wraps so we can slowly replace cling wrap and other one-use containers in our kitchen with these simple, reusable alternatives.
I’ve always had a thing for beeswax wraps. A few years back, when I opened my Amazon store, they were actually one of my top product ideas. At the time, I was using a research tool that showed people were constantly searching for beeswax wraps. The demand was clearly there.
But I was planning to order them from China and ship them to the U.S., and something about that just didn’t sit right with me. I didn’t want to sell something marketed as eco-friendly while outsourcing production overseas. It felt contradictory to the very reason people wanted them in the first place.
Looking back, I’m really glad I didn’t go that route—because it turns out beeswax wraps are so incredibly easy to make at home! And now, they’ve become not just a kitchen staple for us, but a meaningful lesson in stewardship, simplicity, and intentional homemaking.
What Are Beeswax Wraps?
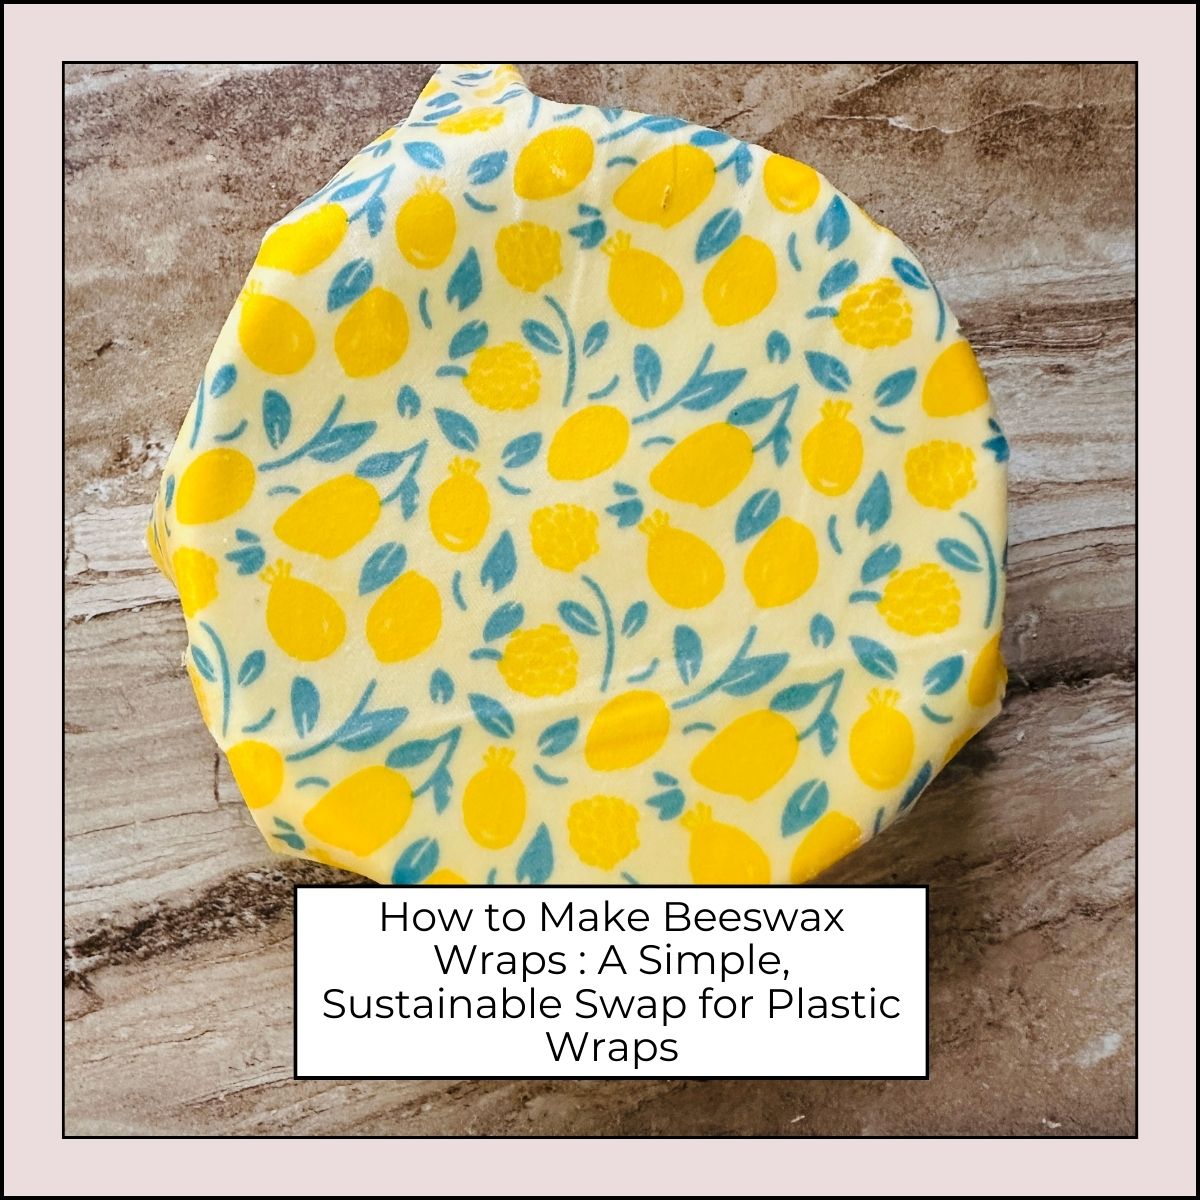
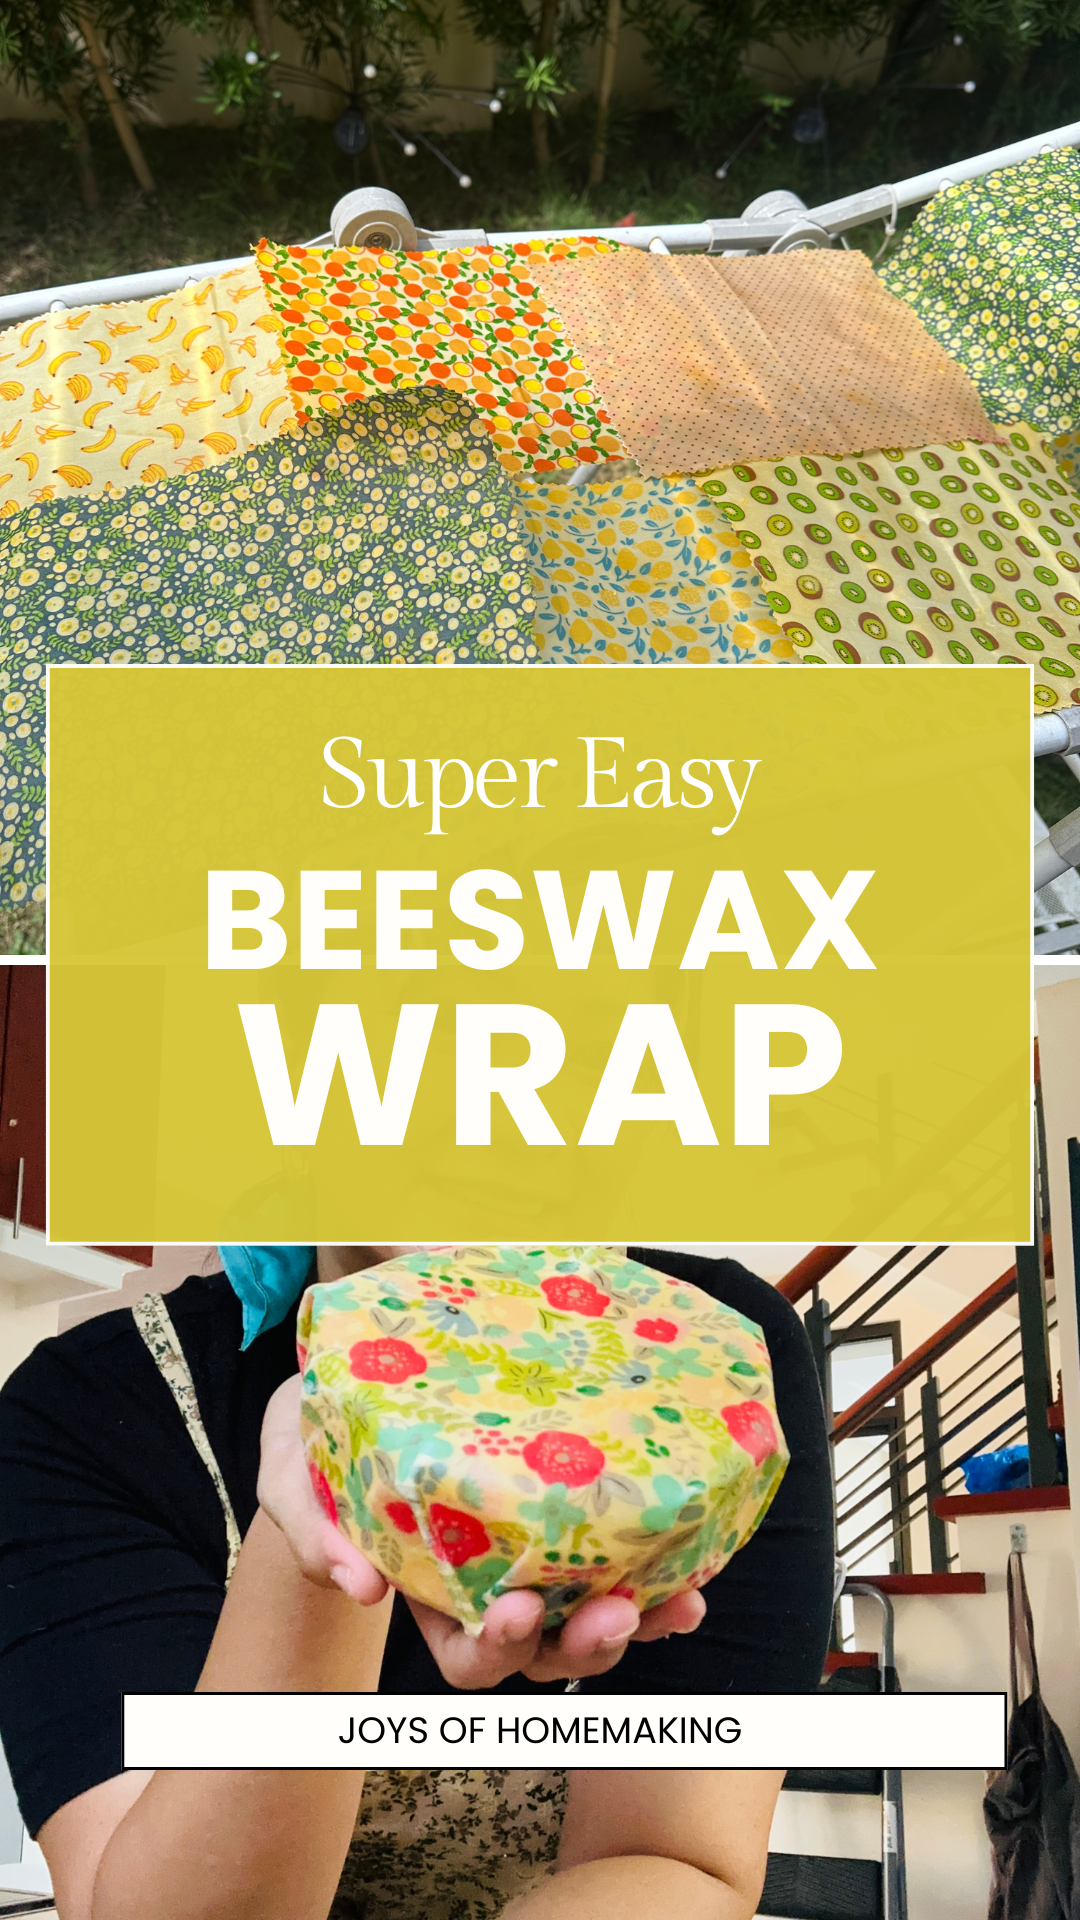
Beeswax wraps are reusable food wraps made from fabric coated in beeswax (and sometimes a little oil or resin). They soften with the warmth of your hands, allowing you to mold them around bowls, fruit, cheese, bread, and more.
Think of them as a natural replacement for:
- Plastic wrap
- One-time-use bags
- Foil (in certain situations)
With proper care, a beeswax wrap can last about six months—sometimes even longer. And when it starts to wear off, you don’t need to throw it away. You can simply recoat the cloth with beeswax and keep using it.
Why I Love Beeswax Wraps
Beeswax wraps are a practical and reusable alternative to disposable kitchen products like plastic wrap and single-use bags. They’re easy to make, simple to use, and fit naturally into a more intentional, low-waste home.
For homesteaders and homemakers, beeswax wraps make sense because they are:
- Eco-friendly – Less plastic waste in your kitchen
- Made from natural ingredients
- Reusable and long-lasting
- Beautiful in a farmhouse kitchen
- Budget-friendly when DIYed
And they make thoughtful, practical gifts too!
What You’ll Need to Make Beeswax Wraps
You don’t need much to get started—just a few simple supplies.
Supplies:
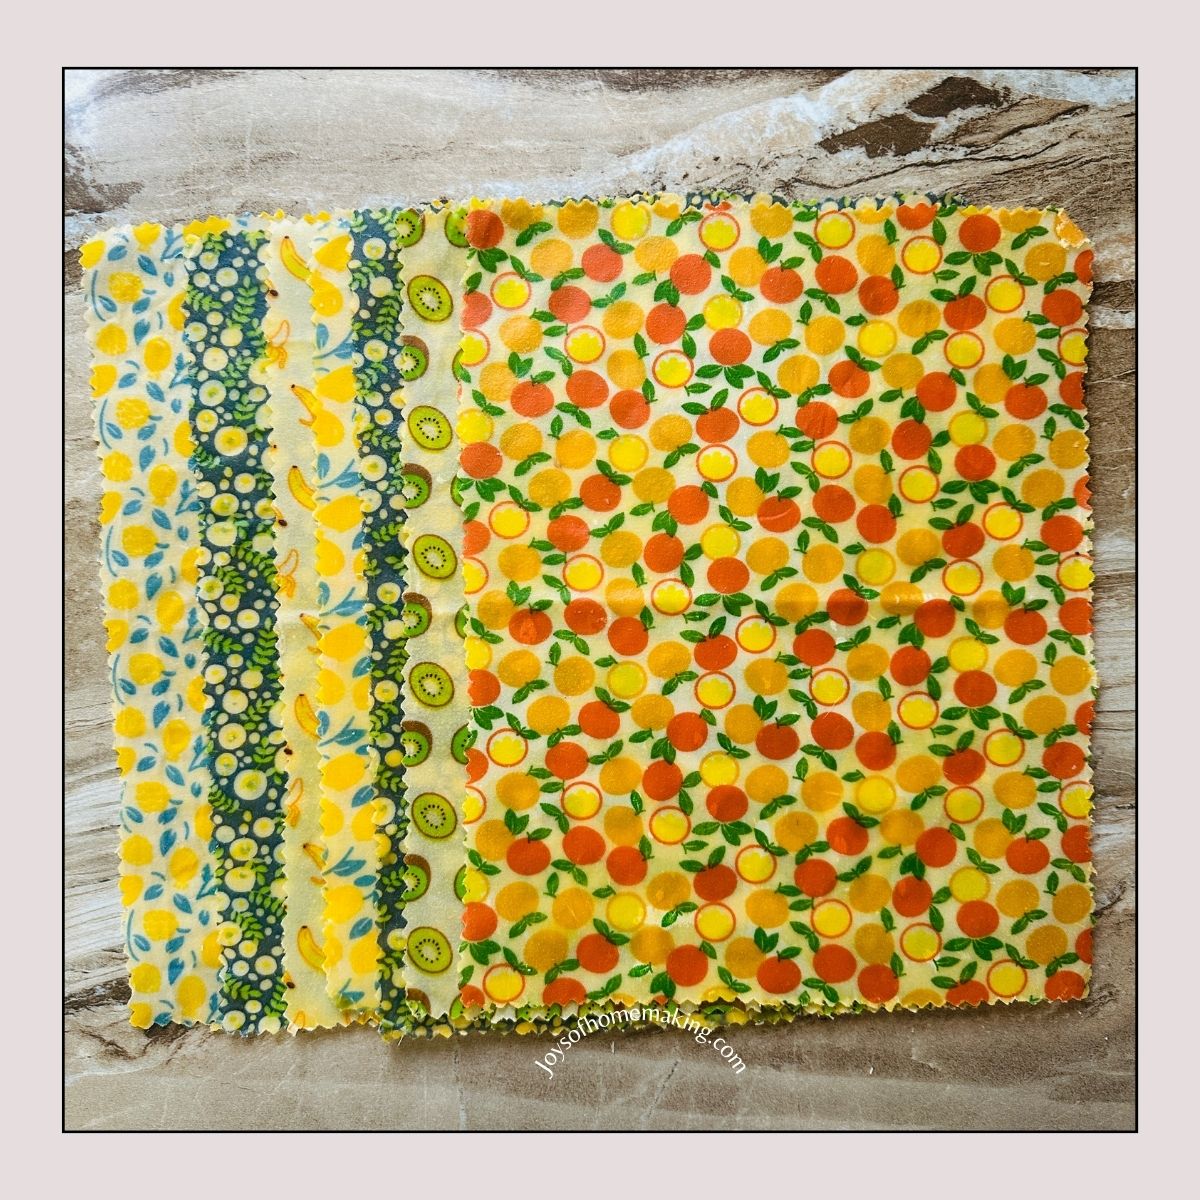
- 100% cotton fabric (quilting cotton works best)
- Beeswax (pellets or a grated block)
- Parchment paper
- Baking sheet
- Scissors or pinking shears
- Paintbrush or small paint rollers (optional but helpful)
Optional Add-Ins:
- A small amount of jojoba oil for flexibility
- A pinch of pine resin for extra stickiness
For beginners, plain beeswax works beautifully. Just keep in mind that beeswax on its own isn’t quite as sticky as wraps with pine resin. I personally love using a simple mix of beeswax and a little jojoba oil—it works perfectly well for our needs. And on the occasions when I want things extra airtight, I’ll simply use an elastic band to secure the wrap. Simple, practical, beginners, and no fuss.
How to Make Beeswax Wraps (Easy Oven Method)
This is the simplest method and perfect if it’s your first time.
1. Cut Your Fabric
Wash and dry your fabric first. Cut into squares or rectangles:
- Small: 7×7 inches
- Medium: 10×10 inches
- Large: 13×13 inches
2. Prep Your Baking Sheet
Line a baking sheet with parchment paper and lay the fabric flat.
3. Melt the Beeswax
I usually melt the beeswax first using a double boiler. This is helpful if you're using block beeswax and you don't want to grate it. Melting the beeswax first also cuts down the baking time.
Once melted, I poured some melted beeswax over the cloth on the baking sheet.
If using beeswax pellets, simply sprinkle beeswax evenly over the fabric. A light layer is all you need.
4. Place in the Oven
Place the tray in the oven at 225°F (105°C) for 5 minutes, until fully melted. Since I melt the beeswax in the double boiler first, I only bake the cloth for 1 minute or less, until the cloth looks evenly coated with beeswax.
5. Spread Evenly
Remove carefully and use a brush to spread the wax across the fabric.
6. Cool and Set
Lift the wrap by the corners and wave it gently for about a few seconds. It will harden quickly.
That’s it—you’ve made your own beeswax wrap!
7. Trim Edges (Optional)
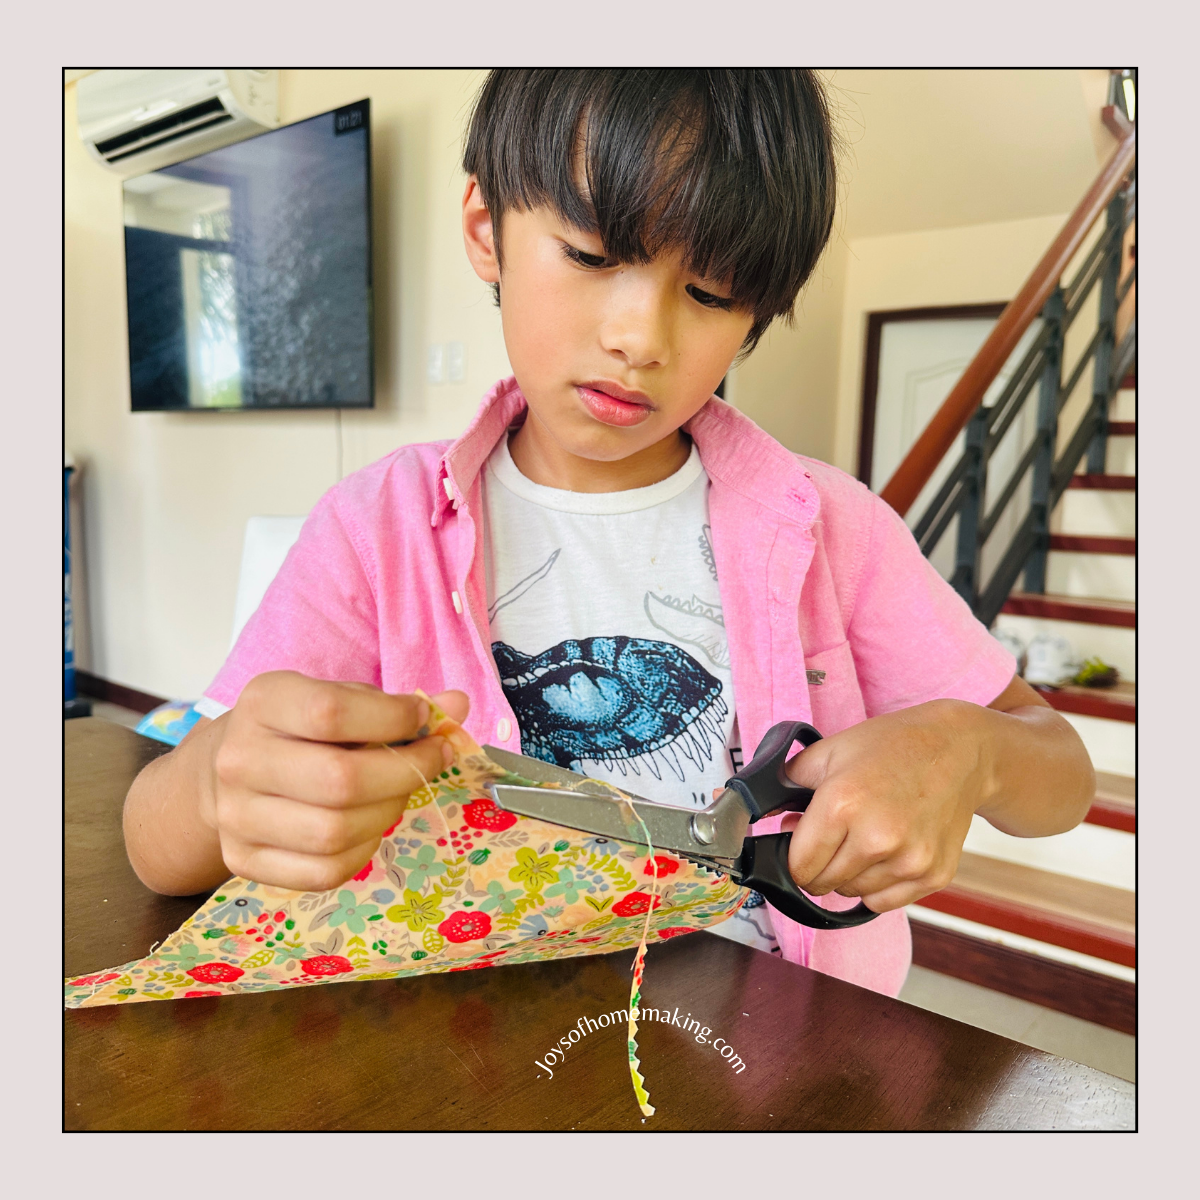
Trim the edges using pinking shears to prevent the fabric from fraying.
You can also trim the edges before waxing, but I find it easier to do it afterward, once the cloth has stiffened. At that point, it cuts almost like cardboard and is much easier to work with.
How to Use Beeswax Wraps
Beeswax wraps are wonderfully simple to use:
- Wrap cheese, fruit, or bread
- Cover bowls and containers
- Fold into snack pouches
- Wrap sandwiches (best for same-day use)
The warmth of your hands activates the wax, helping it cling naturally. If I’m working with a warm pot on the stove, I’ll place the wrap on top of the lid for a few seconds—just enough to soften it and make it easier to work with.
How to Clean and Care for Beeswax Wraps
To keep them lasting as long as possible:
- Wash in cool water
- Use mild dish soap
- Air dry
- Avoid heat (no hot water, microwaves, or dishwashers)
When they lose their stickiness, simply refresh them in the oven with a bit more beeswax!