Hello, homemaker!
I really can’t believe I’m actually making soap here at home now—using recipes I formulated myself!
When I first started making soap, I did what most beginners do: I searched online, found a recipe that looked good, and followed it exactly. Some of those recipes turned out beautifully. Others… not so much.
But what bothered me more than the occasional failed batch was that I didn’t really understand why one recipe worked and another didn’t.
I wanted to know what each oil was doing. I wanted to understand how changing the amount of coconut oil would change the soap, or what would happen if I used more olive oil. Most importantly, I wanted to be able to create soaps that actually worked for our home instead of always depending on somebody else’s recipe.
So I started learning how to formulate soap myself.
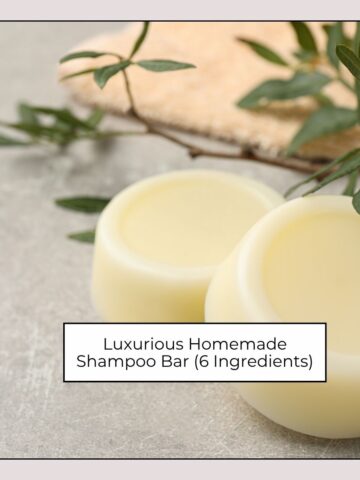
And after making my own luxurious homemade shampoo bars, I decided to tackle something much more practical:
dish soap bars!
Honestly, these may be one of my favorite homemade swaps yet.
They’re simple, inexpensive, unscented, and there isn’t a long list of fancy soapmaking oils to buy. This recipe uses just:
- Coconut oil
- Olive oil
- Lye
And, of course, we need water to dissolve the lye—but I’m not counting water as one of our three main ingredients!
If you’re just beginning to make cold-process soap and simply want a straightforward homemade dish soap bar recipe that works, this is a great little batch to try.
Why Make Solid Dish Soap?
There is something wonderfully old-fashioned about keeping a solid bar of soap beside the kitchen sink.
No plastic squeeze bottle. No brightly colored liquid. No complicated fragrance blend.
Just a simple bar of homemade soap sitting in a little dish beside my scrub brush.
It fits perfectly with the slower, more intentional kind of homemaking I’ve been trying to embrace.
And because dish soap gets used constantly in our house, making it myself is one of those small homemaking skills that actually feels useful.
Solid dish soap is also easy to use. You can rub a wet dish brush directly over the bar, work up a lather, and start scrubbing.
When you’re finished, rinse your brush and allow the soap bar to dry between uses.
Simple!
Why Coconut Oil and Olive Oil?
One of the things I love about learning to formulate soap is realizing that every oil brings something different to the finished bar.
For this dish soap, I wanted to keep things as simple as possible.
Coconut Oil
Coconut oil is the workhorse in this recipe.
In soap, coconut oil creates a hard bar with plenty of bubbly lather and strong cleansing properties. SoapCalc's soapmaking reference lists coconut oil as particularly high in the fatty acids associated with cleansing and bubbly lather.
That can be too cleansing for a body soap when used at very high percentages, but we aren't formulating a luxurious facial or bath bar here.
We're trying to wash bacon grease off a frying pan.
So I intentionally use a much higher percentage of coconut oil than I would normally use in a soap meant for my skin.
Olive Oil
Olive oil balances the coconut oil and makes up the remaining portion of the recipe.
It contributes a gentler, more conditioning type of soap and makes this a wonderfully simple two-oil formula.
No specialty oils.
No butters.
No fragrance oils.
No colorants.
Just two basic oils and lye.
Before You Start: Please Read This About Lye
If this is your first batch of homemade cold-process soap, don't let the simplicity of this recipe make you casual about the lye.
Sodium hydroxide—commonly called lye—is caustic before it reacts with the oils and can cause serious burns to your skin and eyes. CDC/NIOSH guidance identifies sodium hydroxide as corrosive and capable of causing skin and eye burns.
Wear:
- Safety goggles
- Lye-resistant gloves
- Long sleeves
- Closed-toe shoes
Work in a well-ventilated area away from children and pets.
Always add the lye to the water—never pour water onto the lye.
And never use aluminum utensils or containers when making lye soap because sodium hydroxide can react with aluminum. Stainless steel, silicone, and appropriately rated lye-safe plastic are better choices.
Once you understand the safety rules, soapmaking really isn't scary. But lye is one ingredient where being careful and precise matters.
Easy Homemade Dish Soap Bar Recipe
This is a small-batch cold-process soap recipe, which is exactly what I recommend when you're trying a new formulation.
There's no reason to make three pounds of soap before you even know whether you like it!
Dish Soap Bar Ingredients
Oils:
- Coconut oil - 321.51 grams / 11.34 oz
- Olive oil — 35.72 grams / 1.26 oz
Lye solution:
- Sodium hydroxide (NaOH) - 63.75 grams / 2.25 oz
- Distilled water - 148.76 grams / 5.25 oz
Total oils: 500 grams
This recipe has 0% lye discount/superfat. I created the recipe using SoapCalc. Because SAP values are averages and can vary somewhat between oils and sources, I recommend getting into the habit of running any soap formula through a trusted lye calculator—especially if you change an oil or the amount of an oil.
Important: Never change the oil amounts in a cold-process soap recipe while keeping the lye amount the same. Changing the oils means recalculating the lye.
Equipment You'll Need
You'll also need:
- Digital scale that measures grams / oz precisely
- Safety goggles
- Gloves
- Stainless steel or lye-safe container for mixing the lye solution
- Stainless steel pot or heat-safe mixing container
- Silicone spatula
- Stick blender
- Silicone soap mold
- Thermometer
- Small container for weighing the lye
Soap ingredients should always be weighed rather than measured by cups or tablespoons.
How to Make Homemade Dish Soap Bars
1. Prepare Your Work Area
Before opening the lye, get everything ready.
Put on your gloves and safety goggles. Set up your mold. Make sure children and pets aren't coming through your soapmaking area.
Soapmaking becomes much easier when you're not trying to find your spatula with a bowl of fresh soap batter sitting in front of you!
2. Weigh the Water
Place your lye-safe container on your scale, and weigh:
148.76 grams / 5.25 oz distilled water
I prefer distilled water for soapmaking because it keeps the recipe consistent and avoids introducing unknown minerals from tap water.
Set the water aside.
3. Weigh the Lye
Using a separate dry container, carefully weigh:
63.75 grams / 2.25 oz sodium hydroxide
Be precise here.
Soapmaking is chemistry, and this is not the place for eyeballing measurements.
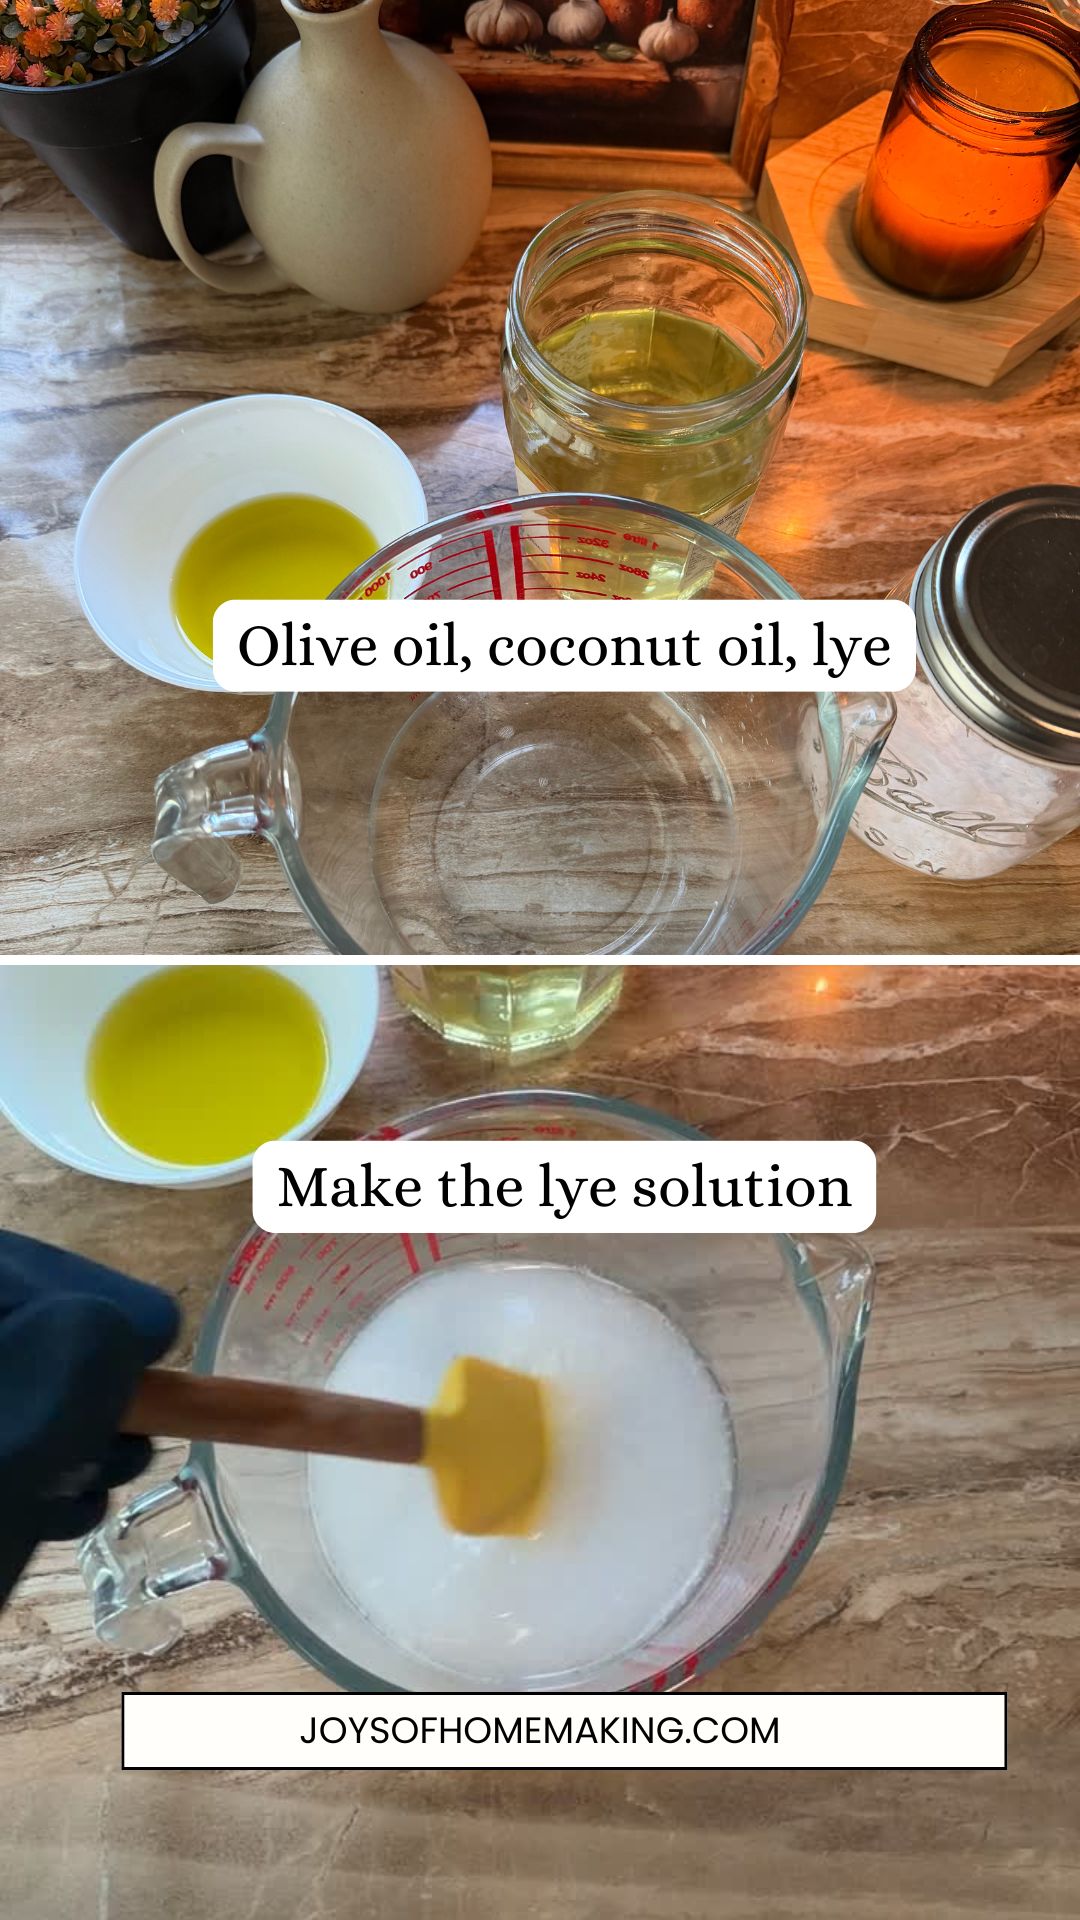
4. Make the Lye Solution
In a well-ventilated area, slowly pour the lye into the water while gently stirring.
Again:
Lye goes into water. Water does not go into lye.
The mixture will heat up very quickly, which is completely normal.
Stir carefully until the lye has dissolved, then place the solution somewhere secure to cool.
Keep your gloves and goggles on.
5. combine the Oils and heat
Since refined coconut oil is already liquid at our room temperature, I don’t need to melt it separately for this recipe. (I’m using regular refined coconut oil here, not fractionated coconut oil.) If yours is solid, simply warm it until it has completely melted before combining it with the olive oil.
After making the lye solution, measure its temperature. Then gently heat the combined oils so they’re in roughly the same temperature range.
I like working with both the oils and lye solution at around 100–110°F (about 38–43°C). They don’t have to be exactly the same temperature—being reasonably close is perfectly fine. What’s more important is that your coconut oil is completely melted and both mixtures are at a comfortable temperature for combining.
Once they’re in that range, you can pour the lye solution into the oils and begin blending to trace.
6. Combine the Lye Solution and Oils
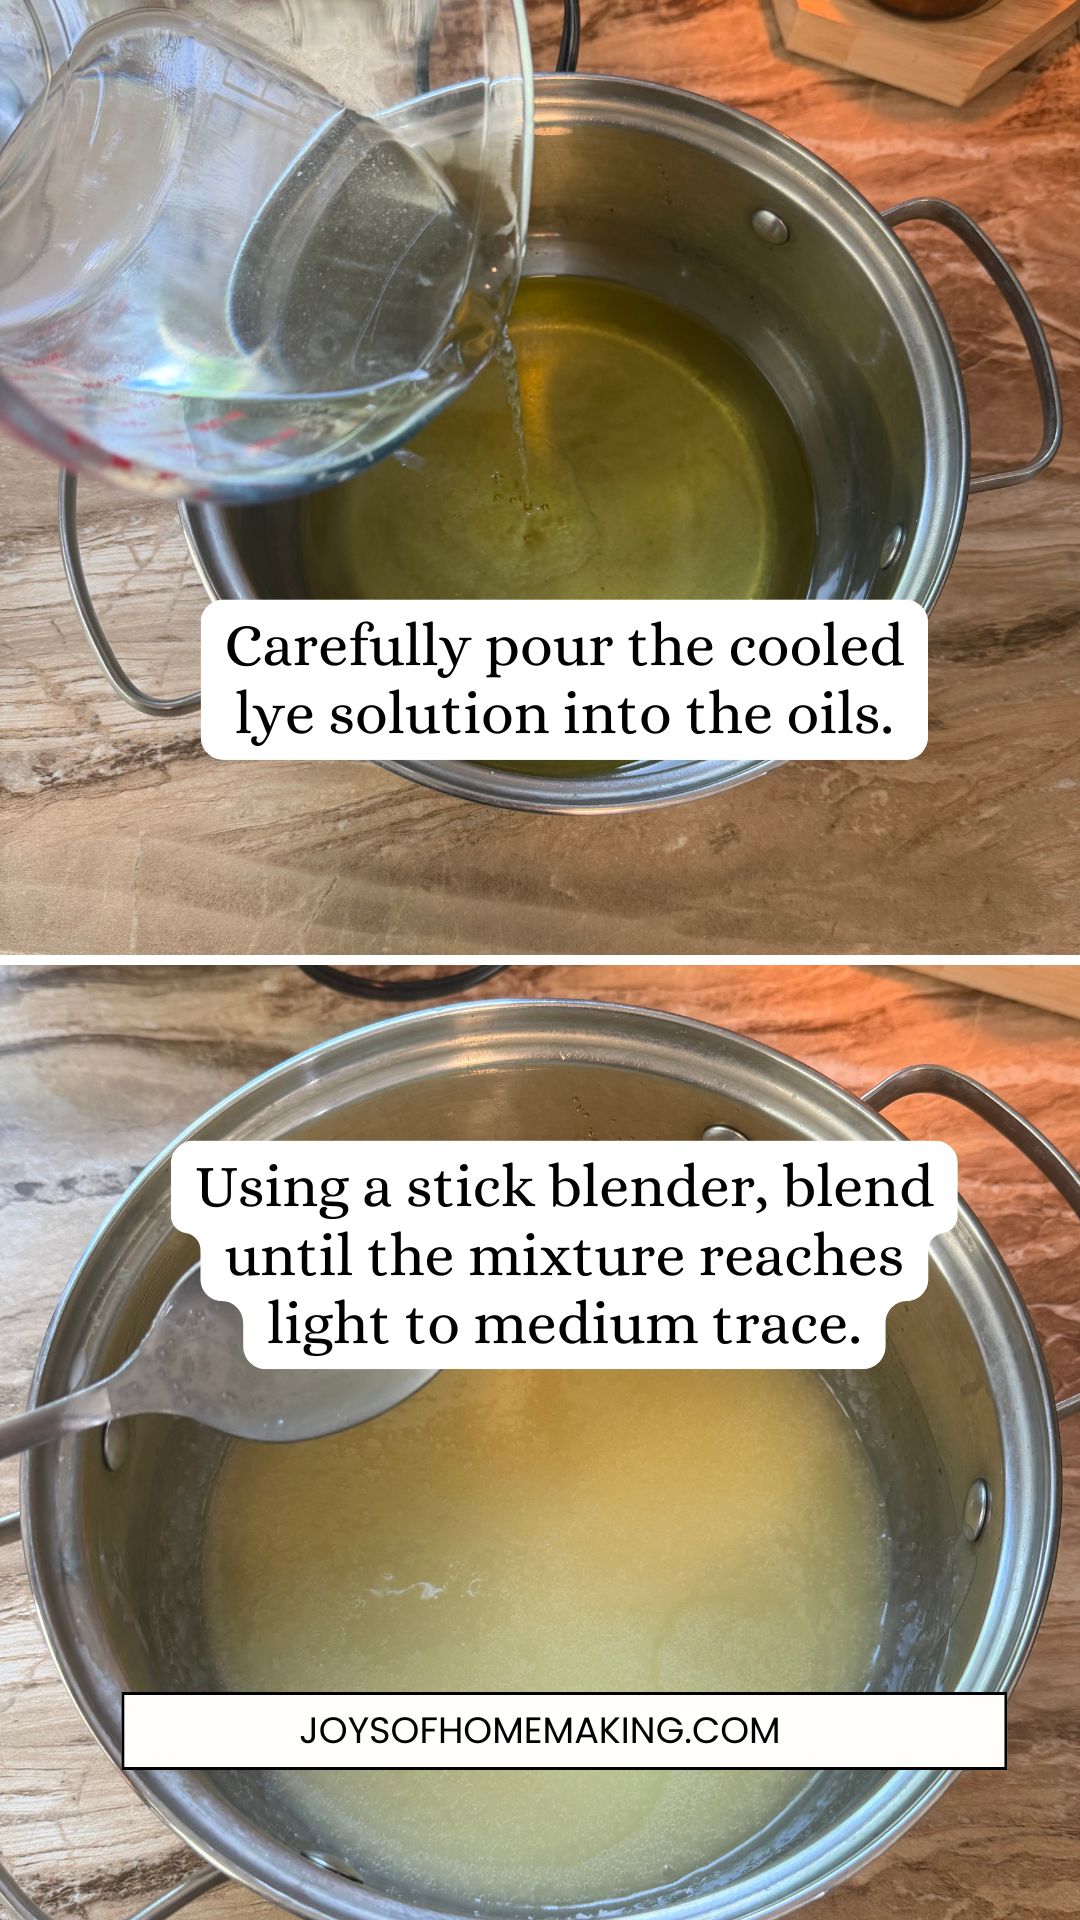
Carefully pour the cooled lye solution into the oils.
Place your stick blender into the mixture and "burp" it by tilting it slightly to release any trapped air.
Then begin blending.
Alternate between short bursts with the stick blender and stirring by hand.
You don't need a very thick trace.
Stop when the mixture reaches light to medium trace—when it looks something like thin pudding and a little soap drizzled across the top leaves a faint mark before disappearing.
7. Pour Into the Mold
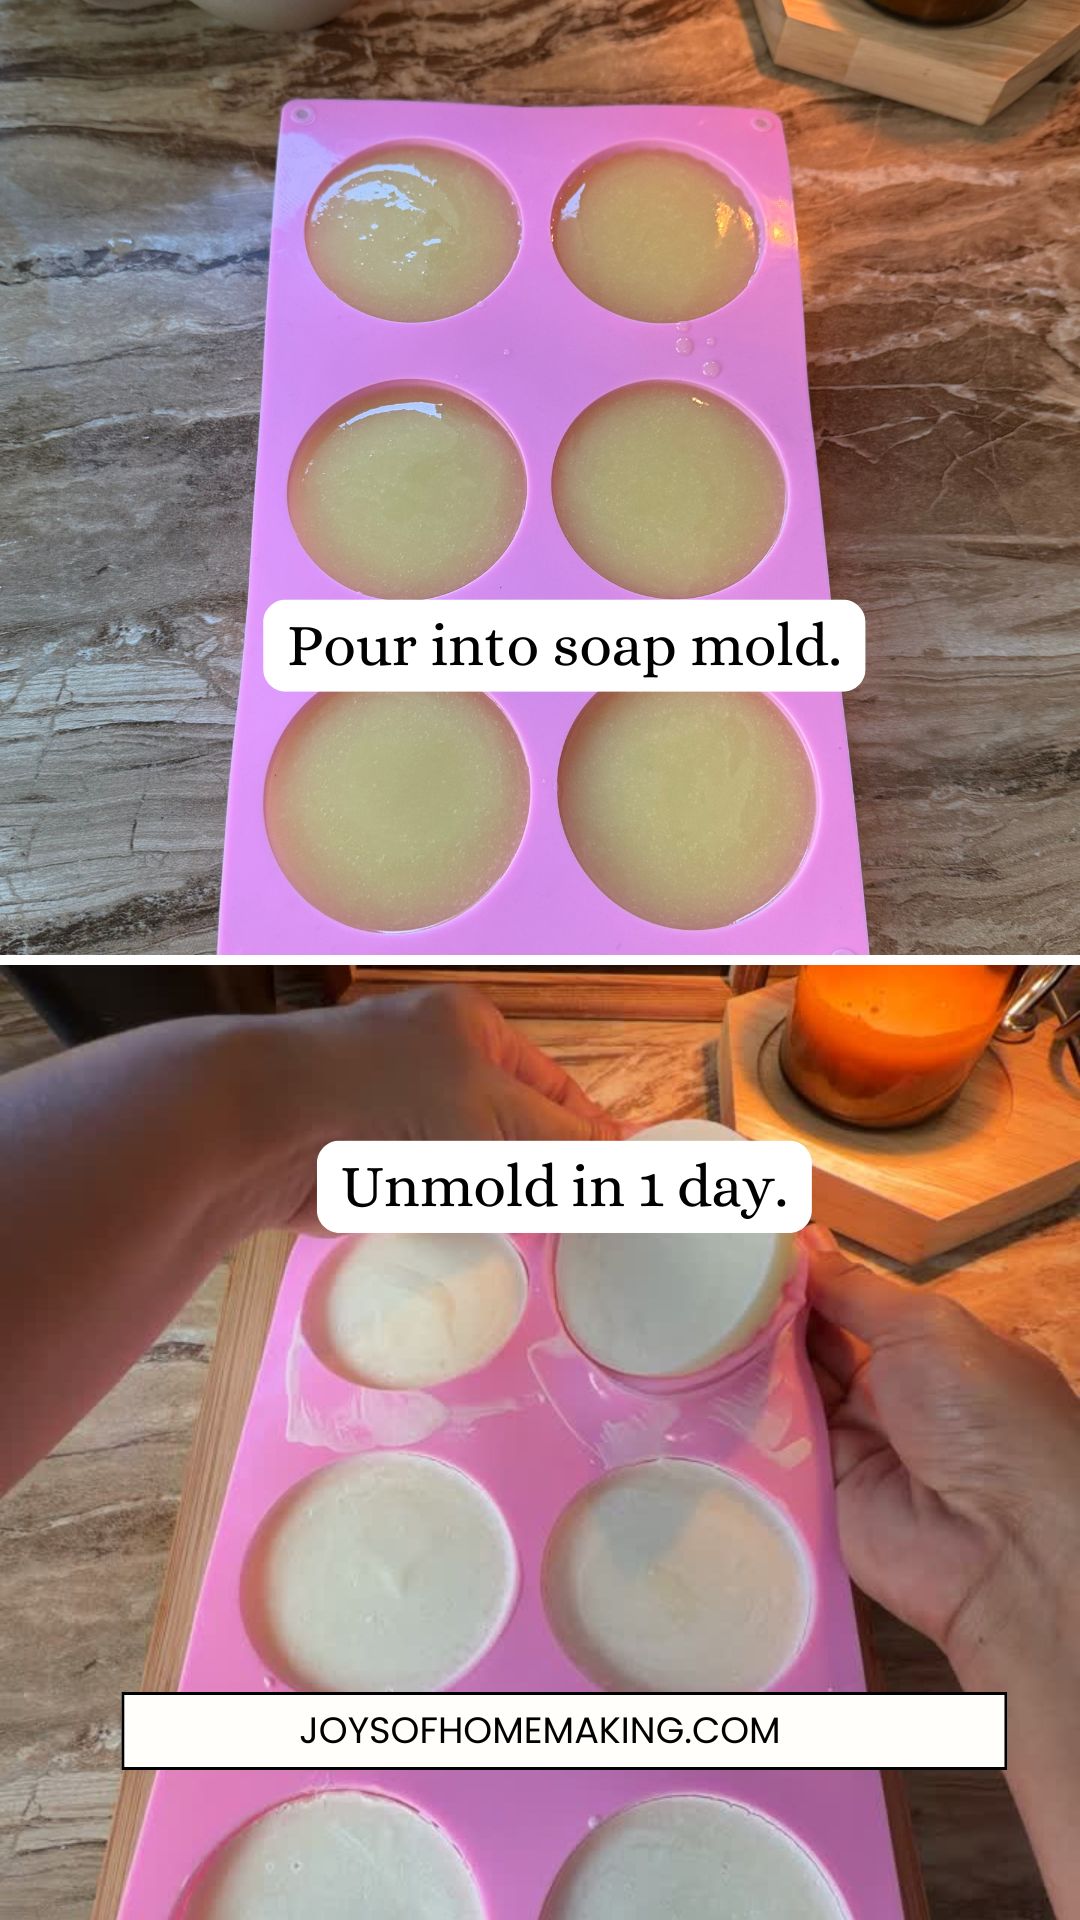
Pour the soap batter into your prepared silicone mold.
Scrape the bowl with your spatula so you don't waste any of that beautiful homemade soap.
Give the mold a gentle tap against the counter to help release air bubbles.
Then leave it somewhere protected while it sets.
When Can I Unmold the Dish Soap?
Because this recipe contains a lot of coconut oil, it can become quite hard relatively quickly.
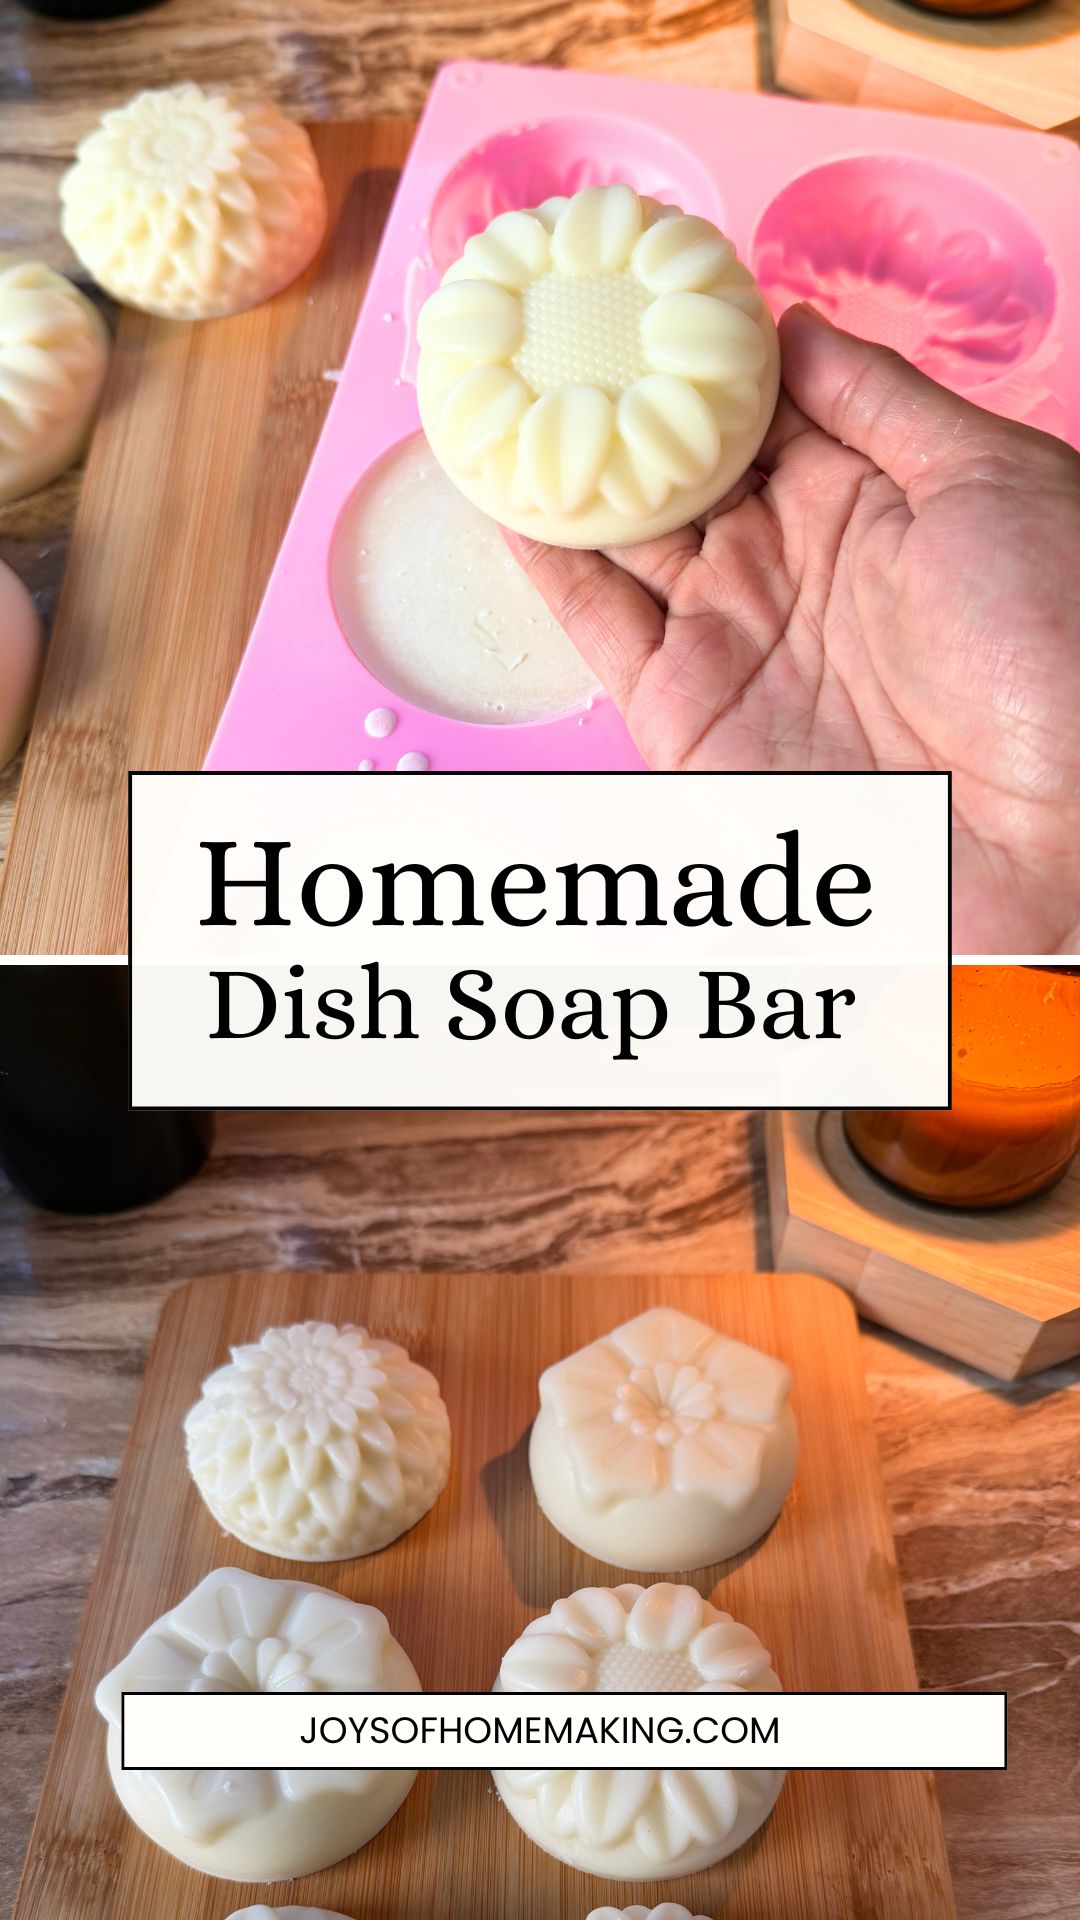
Start checking it after about 12–24 hours.
If it releases easily from the mold and feels firm enough to handle, you can unmold it.
If you're using a loaf mold, don't wait too long to cut it. Coconut-heavy soaps can eventually become very hard and more difficult to slice neatly.
If it still feels soft, however, give it another day.
How Long Should Homemade Dish Soap Bars Cure?
Once cut, place your bars somewhere with good airflow and allow them to cure for about:
4–6 weeks
Turn them occasionally if you remember.
Yes, waiting is probably the hardest part of cold-process soapmaking!
During the cure, water continues evaporating from the bars, helping them become harder and longer-lasting. SoapCalc likewise gives 4–6 weeks as the typical cure period for cold-process bars.
And because these bars are going to sit beside a sink and constantly get wet, a nice hard, well-cured bar is exactly what we want.
How to Use a Solid Dish Soap Bar
Using one couldn't be easier.
Wet your dish brush or scrubber and rub it back and forth across the soap bar a few times.
Then wash your dishes as usual.
For something particularly greasy, I usually load the brush directly from the bar again and scrub.
Rinse the dishes well with clean water.
You can also hold the soap bar and rub it directly onto a wet cloth, although I find using a dish brush makes the bar last longer.
The Secret to Making Your Dish Soap Bar Last Longer
Let it dry.
Don't leave your beautiful homemade bar sitting in a puddle of water beside the sink.
I like using a draining soap dish so air can circulate around the bar.
A soap bar that stays wet becomes soft and disappears much faster.
A bar that gets a chance to dry between uses lasts considerably longer.
This is one of those tiny homemaking habits that makes such a difference.
Will This Dish Soap Make Lots of Bubbles?
It should produce a nice lather, thanks to all that coconut oil.
But here's something I've had to remind myself while making more homemade products:
bubbles aren't the same thing as cleaning.
We're so accustomed to commercial dish liquids producing mountains of suds that it can feel strange when a homemade product looks different.
What matters to me is whether my dishes come out clean.
And that's one of the reasons I like this coconut-heavy recipe.
What If My Dishes Have a Film on Them?
There is one important difference between a true homemade soap and commercial dishwashing detergent.
True soap can react with minerals in hard water. If you have very hard water, you may notice more residue or spotting than someone using the exact same soap with soft water.
Try rinsing especially well with hot water and see how the bar performs with your particular water.
Homemade isn't automatically better simply because it's homemade. Part of learning these old-fashioned skills is figuring out what actually works in your house, with your water, your ingredients, and the way your family uses things.
That experimentation is half the fun for me now.
Is This Soap Gentle Enough for My Hands?
Remember, I created this as a dishwashing soap, not a hand or body soap.
The recipe is 80% coconut oil because I want strong cleaning power for greasy dishes.
That same cleaning power can feel drying to your hands, especially if you're washing dishes several times a day or already have dry skin.
If that's an issue for you, wear dishwashing gloves.
For bathing, handwashing, shampooing, or facial soap, I would formulate something completely different.
Can I Add Essential Oils?
You can certainly experiment once you're comfortable making soap, but I intentionally kept this recipe fragrance-free.
For one thing, I don't really need my dishes to smell like anything.
And for another, one of my goals with this recipe was to make the simplest dish soap bar possible.
Can I Use This in the Dishwasher?
No.
This recipe is meant for washing dishes by hand at the kitchen sink.
Don't grate it into your automatic dishwasher or substitute it directly for dishwasher detergent. Automatic dishwashers are designed to use low-foaming detergents, and handmade soap behaves differently.
Keep this little bar beside the sink for your dish brush and hand-washed dishes.
A Few Troubleshooting Tips
My Soap Is Still Soft
Give it more time.
If your measurements were correct, a fresh bar can simply need another day or two before unmolding. And remember that the bars will become significantly harder during their cure.
My Bar Is Disappearing Too Quickly
Make sure it's able to dry completely between uses.
Use a draining soap dish rather than leaving the bar flat against the counter or sitting in water.
My Soap Got Hard Before I Could Cut It
That's one of the quirks of coconut-heavy soap.
Next time, check it sooner. You may be able to unmold and cut it around the 12-hour mark depending on your room temperature and mold.
Can I Double the Recipe?
Technically, yes—but if you're learning, I would make the small batch first.
Small test batches are exactly how I've been learning to formulate my own soaps.
If you love it, then make more.
How to learn how to make my own soap?
Thankfully, there are so many helpful resources online that can teach you the basics of soapmaking. I started out by following other people’s recipes, and some of them turned out beautifully. But if you really want to understand how soapmaking works, I highly recommend reading more about the process and learning how to use a soap calculator so you can safely experiment with your own formulations.
If you’d like to dive deeper, I can also highly recommend this soapmaking book (this one has easy soap recipes you can follow) and this one ( it has a lot of great reviews online). Both are great resources for learning more about the science behind soap and becoming more confident creating your own recipes.
Looking for more homemade Ideas?
Browse around the get inspired!