
Hello, homemaker!
Have you ever opened your refrigerator and realized you had several vegetables that needed to be used soon? Maybe you had a few cucumbers from the market, half a white radish, a couple of carrots, or a tomato that was beginning to soften.
Instead of letting those vegetables go to waste, why not turn them into a colorful jar of homemade refrigerator pickles?
Refrigerator pickles are one of the easiest ways to preserve fresh vegetables at home. There is no complicated canning process, no special equipment, and no need to spend hours in the kitchen. All you need are a few fresh vegetables, a simple vinegar brine, and a clean glass jar.
Making refrigerator pickles had been on my homemaking to-do list for quite some time, so I was excited to finally make a batch. I love how these colorful pickled vegetables can brighten up even the simplest meals while helping me use up produce that might otherwise go to waste.
This recipe is also Project #68 in my 100 Homemade Projects in 1 Year series! With each project, I am learning another practical homemaking skill that my family can enjoy and benefit from. These colorful, tangy refrigerator pickles were such a simple and enjoyable project to make.
What Are Refrigerator Pickles?
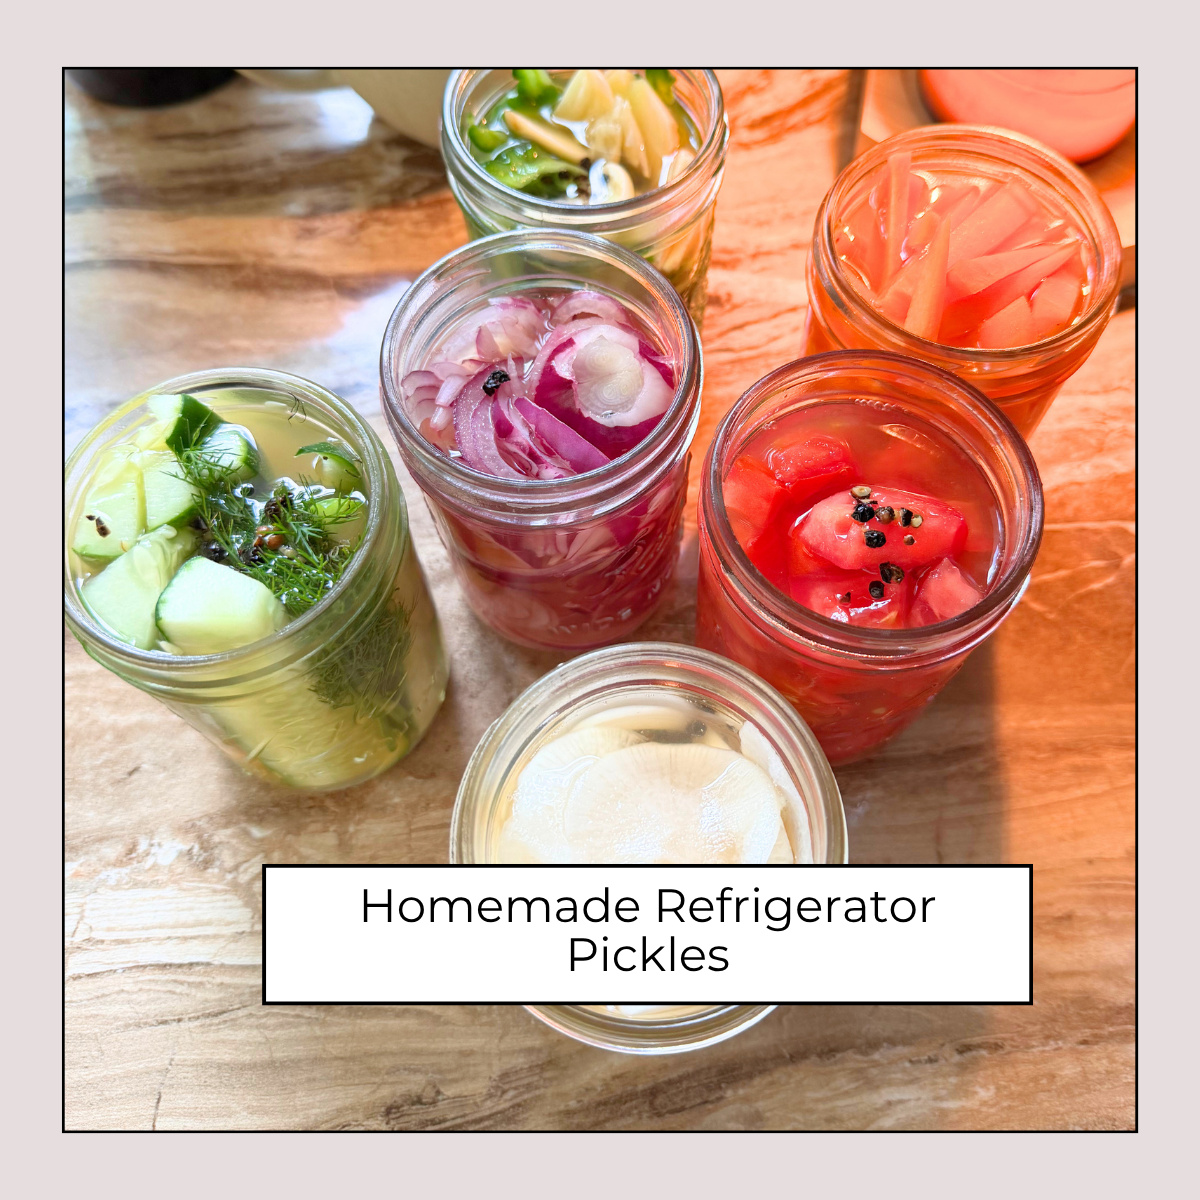
Refrigerator pickles are vegetables preserved in a vinegar-based brine and stored in the refrigerator.
Unlike traditionally canned pickles, they are not processed in a water-bath canner and are not shelf-stable. They must stay refrigerated.
The good thing is that refrigerator pickles are incredibly easy to make. Once the vegetables are prepared, you simply place them in a jar, pour the brine over them, and let the refrigerator do the rest of the work.
After a few hours, the vegetables will begin soaking up the tangy flavor. They usually taste even better after resting overnight.
Why You’ll Love Making Refrigerator Pickles
They help reduce food waste
Pickling is a wonderful way to use small amounts of vegetables left in your refrigerator.
You do not need a large harvest or a basket filled with cucumbers. Even half an onion, one carrot, and a few slices of radish can be turned into something delicious.
No canning equipment is required
You do not need a water-bath canner, canning rack, or special tools for this recipe.
A clean glass jar, a small saucepan, and a sharp knife are enough.
You can use many different vegetables
Refrigerator pickling is very forgiving. You can use whatever firm vegetables you have available and create a different combination each time.
They add flavor to simple meals
A spoonful of pickled vegetables can brighten rice bowls, sandwiches, burgers, salads, tacos, grilled meats, and even a simple plate of rice and eggs.
You control the ingredients
When you make pickles at home, you get to decide how sweet, salty, spicy, or tangy they will be.
There are no unnecessary preservatives—just vegetables, vinegar, water, salt, sugar, and any herbs or spices you choose to add.
Vegetables You Can Use
One of my favorite things about this recipe is the variety of colors, flavors, and textures in the jar.
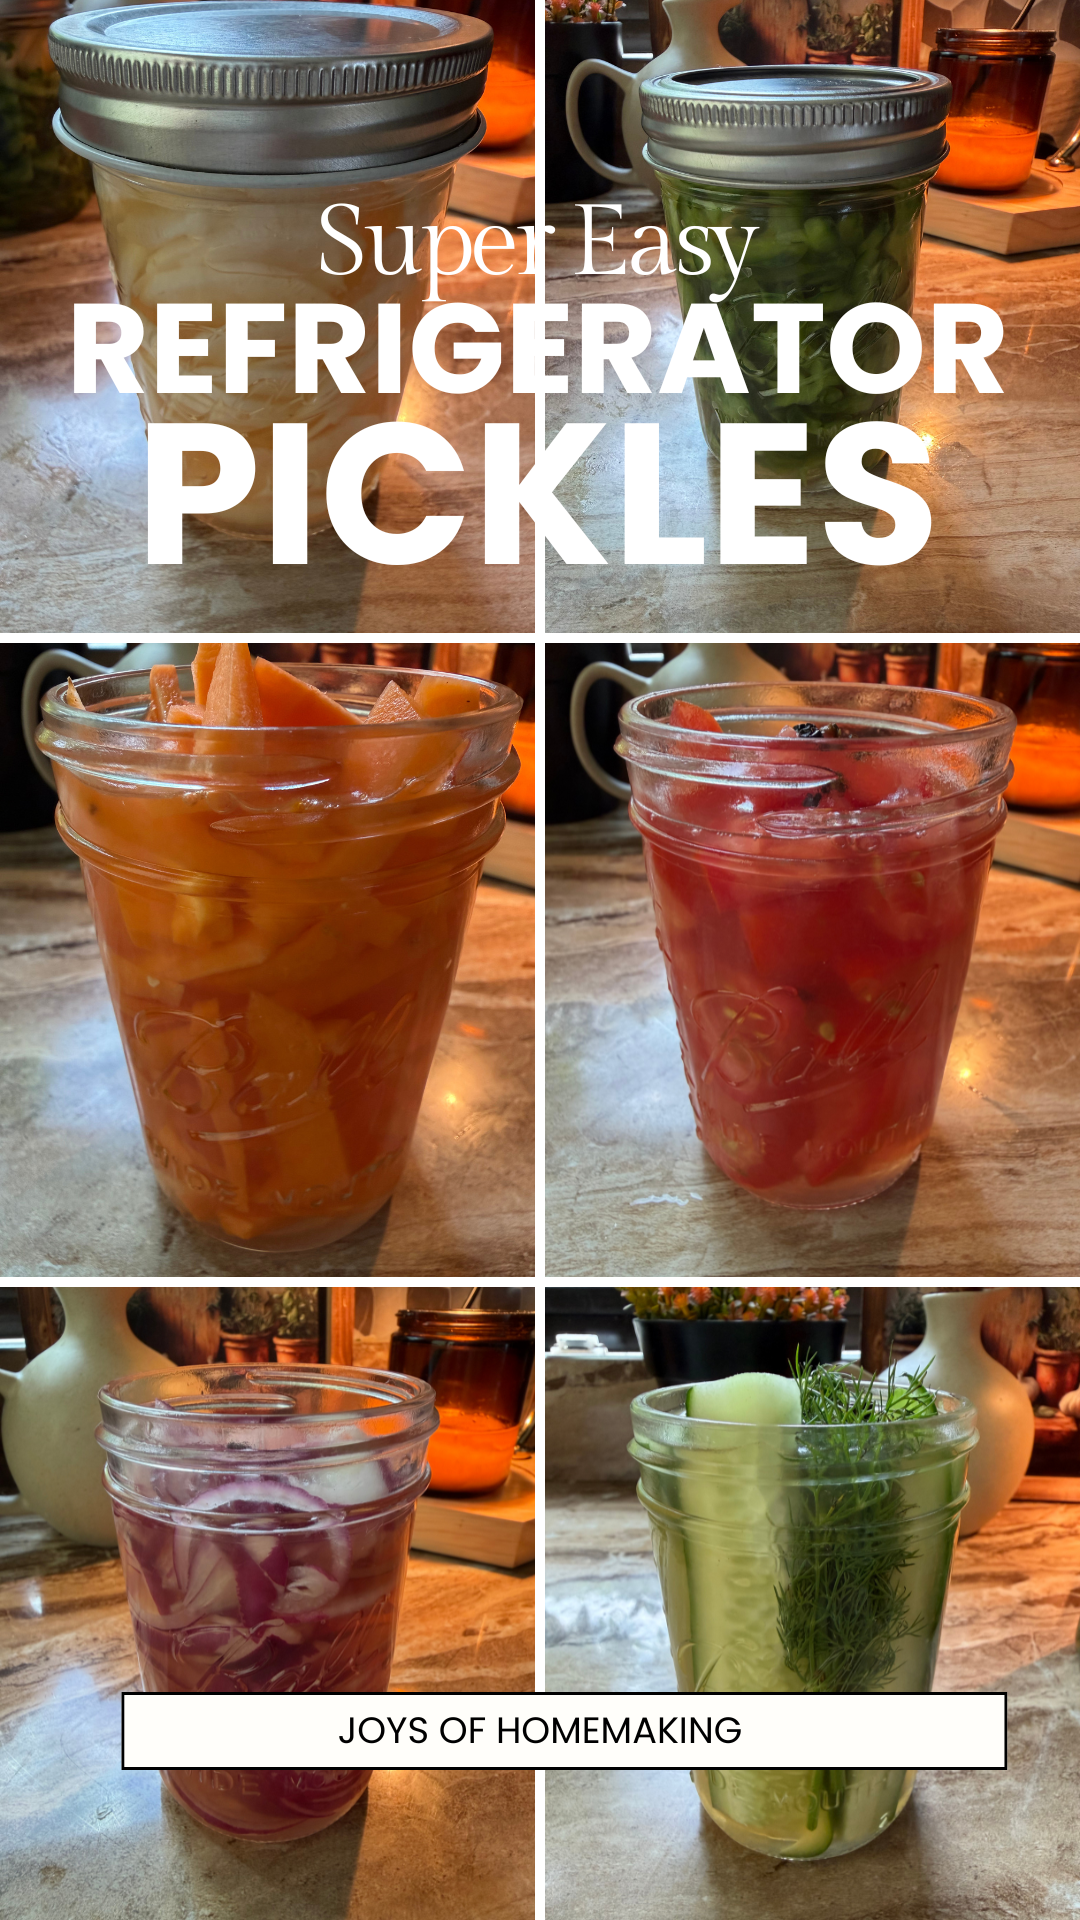
Cucumber
Cucumber is a classic choice for refrigerator pickles. It stays crisp and absorbs the brine beautifully.
Choose firm cucumbers without soft spots. You can slice them into rounds, spears, or thin ribbons.
Carrots
Carrots add sweetness, crunch, and a beautiful pop of color.
Slice them thinly so they soften slightly while still keeping their crisp texture. You can cut them into rounds, matchsticks, or ribbons.
White Radish
White radish has a peppery flavor that becomes milder and slightly sweeter after pickling.
Peel it first, then cut it into thin rounds, half-moons, or matchsticks.
Onions
Onions become less sharp as they sit in the brine. They add plenty of flavor to the entire jar.
Red onions create a beautiful pinkish brine, but white or yellow onions work well too.
Tomato
Tomatoes are softer than the other vegetables, so choose firm, slightly underripe tomatoes.
Cherry or grape tomatoes can be halved, while larger tomatoes can be cut into thick wedges. Avoid slicing them too thinly, or they may become mushy.
Bitter Melon
Bitter melon adds a unique flavor to the pickle mixture. Its natural bitterness pairs surprisingly well with a sweet-and-sour brine.
Slice the bitter melon lengthwise, scoop out the seeds and soft white center, and then cut it into thin half-moons.
If you would like to lessen its bitterness, sprinkle the slices with a little salt and let them sit for about 15 minutes. Gently squeeze out some of the moisture, rinse them well, and pat them dry before adding them to the jar.
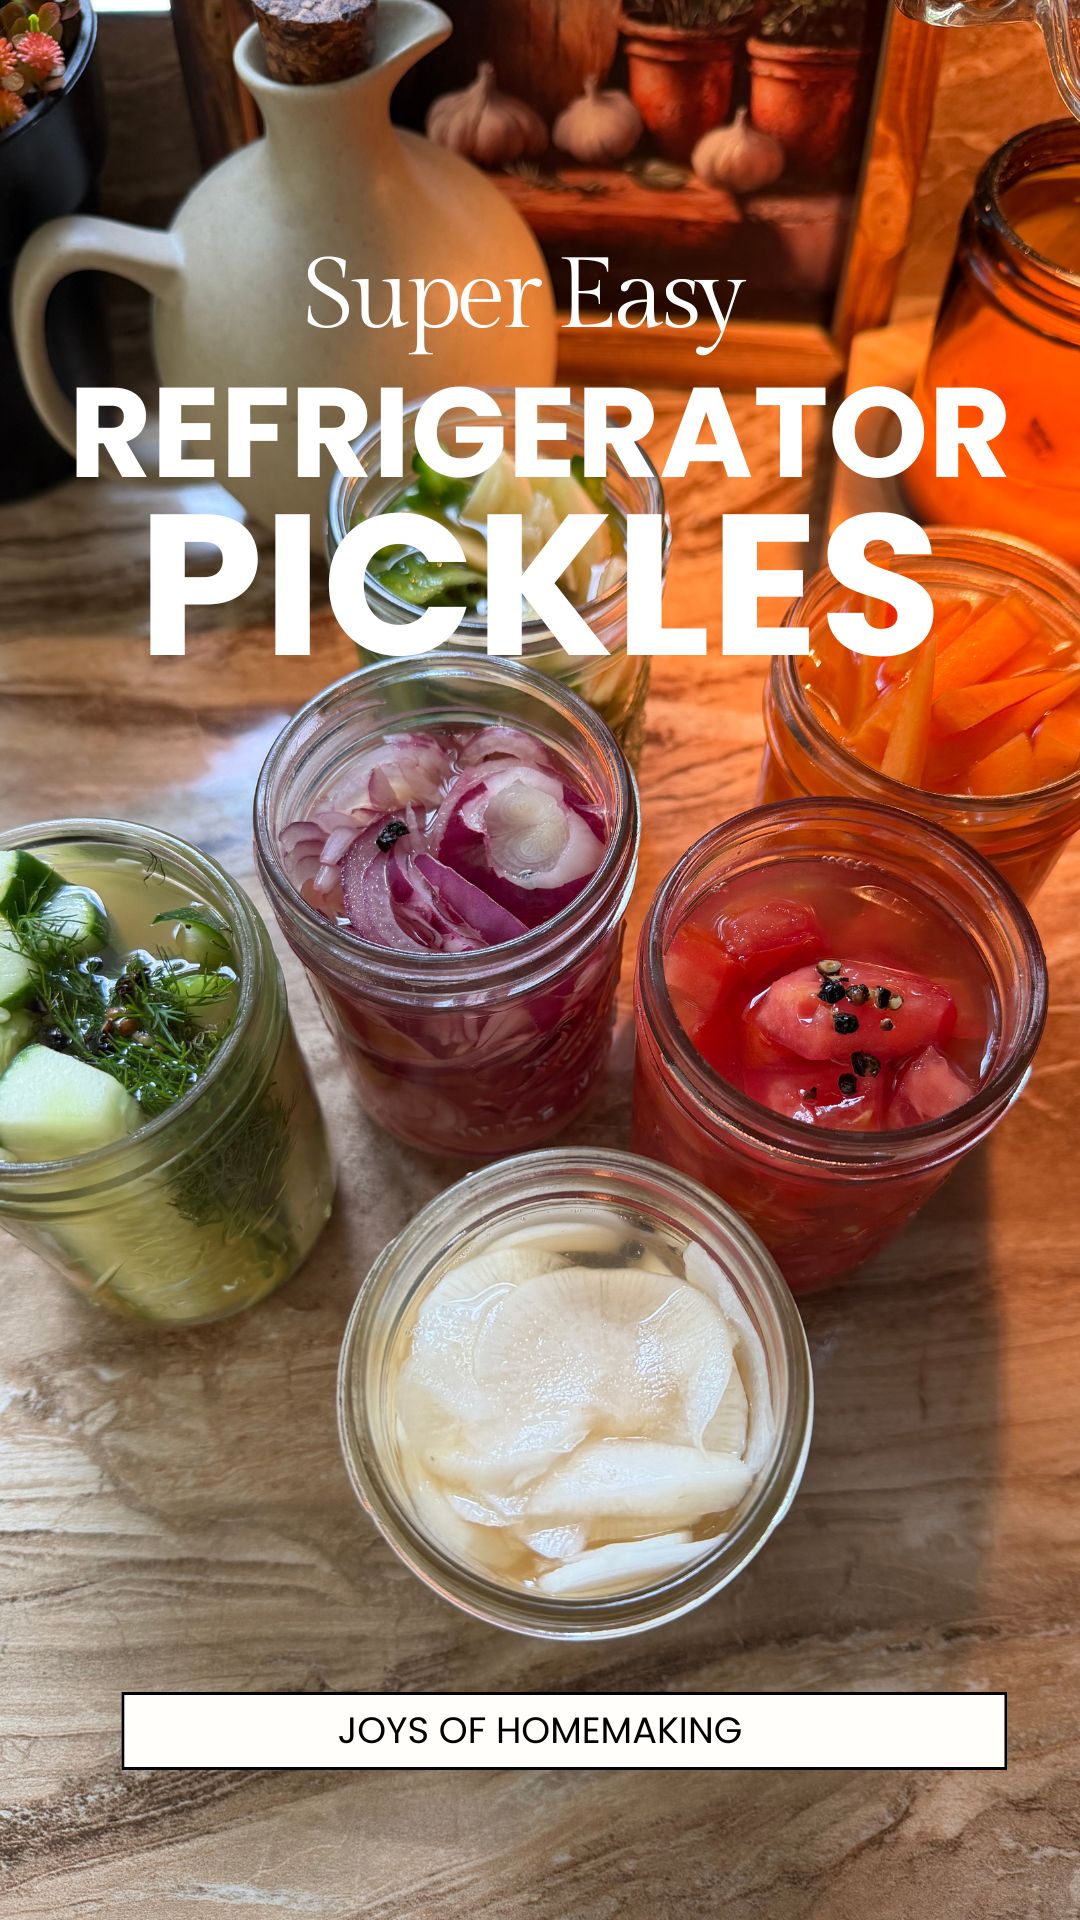
Other Vegetables You Can Pickle
One of the best things about refrigerator pickles is that you can use many different vegetables. It is a wonderful way to preserve a small harvest, use up extra produce from the market, or save vegetables before they begin to spoil.
Here are a few more vegetables you can try:
Bell Peppers
Bell peppers stay slightly crisp and add a sweet, fresh flavor to the jar. Use red, yellow, orange, or green peppers, and slice them into thin strips.
Cauliflower
Cauliflower holds its texture very well and absorbs the flavors of the brine. Break it into small florets so it pickles evenly.
Green Beans
Fresh green beans make wonderfully crunchy refrigerator pickles. Trim the ends and leave them whole or cut them into shorter pieces.
Cabbage
Thinly sliced cabbage becomes tender, tangy, and slightly crunchy. You can use green cabbage, red cabbage, or a mixture of both.
Zucchini
Zucchini can be sliced into rounds, spears, or thin ribbons. Choose small, firm zucchini for the best texture.
Beets
Beets give the brine a beautiful deep pink color and a naturally earthy sweetness. Slice them thinly or lightly cook them before pickling if you prefer a softer texture.
Turnips
Turnips are similar to radishes and develop a mild, tangy flavor in the brine. Peel and cut them into thin slices or small cubes.
Asparagus
Asparagus makes a delicious and slightly elegant refrigerator pickle. Trim the woody ends and place the spears upright in a tall jar.
Broccoli Stems
Do not throw away your broccoli stems. Peel the tough outer layer, slice the tender center into thin sticks, and add them to your pickle jar.
Celery
Celery keeps its crunch and adds a fresh, savory flavor. Cut the stalks into short sticks or thin slices.
Okra
Small, tender okra pods can be pickled whole. Leave a little of the stem attached so the pods do not become too soft.
Jalapeños and Other Chilies
Pickled chilies are wonderful for adding heat to tacos, sandwiches, burgers, rice bowls, and savory meals. Slice them into rings or leave small peppers whole.
Garlic
Whole garlic cloves become milder as they pickle. They can be added to mixed vegetable jars or pickled on their own.
Ginger
Thinly sliced ginger makes a bright, spicy pickle that pairs well with rice, fish, noodles, and Asian-inspired meals.
Green Tomatoes
Firm, unripe green tomatoes are ideal for pickling because they hold their shape better than ripe tomatoes. Slice them into wedges or rounds.
Corn
Fresh corn kernels or small pieces of corn on the cob can be added to a mixed vegetable pickle. They bring a mild sweetness that balances the tangy brine.
You can pickle just one vegetable or combine several vegetables in the same jar. Try to choose vegetables with similar textures, and cut them into evenly sized pieces so they pickle at about the same rate.
Softer vegetables, such as ripe tomatoes and zucchini, are best enjoyed sooner. Firmer vegetables, such as carrots, cauliflower, radishes, green beans, and beets, usually stay crisp for longer.
Homemade Refrigerator Pickles
Ingredients
For the vegetables:
Your vegetables of choice:
- 1 small cucumber, thinly sliced
- 1 medium carrot, peeled and thinly sliced
- 1 cup thinly sliced white radish
- 1 onion, thinly sliced
- 1 firm tomato, cut into thick wedges
- 1 small bitter melon, seeded and thinly sliced
For the brine:
For every cup of vegetables, prepare
- ½ cup white vinegar or
- ½ apple cider vinegar
- 1 cup water
- 2 tablespoons sugar
- 1 ½ teaspoon salt
- ½ teaspoon whole black peppercorns
Feel free to double or multiply the recipe depending on how many vegetables you are pickling. If you are preparing all the 6 vegetables on my list above, then multiply the brine recipe by six to make enough to cover them completely.
You may need slightly more or less brine depending on the size and shape of your jar and how tightly the vegetables are packed. Make sure all the vegetables are fully submerged in the brine before placing the jar in the refrigerator.
Optional additions:
- Red pepper flakes
- Fresh dill
- Mustard seeds
- Coriander seeds
- Bay leaf
- Sliced fresh chili
- Fresh ginger
- Garlic, lightly crushed
Instructions
1. Prepare the jar
Wash a glass jar and its lid thoroughly with hot, soapy water. Rinse well and allow it to dry. I use these wide-mouthed jars for 1 cup vegetables, or these jars for larger quantities.
Because these pickles will not be canned, always use a clean jar and clean utensils.
2. Prepare the vegetables
Wash all the vegetables carefully.
Slice the vegetables into similar-sized pieces whenever possible. Thinly sliced vegetables will absorb the brine more quickly.
If you are treating the bitter melon with salt to reduce its bitterness, do that before assembling the jar.
3. Fill the jar
Place the prepared vegetables into the jar.
If you are pickling mixed vegetables, you can layer them by color to make the jar look beautiful, or simply mix everything together. Do not pack the vegetables so tightly that the brine cannot flow around them.
Add the garlic, peppercorns, and any optional seasonings you would like to use.
4. Make the pickling brine
Add the vinegar, water, sugar, and salt to a small saucepan.
Warm the mixture over medium heat, stirring until the sugar and salt have completely dissolved. The brine does not need to boil for a long time.
Remove it from the heat and allow it to cool slightly.
5. Pour the brine over the vegetables
Carefully pour the brine into the jar until the vegetables are covered.
Gently tap the jar against the counter to release any trapped air bubbles. Add more brine if needed.
Because tomatoes are delicate, you may also add them after the brine has cooled to help them keep their shape.
6. Refrigerate
Allow the jar to cool before sealing it with the lid and placing it in the refrigerator.
The pickles can be tasted after several hours, but the flavor will be better after they have rested overnight.
Always keep refrigerator pickles chilled, and use a clean utensil whenever you remove vegetables from the jar.
A Note About the Tomatoes
Tomatoes contain more moisture and have a softer texture than carrots, cucumbers, and radishes. Because of this, they may soften more quickly in the brine.
For the best texture, use firm tomatoes and cut them into thick wedges.
You can also make the main jar using the firmer vegetables and add only a small amount of tomato at a time. This allows you to enjoy pickled tomatoes without making the entire jar too soft.
How to Adjust the Flavor
One of the joys of making your own pickles is adjusting the recipe to suit your family.
For sweeter pickles
Add another tablespoon or two of sugar to the brine.
For tangier pickles
Use a little more vinegar and slightly less water.
For spicy pickles
Add sliced chili peppers, red pepper flakes, or a few whole dried chilies.
For a more aromatic brine
Add fresh ginger, garlic, coriander seeds, dill, or mustard seeds.
For less bitter bitter melon
Salt and rinse the bitter melon before pickling it. You can also add a little more sugar to balance its flavor.
How to Serve Homemade Refrigerator Pickles
These mixed vegetable pickles are delicious served with:
- Rice bowls
- Grilled chicken, pork, or fish
- Burgers and sandwiches
- Tacos and wraps
- Salads
- Noodle dishes
- Fried rice
- Eggs and garlic rice
- Rich or savory meals that need something fresh and tangy
I especially enjoy serving them alongside simple meals. Even an ordinary plate of rice, eggs, and grilled meat feels brighter with a spoonful of homemade pickled vegetables on the side.
How Long Do Refrigerator Pickles Last?
Store the pickles in a tightly covered jar in the refrigerator.
For the freshest flavor and texture, enjoy them within about one to two weeks. The tomatoes may soften sooner than the carrots, cucumber, radish, and onions.
Always check the pickles before eating them. Discard the entire jar if you notice mold, an unpleasant smell, unusual bubbling, sliminess, or any other signs of spoilage.
These pickles are intended for refrigerator storage only. They are not shelf-stable and should not be stored at room temperature.
Can You Reuse the Pickling Brine?
I know it can be tempting to keep adding new vegetables to the jar, especially when the brine still looks flavorful.
However, fresh vegetables release water into the brine and gradually change its strength. For the most consistent flavor and safer storage, I prefer making a fresh batch of brine for each new jar.
The leftover brine does not always have to go to waste. A small amount can be added to salad dressings, sauces, or marinades, provided it still looks and smells fresh and has been handled properly.
Tips for Crisp Refrigerator Pickles
- Begin with fresh, firm vegetables.
- Avoid using cucumbers or radishes that are already soft.
- Slice the vegetables evenly.
- Do not overcook the brine.
- Allow very hot brine to cool slightly before pouring it over delicate vegetables.
- Keep the vegetables covered with brine.
- Store the jar toward the back of the refrigerator, where the temperature is more consistent.
- Always use a clean fork or spoon when serving.
More Homemade Ideas
Looking for more homemade ideas? Take a look around the blog for more simple, from-scratch recipes and homemaking inspiration.