Are you wondering how to make buttermilk at home? Maybe you’ve run out halfway through a recipe, or perhaps you’re simply curious about how it’s made. Either way, you’re in the right place! This is one of those simple kitchen skills you’ll be glad to know—especially if you enjoy baking, love making everyday staples from scratch, or want to get more use out of a carton of heavy whipping cream.
I often wish I had a direct source of fresh milk and cream, but since I don’t, I make the most of what I can find at the grocery store. Heavy whipping cream has become one of the most useful ingredients in my kitchen because I can turn it into butter, buttermilk, buttermilk powder, sour cream, coffee creamer, and more.
From one liter of heavy cream, I can usually make about 300 grams of pure butter, 2 cups of fresh buttermilk, and 1 cup of sour cream. Not bad for one carton of cream!
Whenever I make butter, the buttermilk left behind is a wonderful bonus. I use it for pancakes, breads, and other baked treats. And when I don’t plan to use it right away, I dehydrate it and turn it into homemade buttermilk powder for future recipes.
Today, I’ll show you how easy it is to make fresh buttermilk from heavy whipping cream—and how to preserve the extra as buttermilk powder so none of it goes to waste.
What Is Homemade Buttermilk?
Traditionally, buttermilk is the liquid left behind after cream has been churned into butter. As the cream is whipped or churned, the butterfat gathers into solid clumps, leaving a thin, milky liquid behind. That liquid is buttermilk.
So when you make butter from heavy whipping cream, you are really making two things at the same time:
Butter and buttermilk.
I love projects like this because practically nothing goes to waste.
The buttermilk that comes from plain sweet cream is sometimes called sweet-cream buttermilk. It is usually thinner and milder than the cultured buttermilk sold in grocery stores.
Commercial cultured buttermilk has been fermented, which gives it its familiar tang and acidity. Utah State University’s cultured-buttermilk directions, for example, call for fermenting the milk until it reaches a pH of 4.6 or lower.
That difference matters a little when you are baking, but I’ll explain how I handle that below.
What You Will Need
To make the buttermilk, you will need:
- Heavy whipping cream
- A stand mixer, hand mixer, food processor, blender, or tightly covered jar
- A fine-mesh strainer
- A large bowl
- A clean jar with a lid
- A kitchen towel to control splashing
For the buttermilk powder, you will also need:
- A food dehydrator or oven
- Trays or silicone dehydrator liners
- A small blender, coffee grinder, or spice grinder
- An airtight jar
- A kitchen scale, if available
When I begin with one liter of cream, I set aside approximately one cup to make sour cream. I use the rest to make my butter and buttermilk.
Your exact yield may vary depending on the fat percentage of the cream and how thoroughly you remove the liquid from the butter.
How to Make Buttermilk from Heavy Cream
1. Pour the cream into your mixer
Pour the heavy whipping cream into the bowl of your stand mixer.
Do not fill the bowl too full. The cream will expand as it becomes whipped cream, and later it will splash once the butter and buttermilk begin to separate.
I like to loosely drape a clean kitchen towel around the mixer bowl. It saves me from wiping buttermilk droplets from every nearby surface.
2. Begin whipping the cream
Start the mixer at a moderate speed.
The cream will first become soft whipped cream, then stiff whipped cream. Keep going.
This is the one time when we are intentionally overwhipping cream.
After the whipped-cream stage, it will begin to look grainy and curdled. You may wonder whether something has gone wrong, but this is exactly what should happen.
3. Keep mixing until the butter separates
Continue mixing.
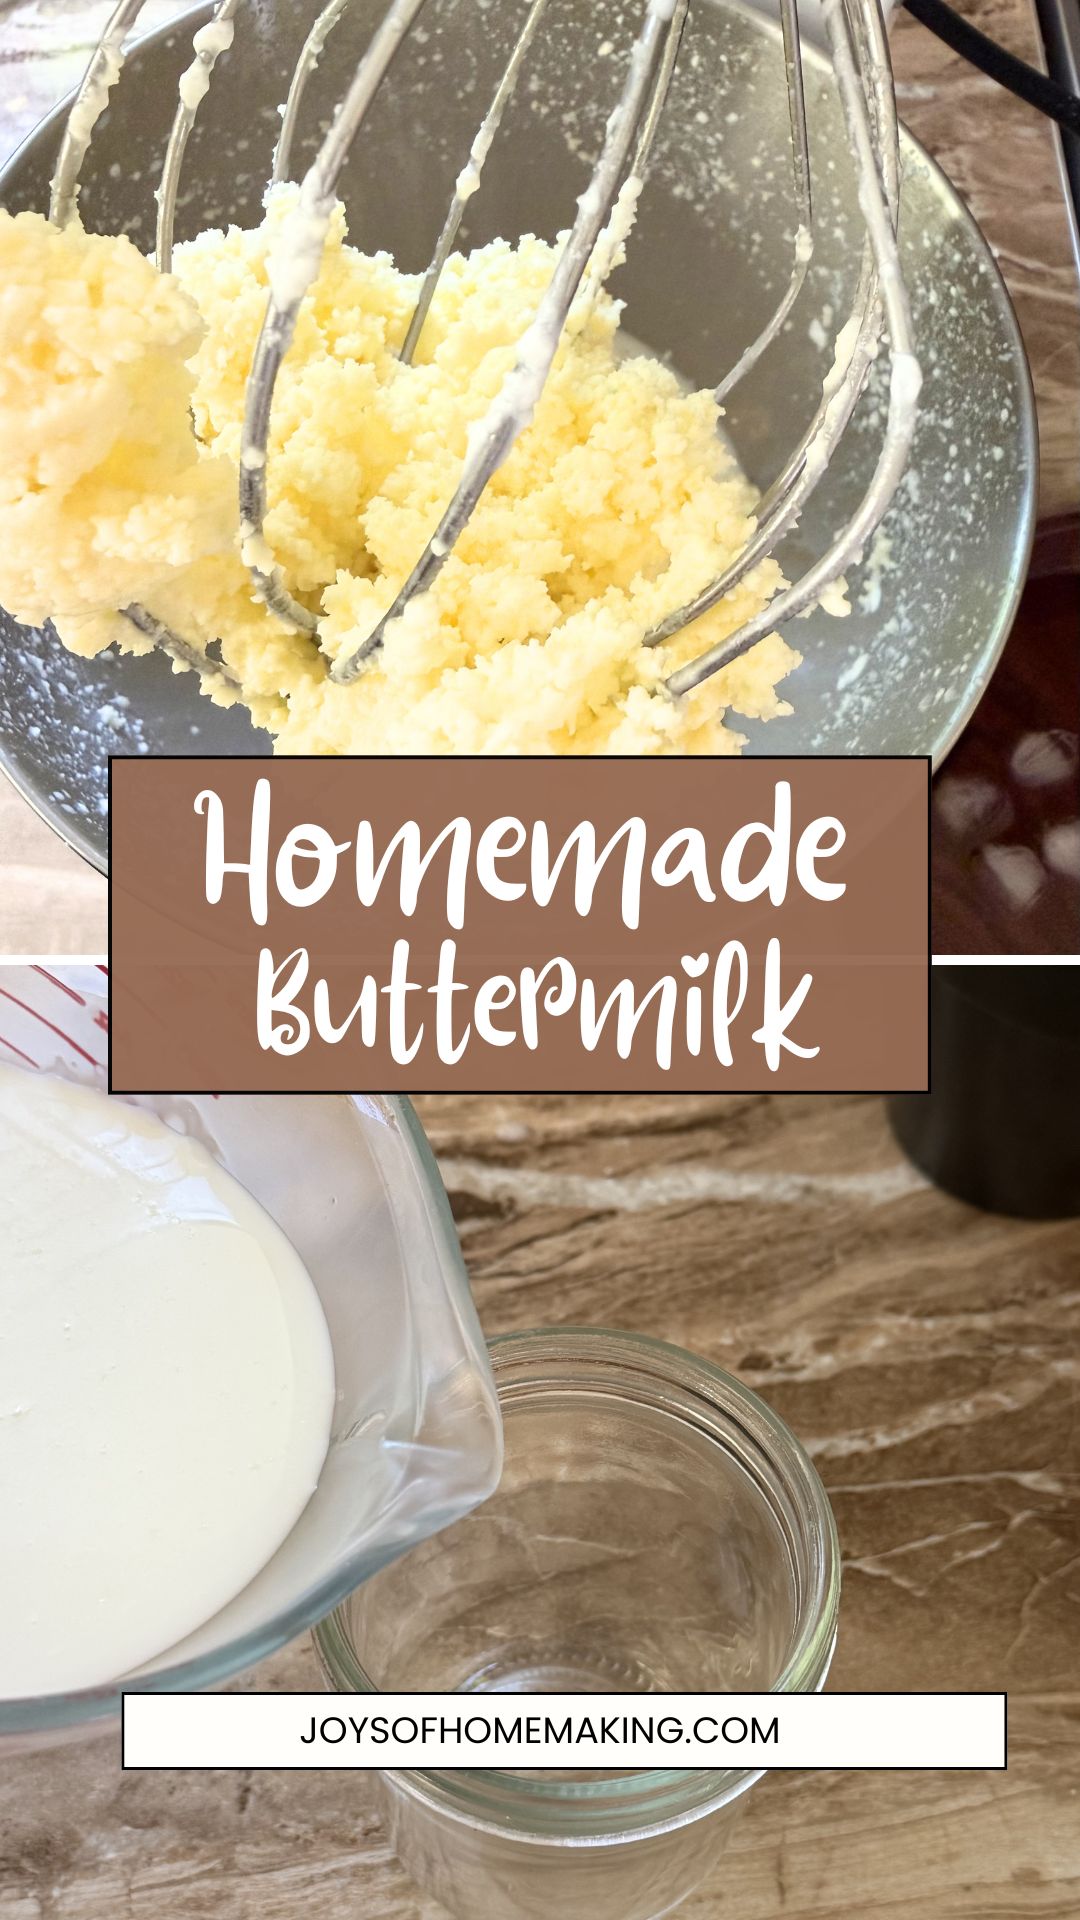
Eventually, the yellow butterfat will begin gathering into clumps. At the same time, you will hear liquid sloshing around the bowl.
That liquid is your buttermilk.
Once you have a definite mass of butter surrounded by liquid, stop the mixer.
4. Strain the buttermilk
Set a fine-mesh strainer over a clean bowl and pour the contents of the mixer bowl into it.
Allow the buttermilk to drain through. Press the butter gently to release more of the trapped liquid, but avoid pushing butter through the strainer.
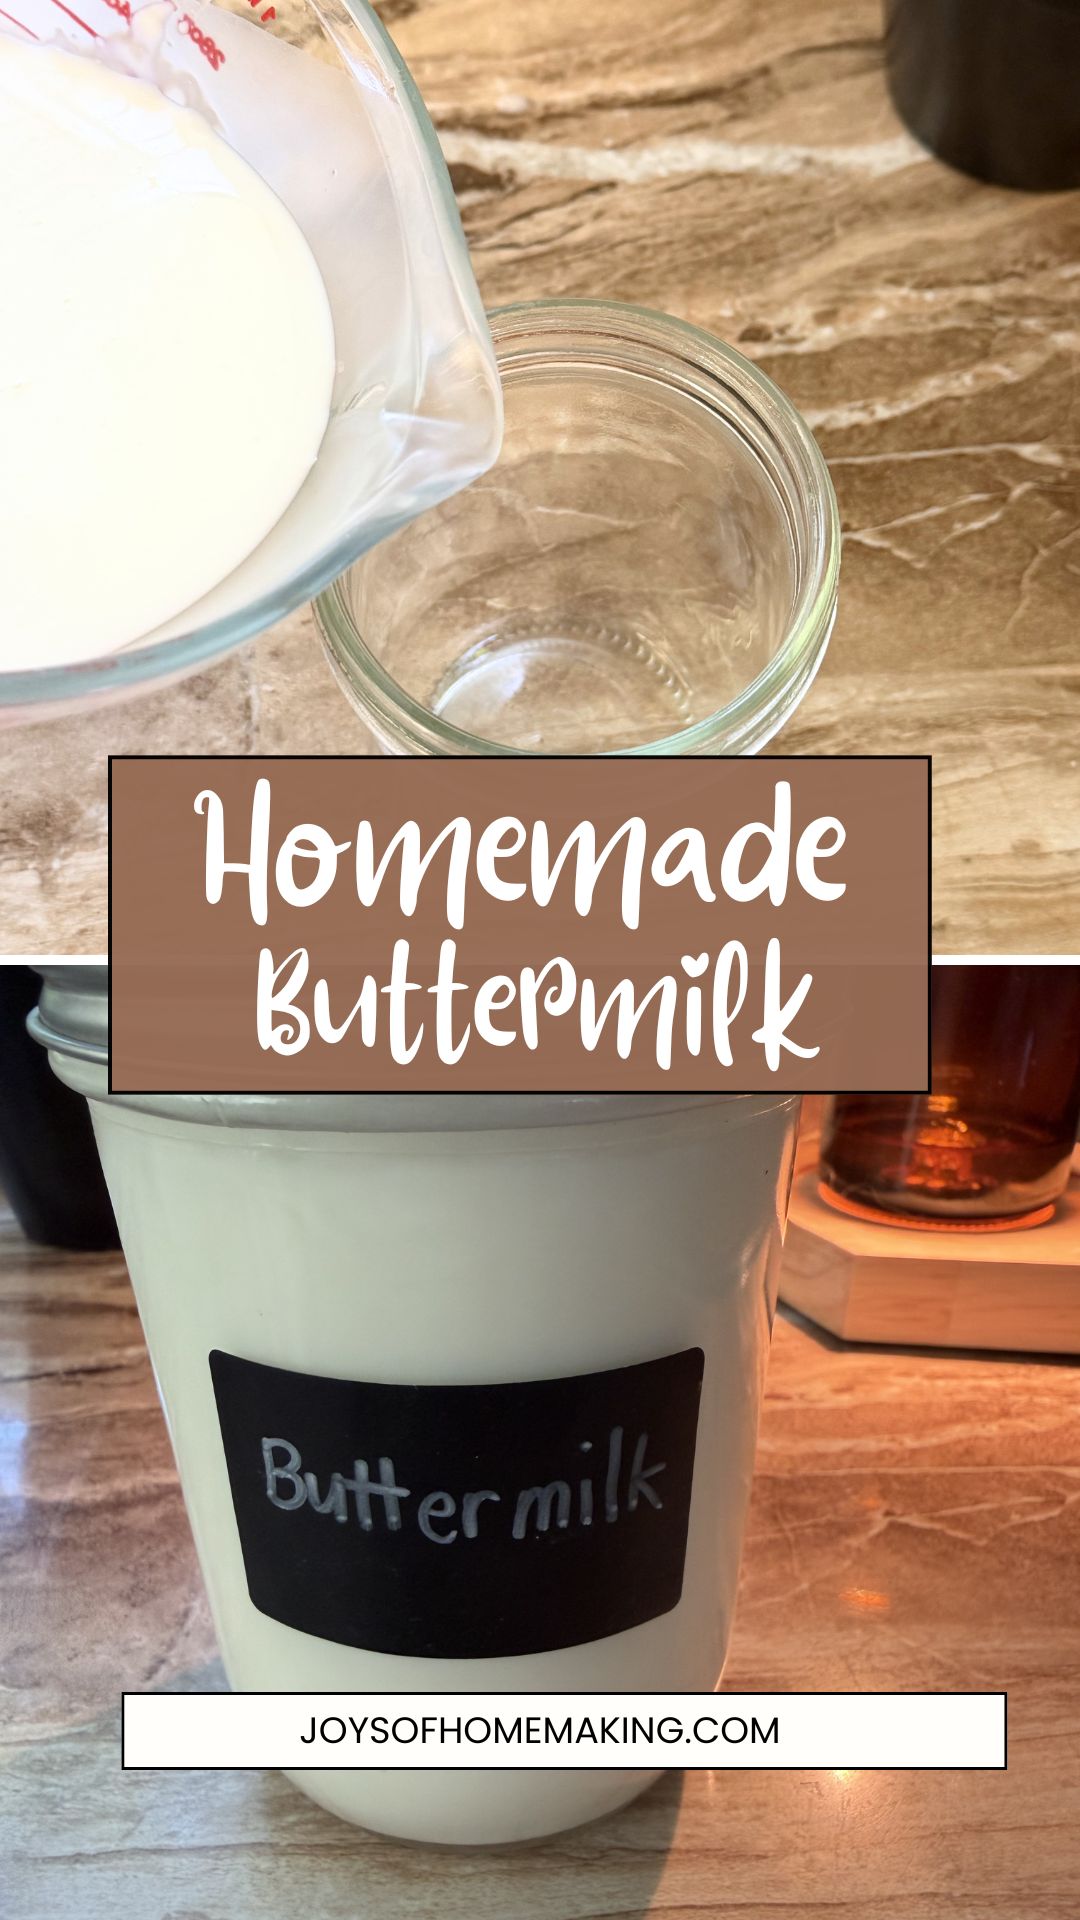
Pour the strained buttermilk into a clean jar and refrigerate it promptly.
You can now finish washing and kneading your butter with very cold water. Keep that rinsing water separate from the buttermilk you plan to use.
And that is it—you have made fresh buttermilk!
An Important Baking Note
Because this buttermilk comes from plain, uncultured cream, it may not be acidic enough to react properly with baking soda.
You can use it as-is in recipes that use:
- Baking powder
- Yeast
- Another acidic ingredient
- Buttermilk mainly for flavor and moisture
For recipes that depend on the acidity of cultured buttermilk, place 1 tablespoon of lemon juice or white vinegar in a measuring cup. Add your homemade sweet-cream buttermilk until the liquid reaches the one-cup line. Let it rest for about 5 to 10 minutes before using it.
That gives the baking soda the acid it needs. The same basic combination of acid and sweet milk is recommended as a buttermilk substitution by North Dakota State University Extension.
You could also culture your homemade buttermilk separately, but for everyday baking, the lemon juice or vinegar method is quick and convenient.
Ways to Use Fresh Buttermilk
Fresh homemade buttermilk can be used in so many recipes:
- Pancakes
- Waffles
- Biscuits
- Muffins
- Cornbread
- Quick breads
- Cakes
- Mashed potatoes
- Creamy soups
- Bread dough
- Homemade salad dressing
When I know I will be baking soon, I simply keep the buttermilk in the refrigerator.
When I do not have an immediate plan for it, I turn it into powder.
How to Make Homemade Buttermilk Powder
Before we begin, there is one important distinction to make.
Homemade dehydrated buttermilk powder is not the same as commercially manufactured, shelf-stable buttermilk powder.
Commercial dried milk products are made with controlled spray-drying or drum-drying equipment that removes nearly all the water. Utah State University Extension also notes that dried buttermilk contains milk fat and is not suitable for long-term storage in the same way nonfat dry milk can be.
I therefore make small batches of homemade powder and keep them refrigerated or frozen. I treat it as a convenient baking ingredient—not as an emergency-storage food that can sit in the pantry for years.
1. Measure and weigh the buttermilk
Measure the amount of buttermilk you are starting with.
If you have a kitchen scale, weigh it as well. Write down both the volume and weight. This will make it much easier to reconstitute the powder accurately later.
For example:
Starting amount: 2 cups or 480 grams of buttermilk
2. Pour it onto lined trays
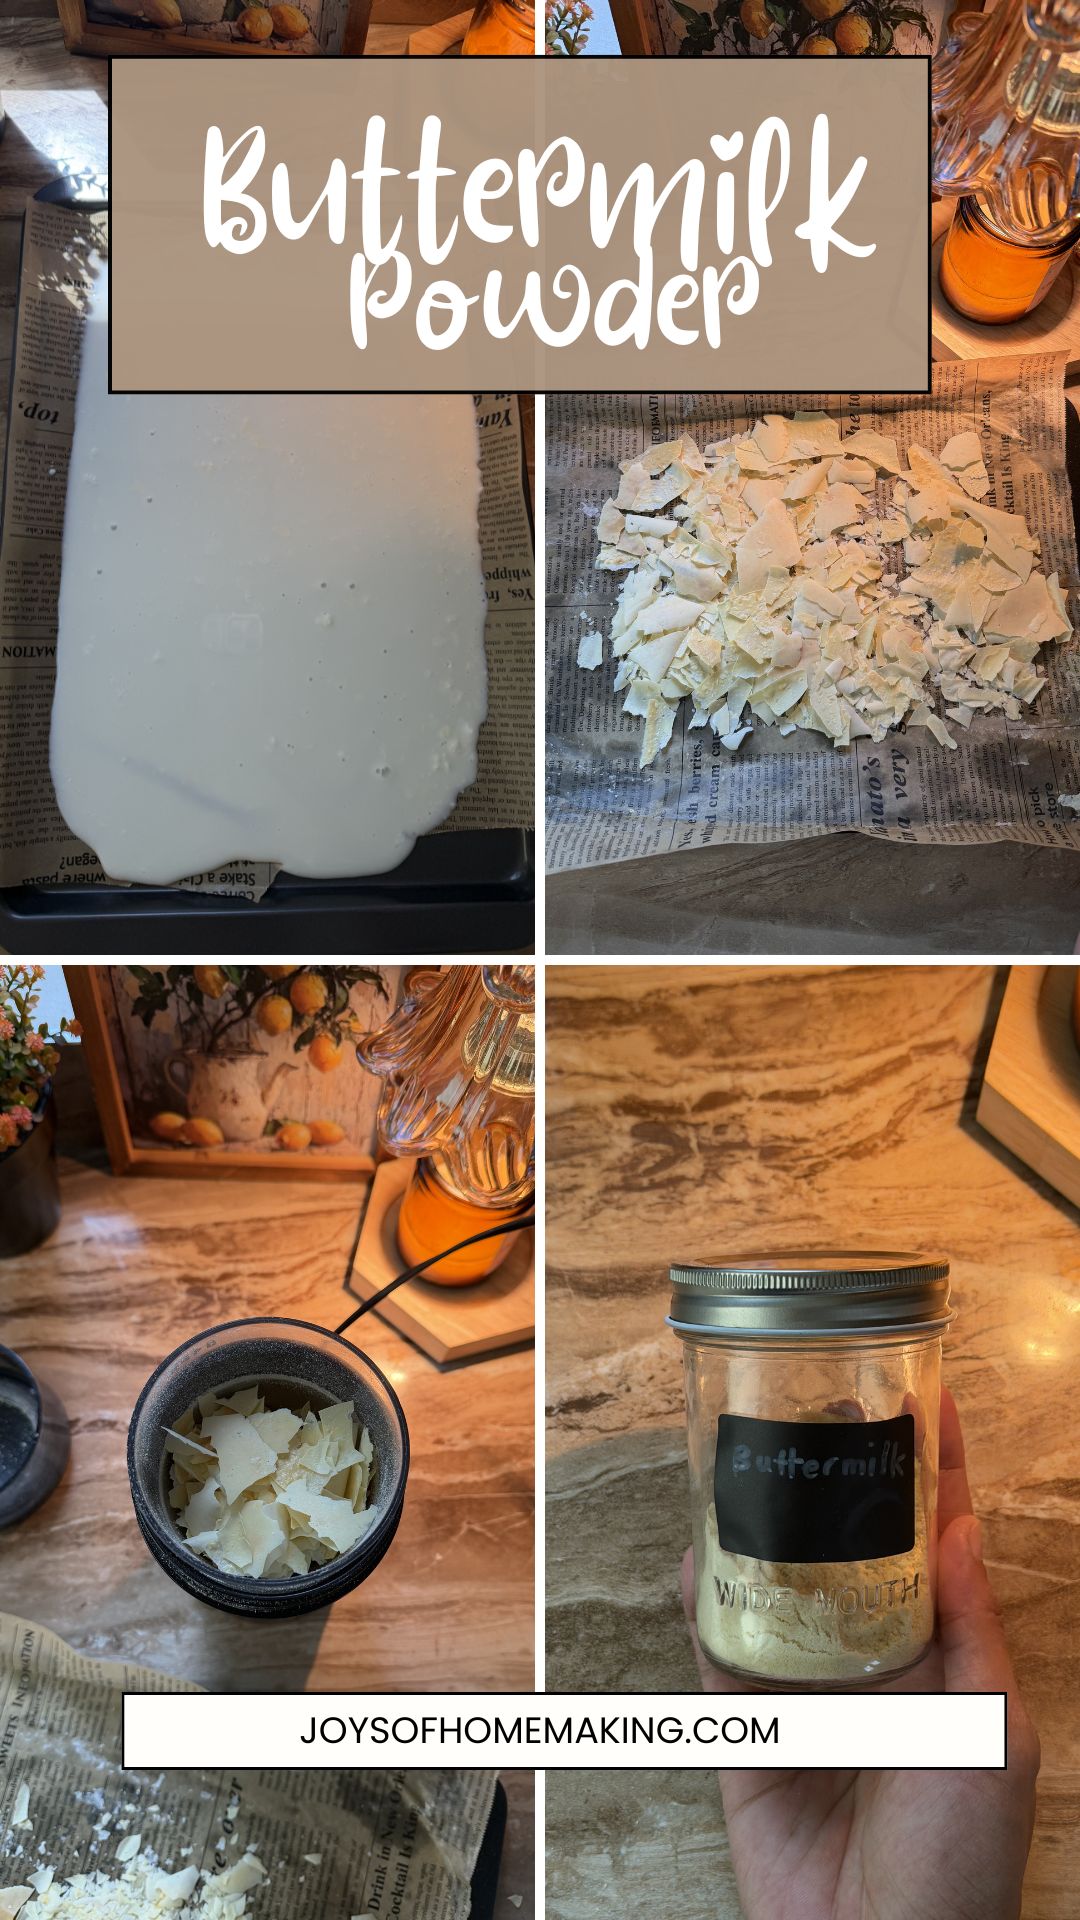
Line a tray with parchment paper. You can also use a fruit leather tray or silicone tray.
Pour the buttermilk onto the liner or parchment paper in a very thin, even layer. The thinner the layer, the more evenly it will dry.
Avoid pouring it so close to the edge that it can run off when you move the tray.
3. Dehydrate until completely brittle
If using a dehydrator: Use the setting recommended by your dehydrator’s manufacturer for dairy or liquid foods.
The drying time will depend on:
- The thickness of the buttermilk
- The humidity in your home
- The size and design of your dehydrator
- The number of trays being used
I don't have a dehydrator at the moment. I just use my oven to dehydrate food and it works well.
If using an oven: Set it at 50 celsius and slightly open the oven so steam can escape from the oven.
The finished buttermilk should be completely dry and brittle. It should crack or snap when bent. There should be no soft, flexible, cool, sticky, or leathery areas.
4. Cool the dried buttermilk
Allow the dried pieces to cool completely.
Do not put warm dried food directly into a sealed jar. Warm food can create condensation inside the container, returning moisture to the powder.
The National Center for Home Food Preservation recommends cooling dried foods fully and packaging them immediately in clean, dry containers because dried foods can easily reabsorb moisture.
5. Grind it into powder
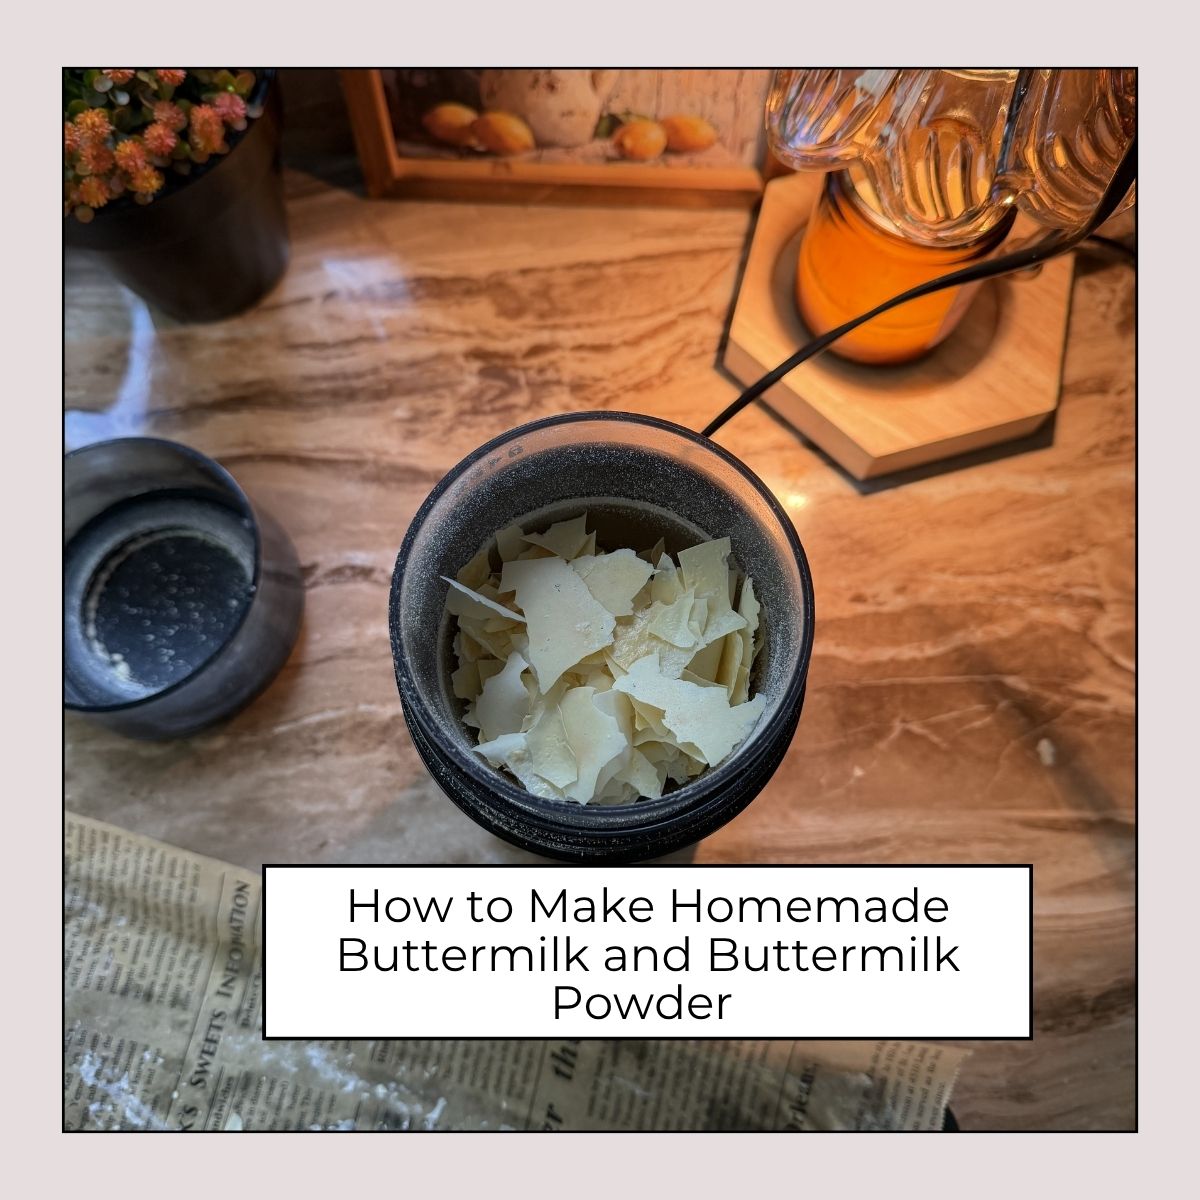
Break the dried buttermilk into small pieces and place them in a blender, coffee grinder, or spice grinder.
Grind until you have a fine powder.
If some pieces refuse to grind and still feel slightly flexible, return them to the dehydrator. Do not mix damp pieces into the finished powder.
6. Package and freeze
Transfer the powder to a clean, completely dry airtight jar.
I prefer to divide it into small, recipe-sized portions so I do not repeatedly expose the whole batch to warm air and moisture.
Label the container with:
- The date
- The original amount of liquid buttermilk
- The finished weight of the powder
- The amount of water needed for reconstitution
Then store it in the refrigerator or freezer.
Discard the powder if you notice moisture, mold, unusual discoloration, or a rancid odor.
How to Reconstitute Homemade Buttermilk Powder
Homemade powder can vary from batch to batch, so a kitchen scale gives you the most reliable ratio.
Here is the simple calculation:
- Weigh the liquid buttermilk before drying.
- Weigh the finished powder.
- Subtract the powder weight from the original liquid weight.
- The difference is approximately how much water was removed.
For example:
- Original buttermilk: 480 grams
- Finished powder: 60 grams
- Water removed: 420 grams
To reconstitute the entire batch, combine the 60 grams of powder with approximately 420 grams of water.
To make half the batch, combine:
- 30 grams powder
- 210 grams water
That gives you approximately one cup of reconstituted buttermilk.
You can also skip reconstituting it separately. Stir the buttermilk powder into the recipe’s dry ingredients and add the corresponding water with the wet ingredients.
Remember that powder made from sweet-cream buttermilk will still be mild rather than cultured and acidic. For baking-soda recipes, include the lemon juice or vinegar mentioned earlier.
My Easy Portioning Method
When I begin with two cups of buttermilk, I sometimes keep things even simpler.
After grinding the dried buttermilk, I weigh the powder and divide it into two equal portions. Each portion represents the milk solids from approximately one cup of the original buttermilk.
I package those portions separately and write “One cup buttermilk equivalent” on each container.
When it is time to bake, I use one portion and add its recorded amount of water. There is no need to weigh the entire batch again.
Could You Freeze the Buttermilk Instead?
Absolutely.
Freezing is actually the easiest option when you have freezer space. Pour the buttermilk into half-cup or one-cup containers, label them, and freeze.
I make powder because I enjoy having a compact ingredient that can be stirred directly into flour mixtures. It is especially handy when I am making pancakes, muffins, or homemade baking mixes.
But there is nothing wrong with choosing the simpler freezer method.
Looking for More Inspiring Homemade Ideas?
If you enjoy making things from scratch, take a look around for more simple homemade recipes, natural living ideas, and DIY projects to help you create a healthier, more intentional home—one homemade project at a time.