Hello, joyful homemaker!
When it comes to gift-giving, I’ve always had a soft spot for anything homemade. There’s just something special about a gift that’s been crafted with love and intention.
Some of my all-time favorite homemade treats to give (and receive!) are sugar scrubs and handmade soaps. They not only smell heavenly but also offer a touch of luxury that store-bought versions just can’t match.
Lately, though, I’ve found myself completely swept up in the joy of making homemade candles. I enjoyed creating homemade candles—from choosing the scents to pouring the wax and watching them take shape. It’s become one of my favorite creative outlets, and honestly, I think candles make the perfect gift for just about anyone.
What I love most about candle making is how much room there is to personalize. I can mix and match fragrances to suit any mood or season.
Another bonus? Candles are incredibly easy to make in batches. You can spend a single afternoon crafting a dozen candles, stash them away, and have thoughtful, handmade gifts ready to go for birthdays, thank-yous, or unexpected gatherings. No more scrambling for last-minute presents—just grab a candle, tie a ribbon around it, and voilà!
Let’s not forget the savings either. Quality candles from the store can be surprisingly pricey, especially the eco-friendly or artisanal ones. But when I make them at home using soy wax flakes and essential oils, I get beautiful, clean-burning candles for a fraction of the cost. It’s a win for my budget and my home.
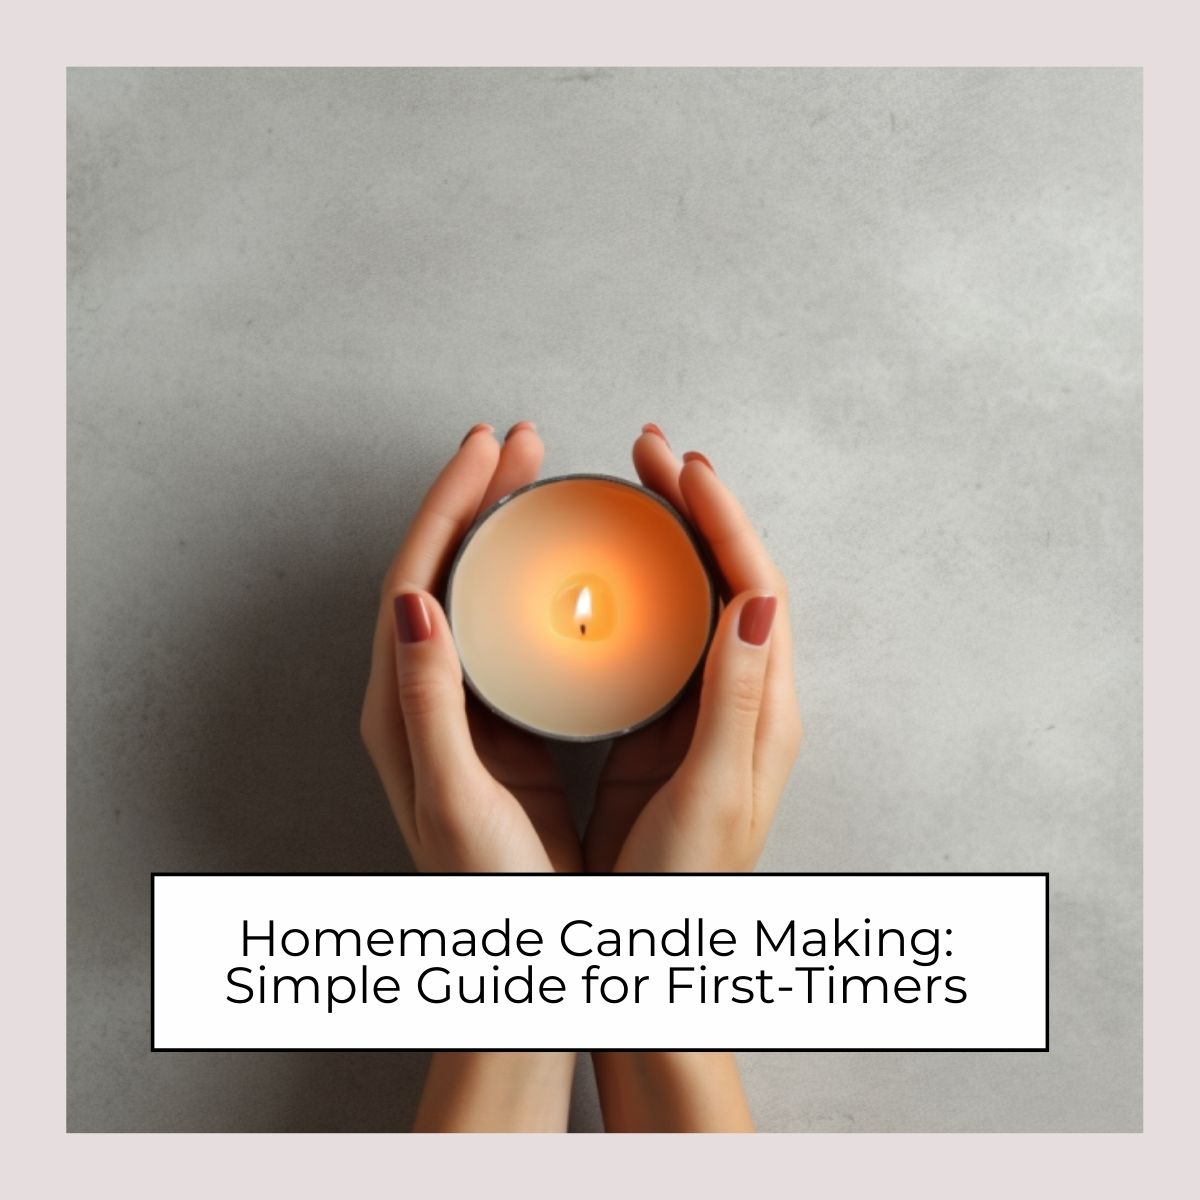
In this post, I’m excited to walk you through a super simple way to make candles at home. If you love the warm, cozy glow of candles as much as I do, I think you’ll find candle making not only rewarding but also a lovely way to unwind and get creative.
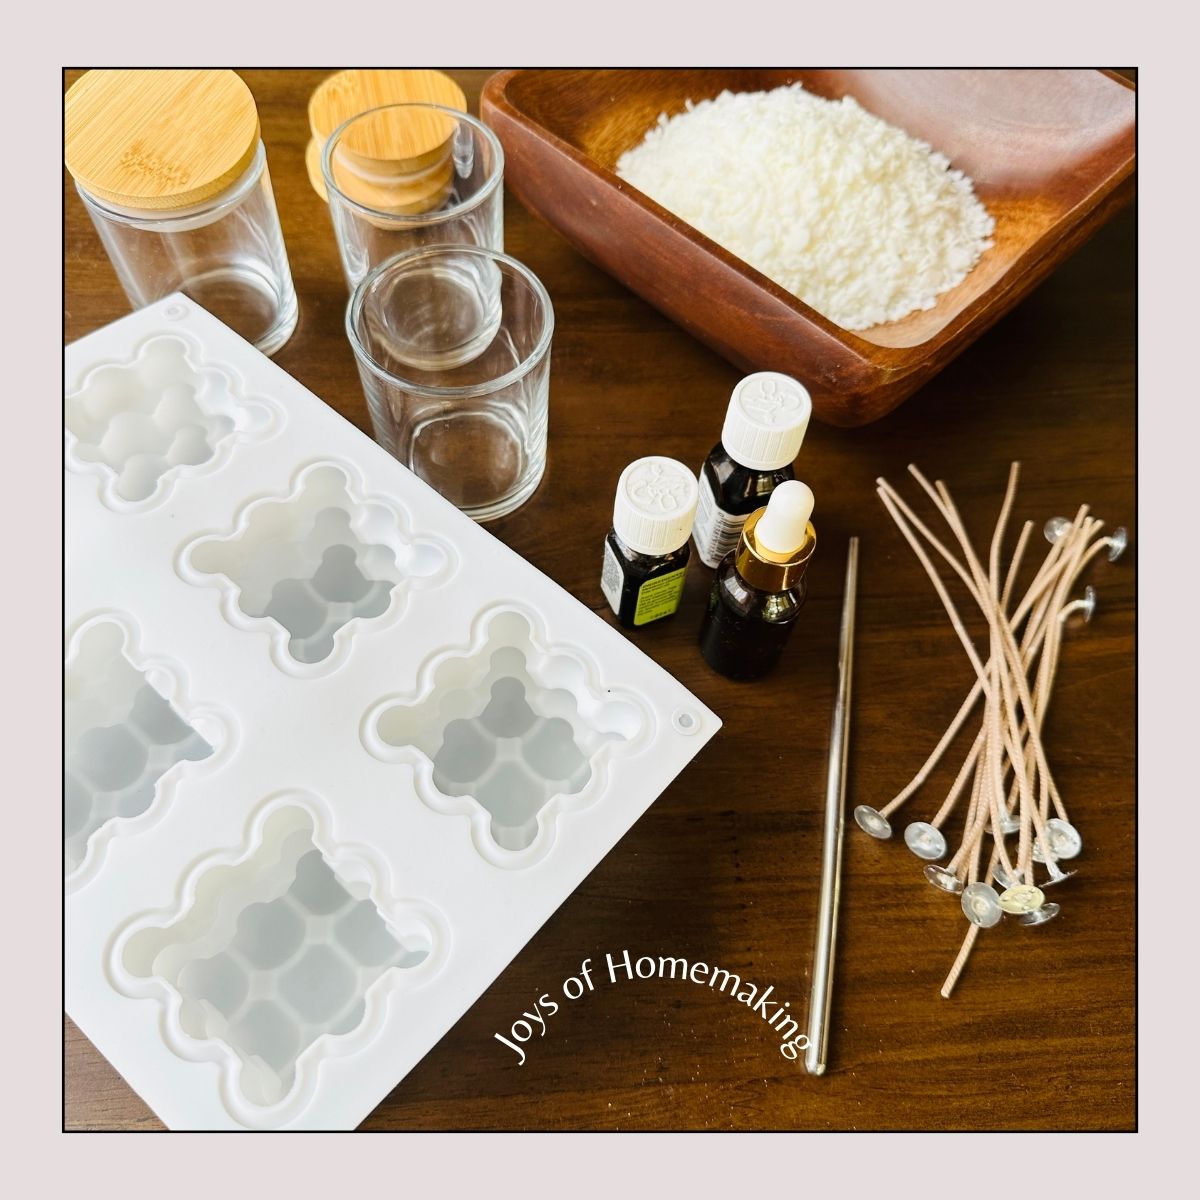
What You Need to Make Homemade Candles
Candle making is quite simple, which is also one of the reasons I enjoy it so much. You will be glad to know that you only need a few basic ingredients and some supplies that you might already have at home.
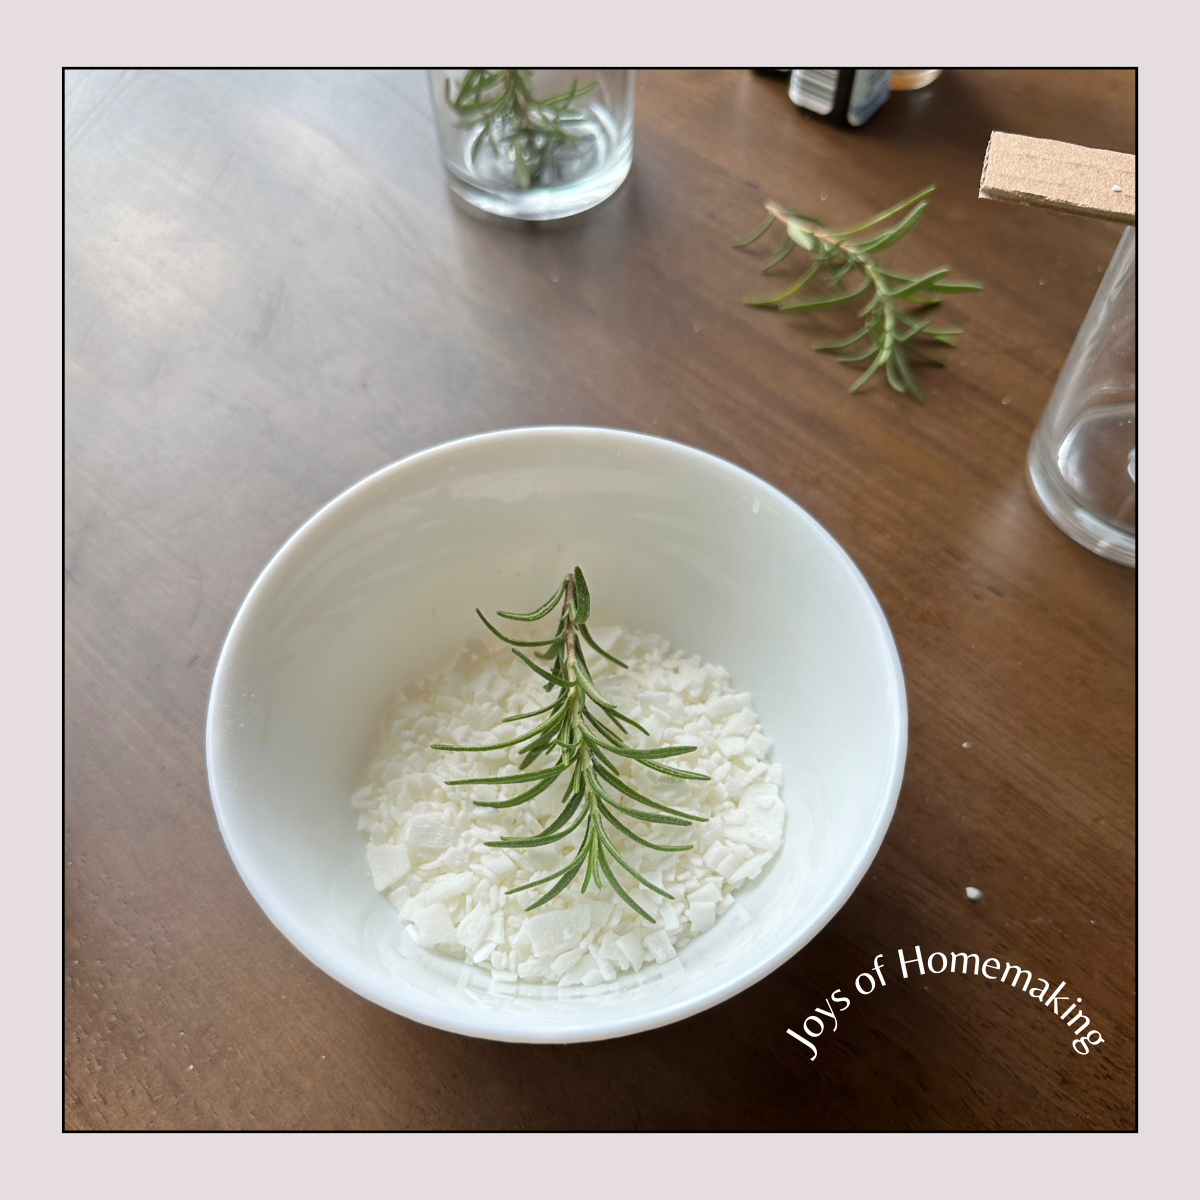
Soy Wax Flakes
One of the best materials you can use for making candles is soy wax flakes. These flakes are derived from soybeans and are known for their clean burning properties.
When you light a soy wax candle, it releases very little soot into the air. This means you can enjoy your cozy candlelight without worrying about harmful particles clouding your space.
Not only do soy wax candles burn cleaner, but they are also non-toxic. This is a major plus if you have pets or little ones running around.
Essential oils
Essential oils are concentrated extracts from plants, which means they pack a punch when it comes to fragrance. By incorporating a generous amount, I ensure that my candles emit a delightful scent when lit.
I absolutely love essential oils—especially lavender and peppermint. Their calming aromas add a soothing, comforting touch, making them ideal for cozy evenings at home. On the flip side, I also enjoy vibrant citrus scents. Their bright, uplifting fragrance helps energize me in the morning and sets a positive tone for the day ahead.
Whatever scent you choose, make sure to buy 100% pure essential oil.
Natural wicks
I’ve learned that traditional candle wicks, often made from cotton or other synthetic materials, release butane gas as they burn, which is not something I want wafting through my space. That’s why I’ve made the switch to using natural hemp-based wicks in my homemade candles. Hemp wicks are eco-friendly and produce less soot than their traditional counterparts.
Shopping Tip: I still love getting essential oils from Amazon—they have great options and reliable quality. However, for other supplies, I recommend checking out Temu. I’ve been shopping there lately and really enjoy the wide variety of products and the affordable prices!
Disposable stirring device
Simple yet effective, a wooden stick or even a spoon meant for single-use to blend your scented oils with the melted wax without worrying about cleaning up afterward.
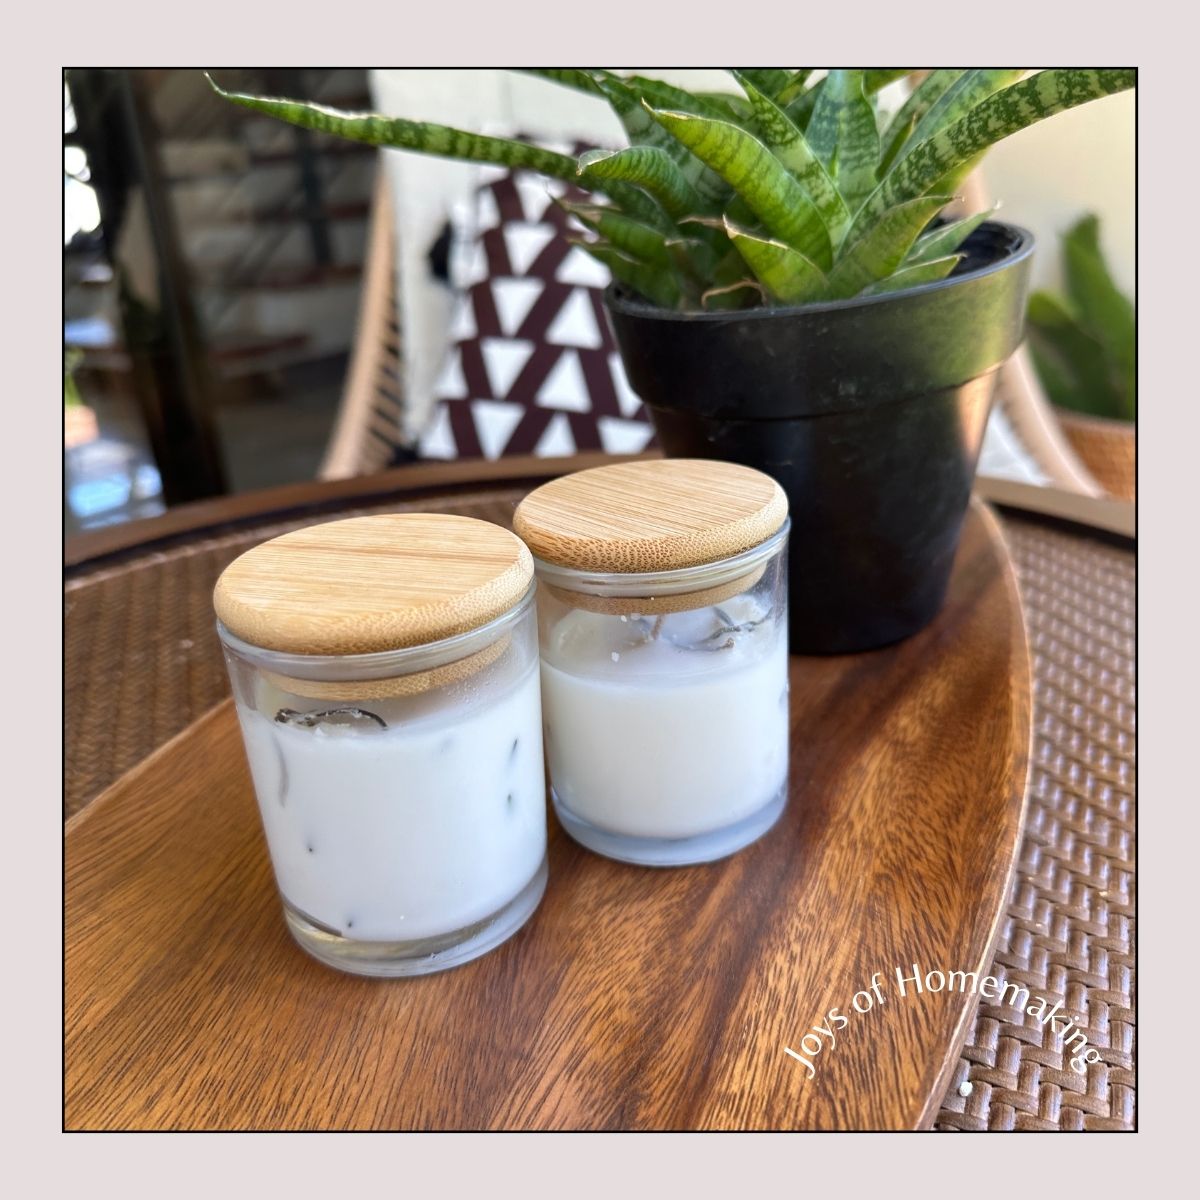
Mason jars
Mason jars not only look charming but are also heat-resistant, making them ideal for holding hot wax. You can also repurpose old mason jars, teacups, and even small bowls to create unique candle vessels that will add an extra flair to your candles. Find cute mason jars here.
Wick anchor
You can use a clothespin, chopsticks, or even a piece of cardboard (like I did) as an anchor to hold the candle wick in place while the wax hardens.
How to Make Homemade Candles
If you’re feeling creative and excited, then let’s get started on how to make homemade candles.
Step 1: Melt the wax.
Once you have your soy wax ready, place it in a pot and set the pot on low to medium heat. As the soy wax begins to melt, you’ll notice how easily it transforms from solid flakes into a warm liquid. Keep an eye on it, and if it seems to be taking too long, you can turn up the heat – just be careful not to let it burn.
Stir it gently with your chopstick; this helps ensure even melting while also keeping things hands-on and fun. You don’t need a thermometer for this; simply watch the wax closely.
If you’re cautious about damaging your pot, a double boiler is the way to go. Simply fill the bottom pot with water and place the wax in the top pot. This method allows you to control the temperature more easily and prevents the wax from burning or sticking to the pot.
Step 2: Add the essential oils.
Once your wax has fully melted, it’s time to add the magic: essential oils. You might wonder how many drops to add. Here's a handy tip: It’s recommended to add between 80 to 102 drops of your chosen oil into the pot.
However, the number of drops will depend on the type of essential oils you are using and their potency. For instance, if you’re using gentle oils like lavender or chamomile, you might lean towards the lower end of the spectrum. If you’re working with stronger scents, such as peppermint or eucalyptus, don’t hesitate to add a few more drops to amplify the fragrance.
Step 3: Secure the wick in place.
Now, let’s anchor those wicks! One easy method is to use a small amount of melted wax, or you can choose pre-made wick stickers or anchors available at most craft stores. Either option works well—the key is to keep your wick securely in place as you pour in the melted wax.
If you're using wax, melt a small amount and dab it onto the center of the bottom of your jar. Then, press the metal base of the wick into the warm wax and hold it for a few seconds until it sets firmly.
Once your wick is anchored, it’s time to stabilize it. Lay a chopstick (or a pencil) across the rim of the jar and tape the wick upright to it.
You can also simply cut a cardboard and poke a hole in the center to secure the wick in place.
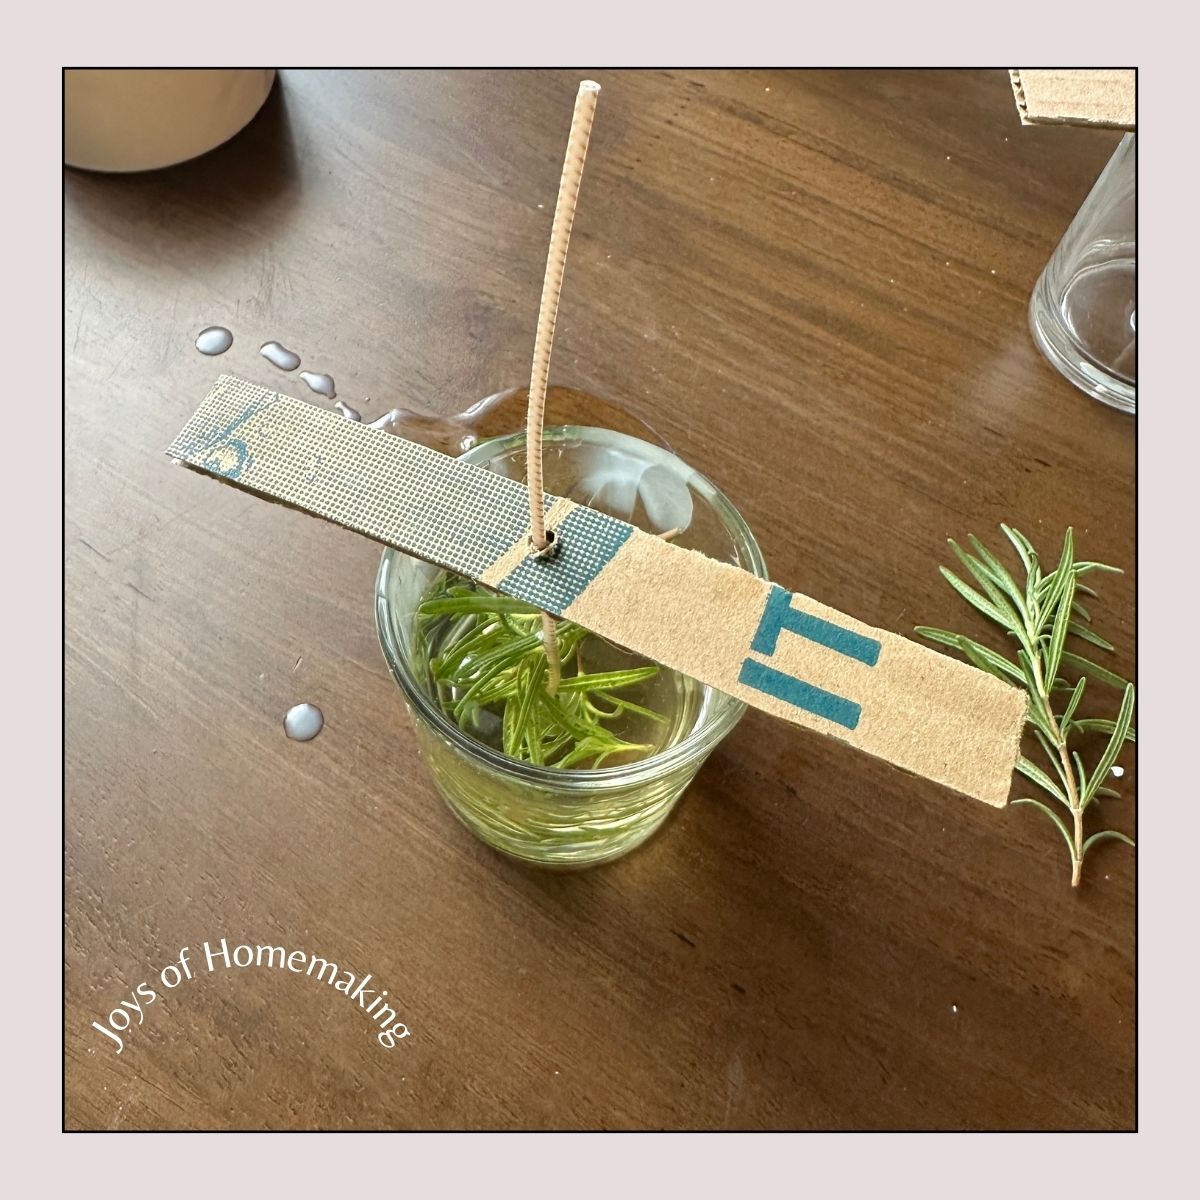
This creates a little bridge that holds the wick straight and centered. Think of it as setting up a tiny easel for your candle—it ensures your wick stays in place as you move on to pouring the wax.
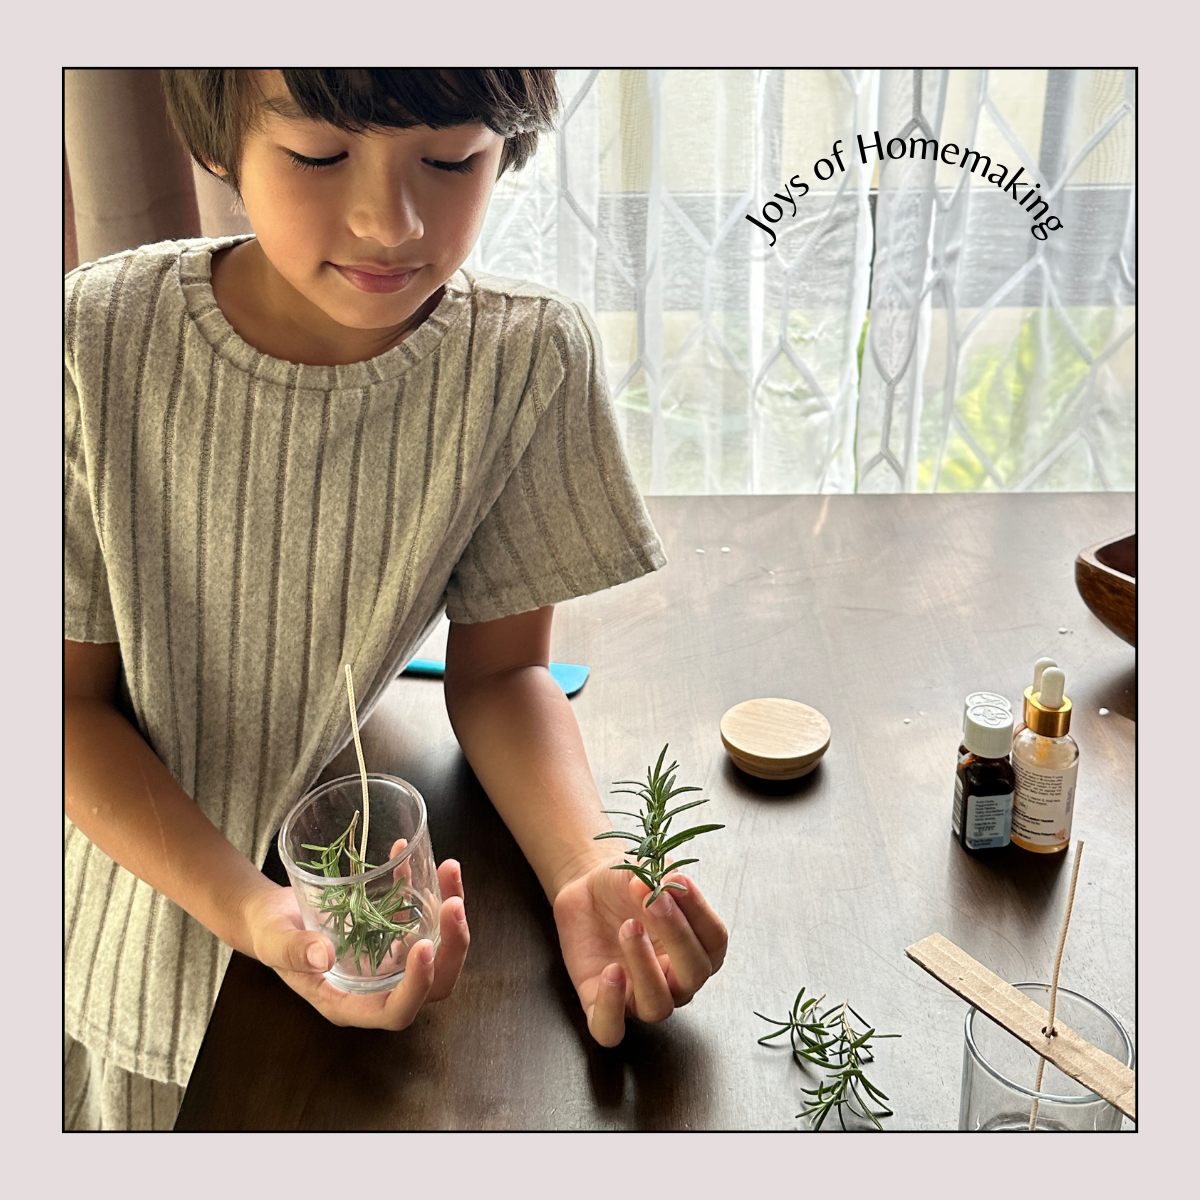
Step 4: Add a Personal Touch
My son loves rosemary, so we enjoy adding fresh cuttings from our garden to our homemade candles for a lovely, natural touch.
You can infuse your candles with a bit of flair, but always research safe methods first. If you choose to use dried petals, leaves, or decorative rocks, proceed with caution—they can cause uneven burning, excessive smoke, or even flare-ups.
A safer way to personalize your candles is by experimenting with colorants made specifically for candle-making. These vibrant dyes add a playful touch to your creations without introducing potential hazards.
Check out liquid oil-based dyes for candles.
Step 5: Pour the wax.
With your wicks in place, it’s time for the fun part – pouring the wax into the jars! Let it cool down a bit before pouring. As you fill each jar, remember to leave a bit of space at the top. Depending on the size of your jars, you might end up with some leftover wax. Don’t worry about it; you can always make another candle or two later!
Once you have filled up your jars, all you have to do is wait a while, about an hour or so, until the wax solidifies. After the wax has completely hardened, it’s time for the final touch: cutting the wick to your desired length. A good rule of thumb is to keep it about a quarter of an inch above the surface of the wax.
Candle-Making Tips
Candle-making can be fun and rewarding, but like any craft, it comes with its fair share of pitfalls. If you’re considering trying your hand at it, or perhaps you already have, here are some handy tips that can help you navigate the process smoothly and avoid any hiccups along the way.
Poke your candles
Air pockets can form during the candle-making process, particularly in pillar or container candles that have a larger diameter and greater height. If air is allowed to get trapped within the layers of wax, it can lead to uneven burning, creating unsightly tunneling, where the candle burns down the center while leaving wax on the sides. To avoid this common pitfall, a simple but effective method is to use a skewer.
Before pouring each new layer of wax, simply poke a few holes in the existing layer with the skewer. This allows any trapped air to escape, promoting a tighter bond between the layers of wax. It’s a small step that can make a huge difference in how your candle performs. For example, when creating a beautifully layered colorful candle, this technique allows the colors to meld more seamlessly and results in a more visually appealing final product.
A blow dryer can come to the rescue.
It is not uncommon for novice and experienced candlemakers alike to encounter a few bumps – quite literally – along their crafting journey. Fortunately, there is no need to panic or consider a complete redo. You can easily fix this problem with just a blow dryer.
Set your blow dryer to the lowest setting – after all, we want to be gentle with our wax. Then, take your blow dryer, hold it at a safe distance from the candle, and start moving it in circular motions over the bubbly surface.
As you heat the top layer of the candle, you’ll notice the bubbles dissipate, and the surface will begin to look more even. Once the surface feels warm and smooth, you can turn off the blow dryer and allow your candle to cool down. Within a short period, you’ll notice that the bubbles have disappeared and your candle looks much more polished.


Final Thoughts
Starting your journey into homemade candle making is not just about crafting something beautiful—it's about creating moments of peace, creativity, and joy with your own two hands. Whether you're doing it for fun, as a thoughtful gift, or as the beginning of a new hobby or business, every candle you make carries a spark of your individuality. Embrace the learning process, experiment with scents and colors, and most importantly, enjoy the glow of your own creation.
"Happiness is not something ready made. It comes from your own actions." – Dalai Lama
Let your candles be a reminder that simple joys can be handmade.