Hello, homemaker!
Lately, I’ve been on a mission to swap out more of our food and drinks for healthier, more natural options. But if your family is anything like mine, giving up soda completely isn’t exactly an easy sell. So I started looking for a better alternative—something still fizzy and fun, but without all the artificial ingredients. That’s when I discovered the magic of the ginger bug. Learning how to make ginger bug has been such a game-changer because now I can incorporate it into our homemade drinks as a natural, probiotic-rich, bubbly alternative to store-bought soda.
A ginger bug is made from three simple ingredients, yet it’s packed with wild yeasts and beneficial bacteria that naturally carbonate your homemade drinks. It’s simple, budget-friendly, and surprisingly fun to make.
Making ginger bug is similar to making sourdough starter- you're essentially cultivating wild yeasts by feeding them a little bit each day until they become active and bubbly.
Let me walk you through how it works.
What Is a Ginger Bug?
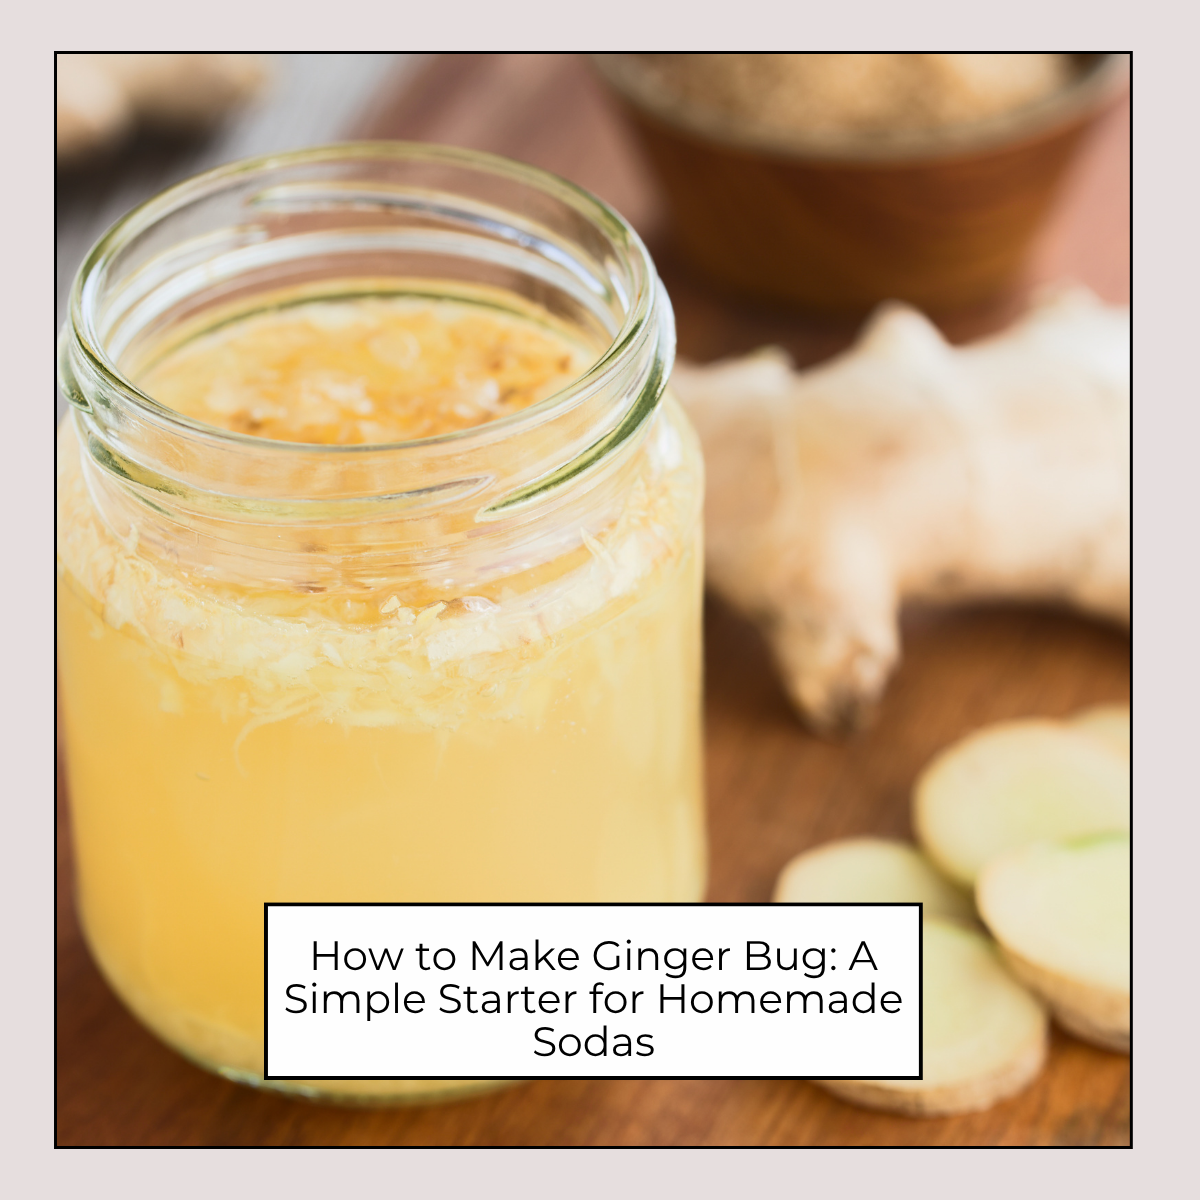
A ginger bug is a wild ferment made by feeding grated or chopped ginger with sugar over several days. As the natural yeasts on the ginger consume sugar, they produce carbonation. Once the ginger bug becomes active and bubbly, it works like a starter culture—similar to a sourdough starter, but for fizzy drinks.
Use it to ferment:
- Homemade ginger ale
- Fruit sodas (strawberry, blueberry, lemon, etc.)
- Herbal sodas (lavender, mint, chamomile)
- Homemade “probiotic lemonade”
What You Need
You only need a few simple ingredients and no fancy equipment:
Ingredients
- 1 tbsp fresh ginger (grated or finely chopped), plus more for feeding
- 1 tbsp sugar, plus more for feeding
- Filtered or non-chlorinated water (chlorine can inhibit fermentation)
Equipment
- A clean glass jar (16–24 oz) - I use this container and just replaced the lid with a cheese cloth.
- A breathable cover (coffee filter, cheese cloth, or paper towel)
- Rubber band
- Spoon for stirring
Looking for affordable place to grab your supplies? Check out this store! They offer free shipping and awesome prices. I order most of my kitchen stuff from them now.
Step-by-Step: How to Make a Ginger Bug
Day 1: Start Your Culture
- Add 1 tablespoon ginger and 1 tablespoon sugar to your jar.
- Pour in 1 ½ cups of water.
- Stir until sugar dissolves.
- Cover loosely with a breathable cover and secure it with a rubber band.
- Place the jar somewhere warm (70–80°F is ideal).
Days 2–7: Feed Your Bug Daily
Each day, add:
- 1 tablespoon ginger, and
- 1 tablespoon sugar
Stir well to introduce oxygen, which helps the wild yeast thrive.
You’ll know things are working when you start to see:
- Tiny bubbles rising to the top
- A slightly yeasty, gingery aroma
- Mild fizziness when stirred
This usually takes 3–7 days, depending on temperature.
How to Know Your Ginger Bug Is Ready
A ginger bug is active and ready to use when:
- It bubbles immediately after stirring
- The surface looks a bit foamy
- It smells pleasantly sweet-tart and gingery
If it’s sluggish, keep feeding it daily until it perks up.
How to Use Your Ginger Bug
Once active, strain out ¼–½ cup of ginger bug liquid and add it to your homemade soda base—fruit juice, ginger tea, herbal tea, etc.—then bottle it tightly. I recommend using this airtight bottle. You can also buy these bottles from Amazon.
Let your soda ferment for another 2–5 days at room temperature. Burp the bottles daily to prevent explosions.
Once bubbly to your liking, refrigerate and enjoy!
How to Maintain Your Ginger Bug
Treat it like a pet you feed occasionally:
- If using regularly: Continue feeding daily.
- If using occasionally: Store in the fridge and feed 1 tablespoon sugar + ginger once a week.
- If you forget a feeding: It’s hardy—just feed it again until it wakes up.
Tips for Success
Use fresh ginger with the peel
The peel contains natural wild yeast that kickstarts fermentation.
Don’t panic if it separates
Liquid on the bottom and ginger on top is normal. Just stir daily.
If mold forms, discard and restart
Mold looks fuzzy, usually white, green, or black. Cloudiness alone is normal.
Troubleshooting
No bubbles?
Try these:
- Move to a warmer spot
- Feed an extra tablespoon of sugar
- Switch to organic ginger (which has more yeast)
- Avoid chlorinated water
Smells bad?
Sour or yeasty is normal. Rotten or foul smells are not—time to start fresh.
Final Thoughts
A ginger bug is one of the easiest and most rewarding ferments you can make at home. With just a few minutes of daily feeding, you’ll have a lively starter that brings natural fizz and probiotics to your homemade sodas. Once you try it, you may never go back to store-bought ginger ale again!