The simplest things in life are often the most rewarding. When you stir with love, even yogurt becomes a story of patience, care, and joy. - Joys of Homemaking
Hello, homemaker!
My son is a huge yogurt lover, so learning to make it from scratch quickly became a priority—especially after our family moved from Puerto Rico to the Philippines.
When we first moved here, the stores (at least where we live) did not always have the probiotic-rich varieties. There is one local product I really like here, though, but I try to avoid it because of its high sugar content.
So I thought—why not make it myself? That way, I can control the sugar content and flavor it with the fruits we actually enjoy.
And guess what? It’s so much easier than I expected! Plus, it’s affordable, healthy, and surprisingly fun.
If you’ve ever wanted to try making your own yogurt, here’s my simple step-by-step guide to help you whip up delicious, probiotic-packed yogurt right in your own kitchen.
Homemade Yogurt

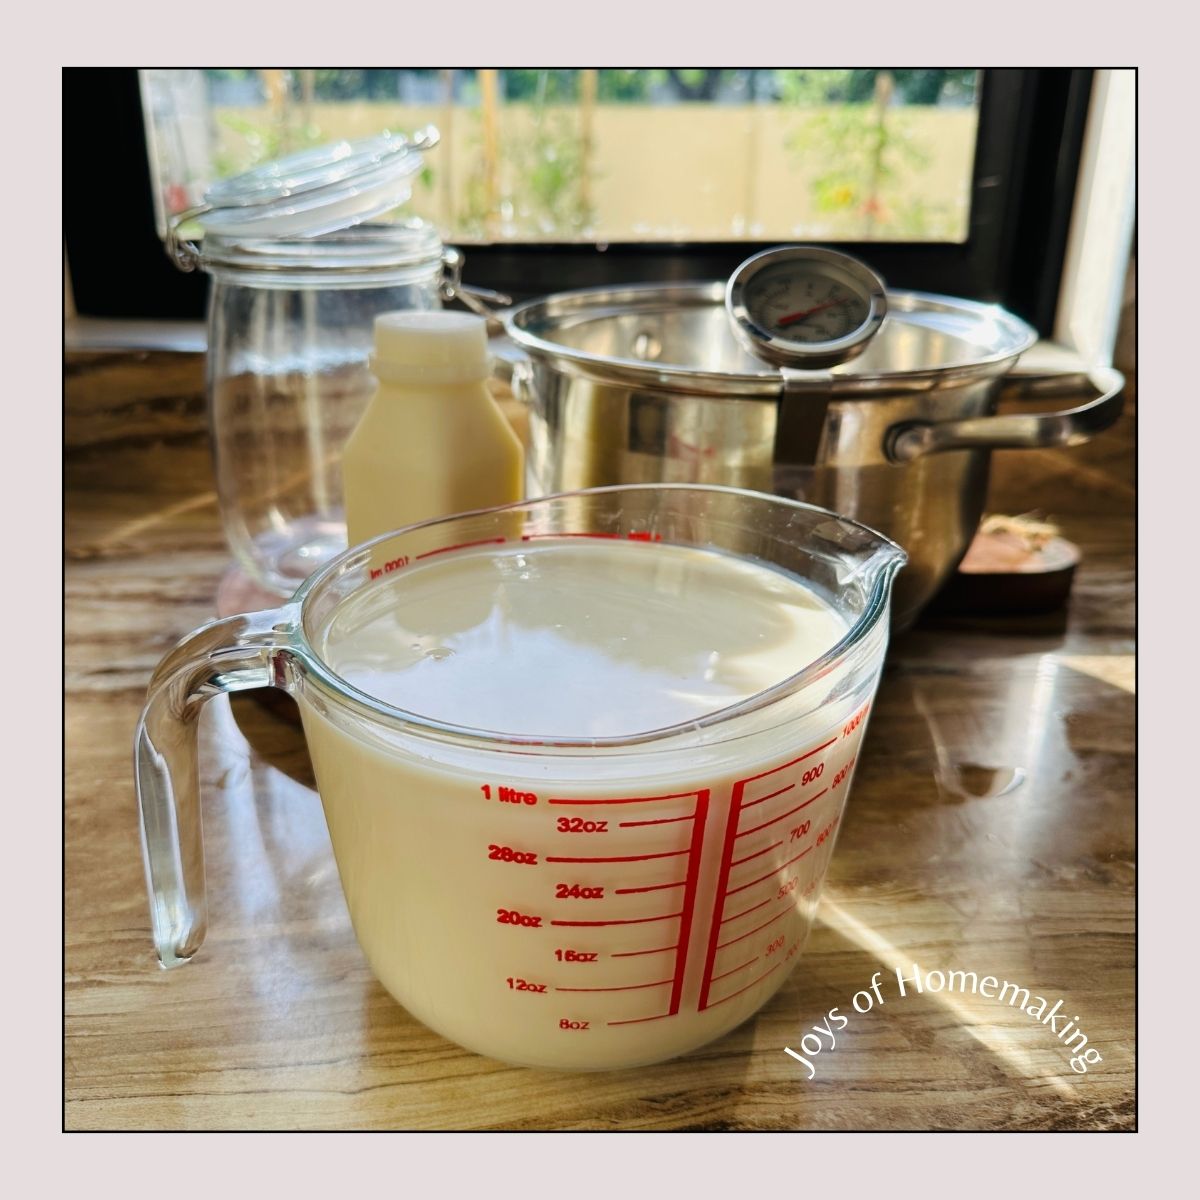
What You Need
- 1 liter of fresh whole milk
- 2 tablespoons of plain yogurt (with active probiotics, for your initial starter)
- A clean glass container or jar. I recommend this!
- Saucepan
- Thermometer (optional, but helpful). You can buy it here for only $8.
- Towel or blanket (for incubation)
Instructions
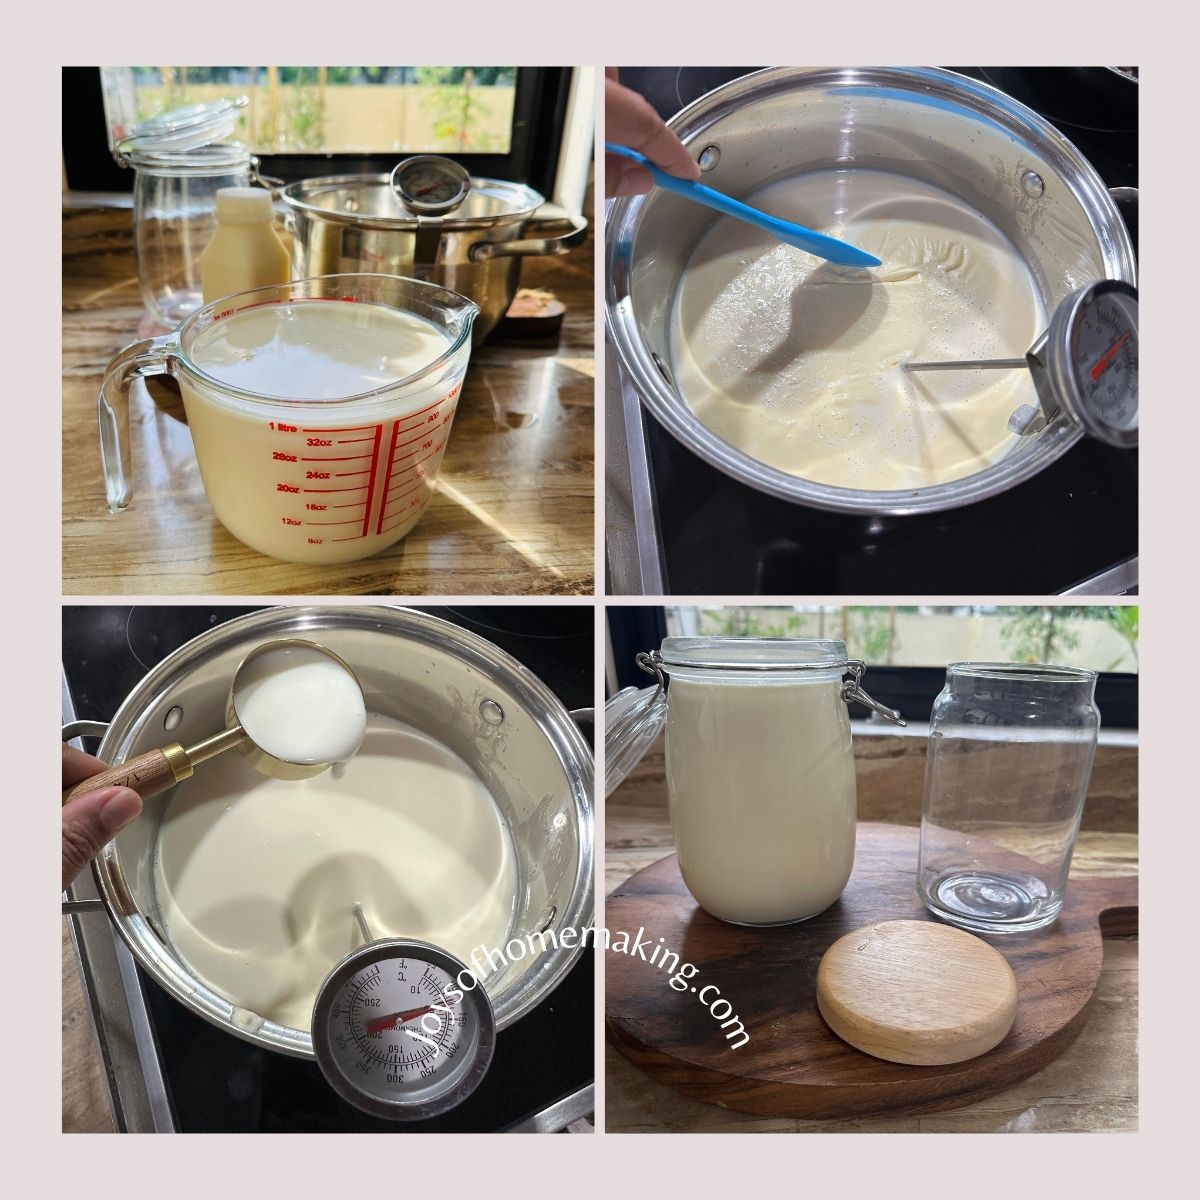
- Heat the Milk: Pour your milk into a saucepan and gently heat it until it reaches about 180°F (82°C), or until tiny bubbles form around the edges (don't let it boil). This step kills unwanted bacteria and helps achieve the creamy yogurt texture you love.
- Cool the Milk: Allow the milk to cool down to around 110°F (43°C)—warm enough to comfortably dip your finger without burning. This temperature ensures your probiotics thrive.
- Add Yogurt Starter: Mix in the two tablespoons of plain yogurt with active probiotics into the warm milk. Stir thoroughly to evenly distribute the yogurt cultures.
- Incubate: Transfer the mixture to a clean glass container or jar. Cover it with a lid or cling wrap, wrap the jar in a towel or blanket, and place it in a warm spot in your home. Leave it undisturbed for 6-12 hours. The longer you incubate, the thicker and tangier the yogurt will be. Sometimes I let it sit for 15 hours.
- Chill and Enjoy: After incubation, refrigerate your yogurt for at least 2 hours to set. Once cooled, you can enjoy it plain, with fruits, honey, granola, or as a base for smoothies and dressings.
Pro Tips
- Keep a small amount of your homemade yogurt as a starter for your next batch.
- Experiment with incubation times to find your perfect taste and consistency.
Storing Instructions
Once your homemade yogurt is ready, just pop it into an airtight container and store it in the fridge. It’ll usually stay good for about 1 to 2 weeks, but for the best taste and texture, try to enjoy it within the first week.
Final Thoughts
Making yogurt at home is about more than just food; it's a nourishing way to care for yourself and your loved ones.
Give it a try, and you'll see just how rewarding—and delicious—homemade yogurt can be!
Cooking from scratch is the single most important thing we could do to improve our health and general wellbeing. - Michael Pollan