I first learned how to make homemade pita bread after my family moved from Puerto Rico to the Philippines to retire. One day, I whipped up a batch of delicious, garlicky homemade hummus—only to realize I couldn’t find pita bread anywhere in the local grocery stores.
So, I decided to try making it myself. And you know what? It turned out to be even better than any store-bought version I’ve ever had—fresh, soft, flavorful, and surprisingly easy to make! Even my son, who can be pretty picky, absolutely loves it—especially when we use it as a quick base for homemade pizzas.
Trust me, once you try it, your family will love it too!
Ready to give homemade pita bread a shot?
Easy Homemade Pita Bread
Here's What You'll Need
- 2 teaspoons active dry yeast (This is what I love using.)
- 1 tablespoon sugar
- 1 cup warm water
- 2 ½ cups all-purpose flour
- 1 teaspoon salt
- 2 tablespoons olive oil (This is highly recommended!)
How to Make It
- First things first: mix your yeast, sugar, ½ cup of flour and warm water in a bowl. Wait for about 5-10 minutes until it gets nice and bubbly.
- Next, add the rest of your flour, salt, and olive oil. Knead the dough until it becomes smooth and stretchy—about 5-7 minutes. Think of it as a little workout for your hands! Use extra flour for dusting so the dough doesn't stick to the surface of your table or countertop but do not add too much flour.
- Place your dough in an oiled bowl, cover it up, and let it rise until it's about double its original size (about 1 hour although sometimes it takes more than that.)
- Once risen, punch down your dough (it’s strangely satisfying!) and divide it into 8 equal pieces. Roll each one into a round disc, about ¼ inch thick.
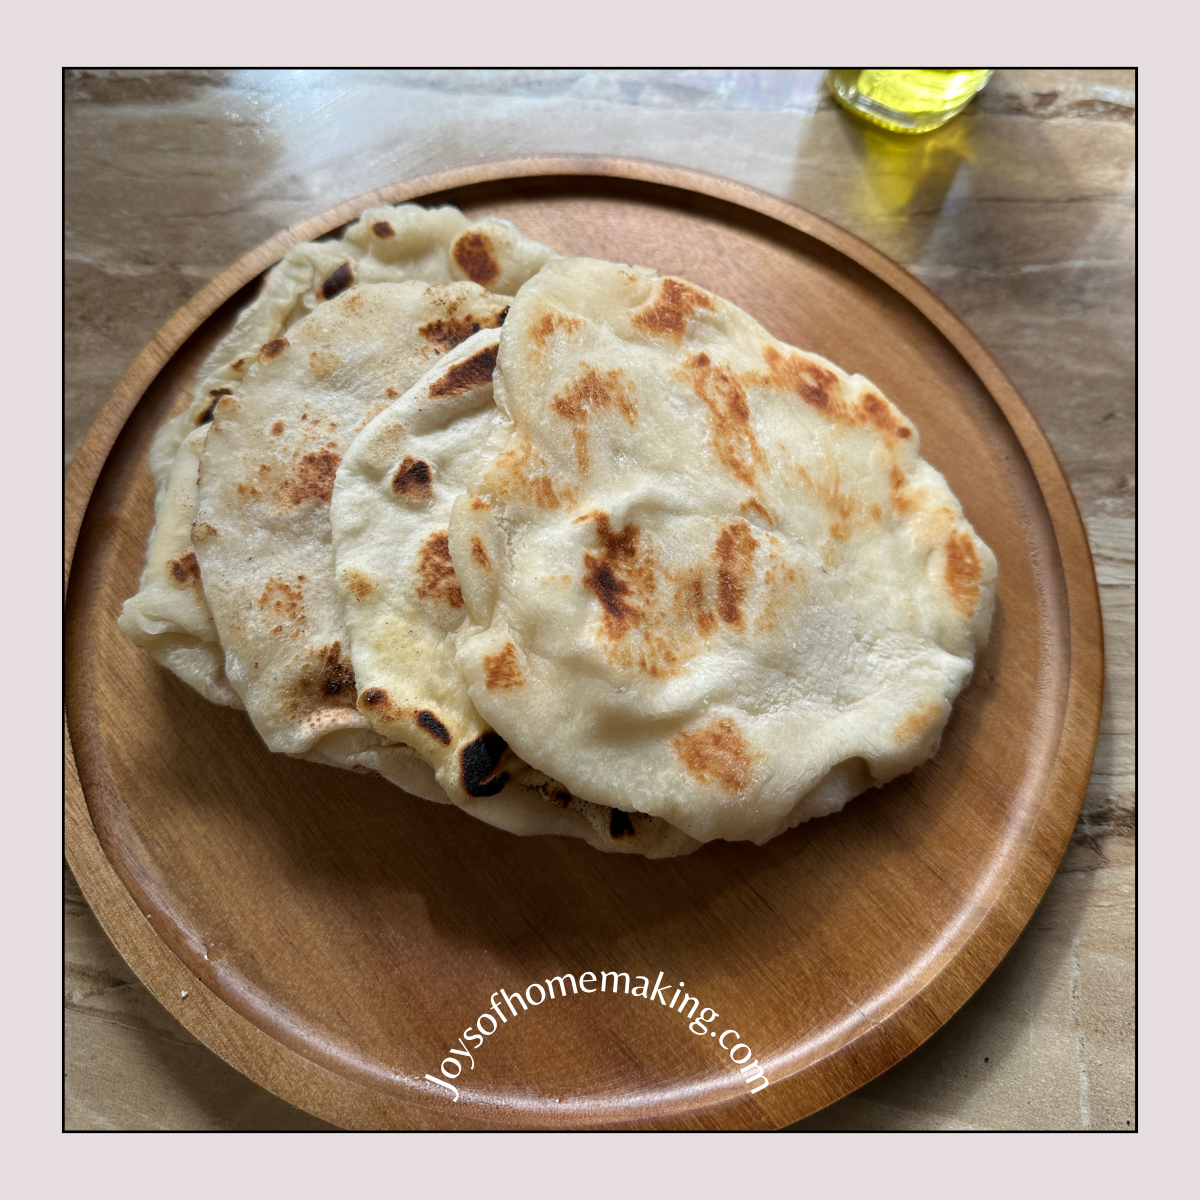
- Cook your pitas in a hot skillet or on a baking stone in a preheated oven at 450°F for about 3-4 minutes per side. Watching them puff up like magic is honestly the best part!
Quick Tips to Perfect Your Pita
- Give your dough enough time to rise—it makes all the difference in puffiness!
- Avoid rolling your dough too thin. Aim for about ¼ inch thickness to ensure fluffy, pocket-perfect pita.
- Preheat your skillet or oven thoroughly to get that signature pita pocket.
Wondering how to store your homemade pita?
- At room temperature: Keep it in an airtight container or zip-lock bag, and it'll stay fresh for about 3 days.
- Want to freeze it? Absolutely! Once completely cooled, wrap each pita in parchment paper, stash them in a freezer bag, and freeze for up to 3 months. Just pop them in the oven or toaster oven to reheat and they'll taste freshly baked again.
Frequently Asked Questions (FAQs):
Do you need a stand-up mixer? No, not at all! I knead the dough by hand, and honestly, it’s part of the fun!
Can you use whole wheat flour? Absolutely! You can substitute half of the all-purpose flour with whole wheat flour for a healthier option. If you're using whole wheat flour, this is a great brand to use.
Why isn’t my pita puffing up? Your cooking surface might not be hot enough, or your dough may be rolled too thin. Aim for about ¼ inch thickness and a very hot skillet or baking stone.
Can I make the dough ahead of time? Yes! You can refrigerate the dough after the initial rise for up to 24 hours. Let it come back to room temperature before shaping and cooking.
Can I add herbs or spices to the dough? Definitely! Feel free to mix in garlic powder, oregano, rosemary, or any other favorite herbs or spices to enhance the flavor.
What can I do with leftover pita bread? Leftover pita makes excellent pita chips. Simply cut into wedges, brush with olive oil, sprinkle with seasoning, and bake until crispy.
I promise once you taste your homemade pita bread, you might wonder why you didn’t try it sooner. Are you ready to give it a go? I'd love to hear how it turns out!