My son harvested a bunch of basil leaves from our little backyard garden to encourage more growth. With the kitchen filled with that fresh, peppery scent of basil, I knew exactly what I had to make: homemade pesto.
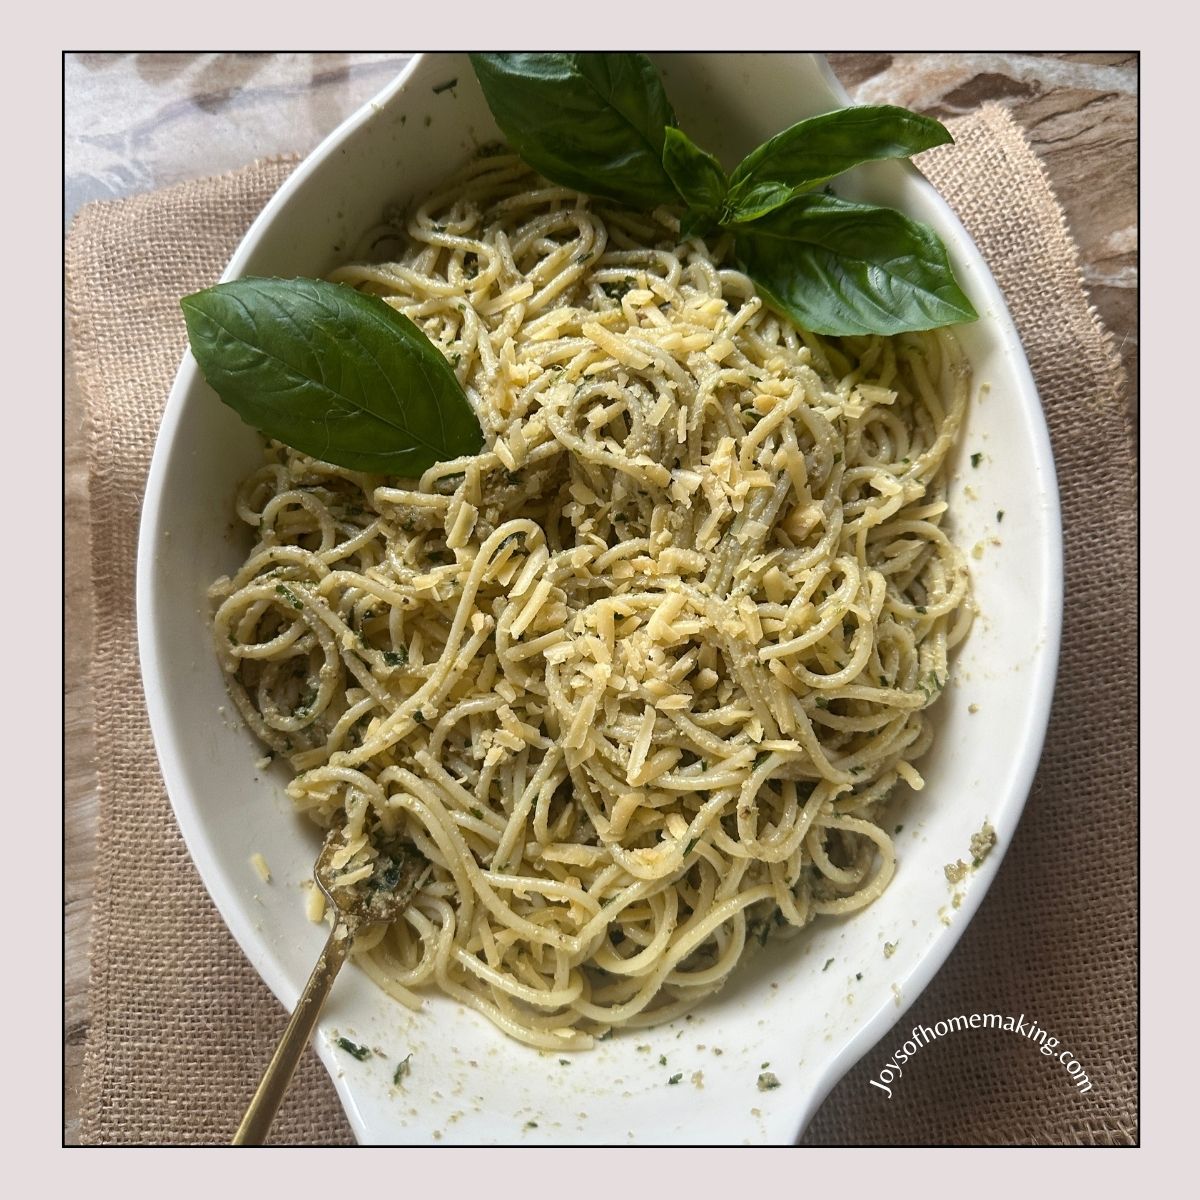
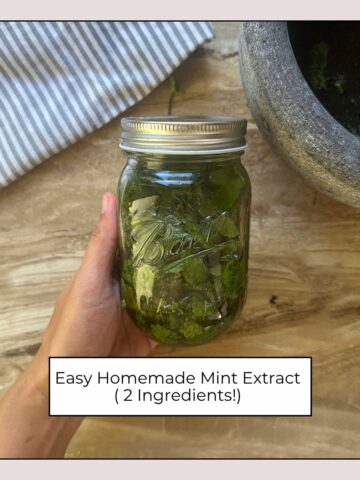
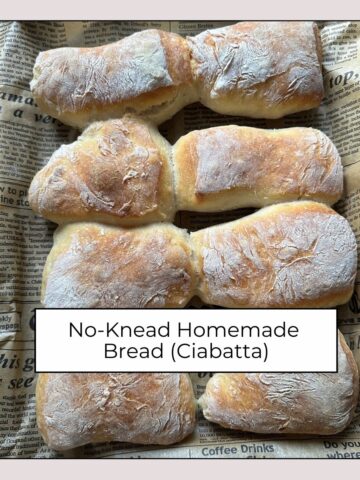
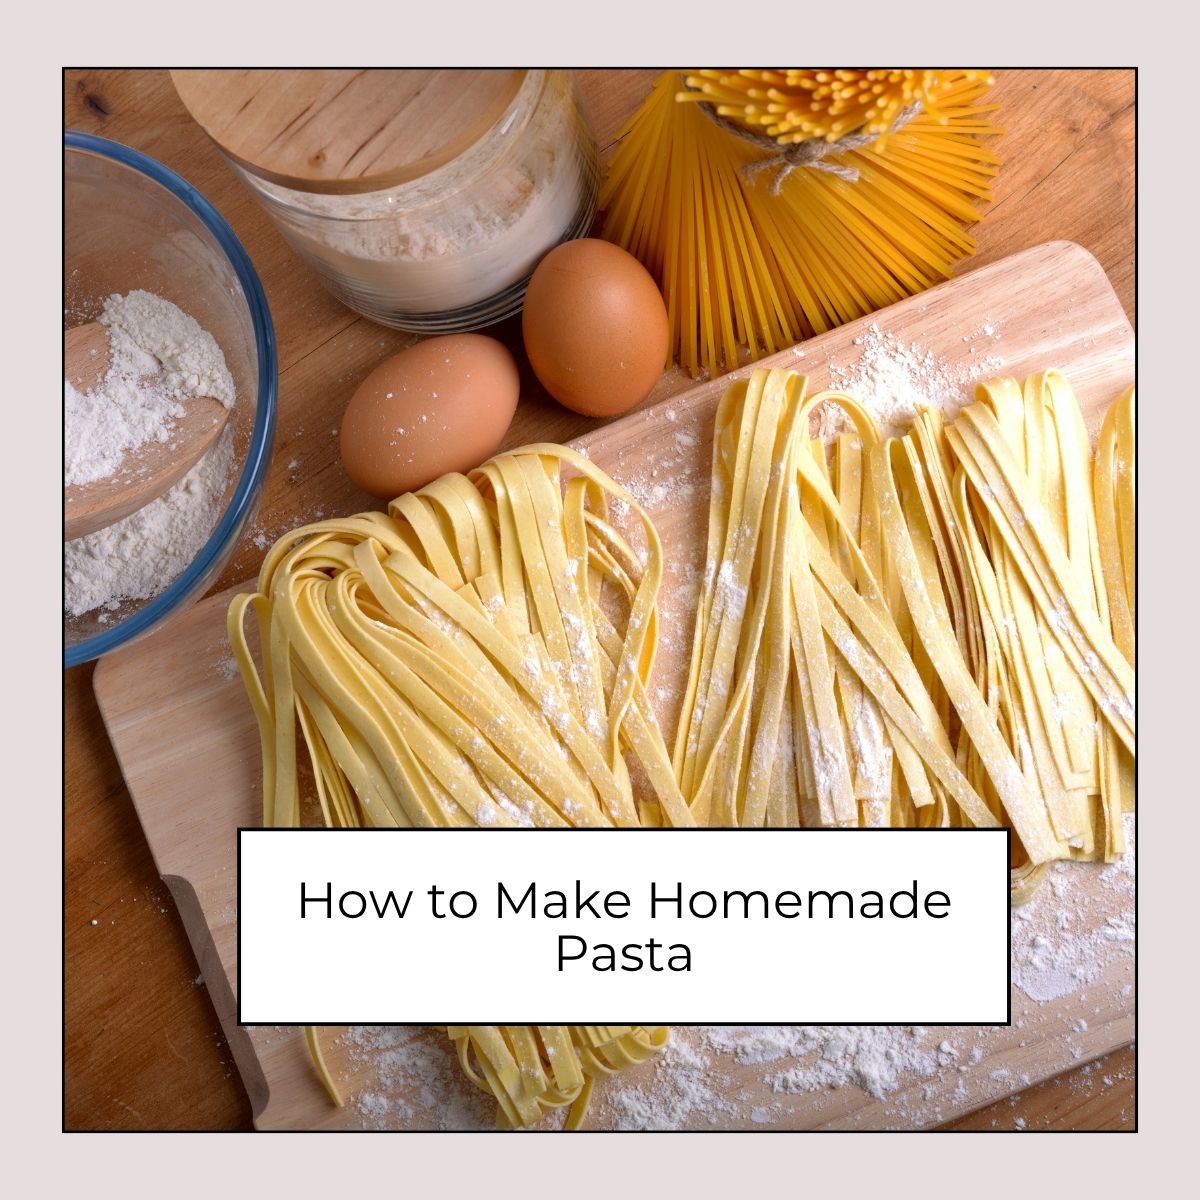
If you have basil—especially lots of it—pesto is one of the best and tastiest ways to make use of your leaves. It’s not only simple and quick to make, but it’s also versatile enough to transform everyday meals into something special. We love it in our homemade pasta, salads, hummus, chips and breads.
How to Make Homemade Pesto
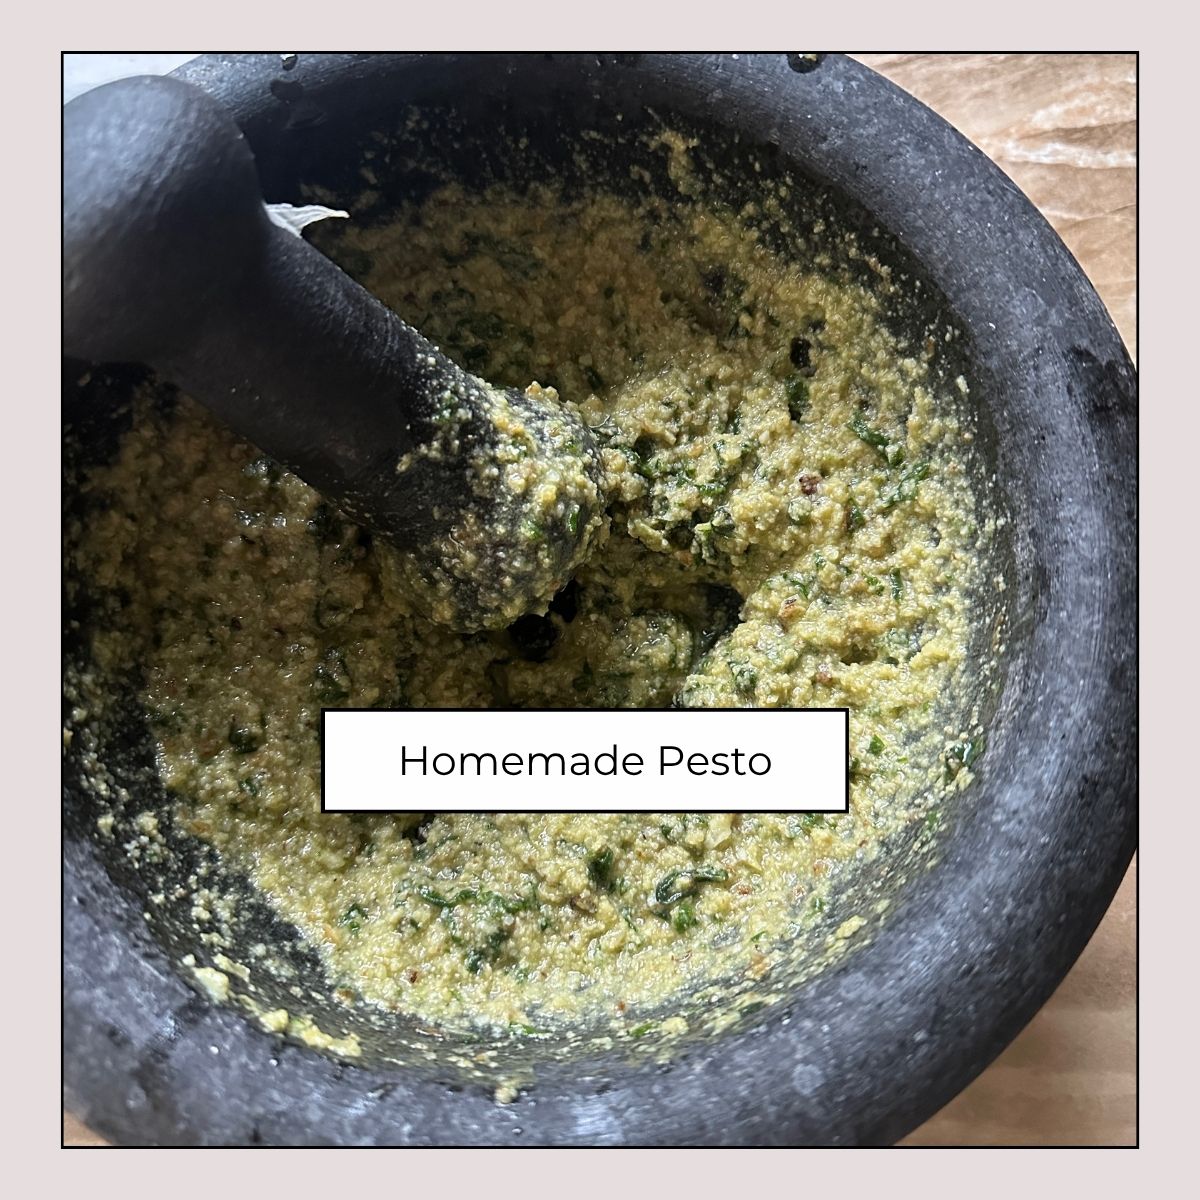
Classic pesto is traditionally made with fresh basil, garlic, pine nuts, Parmesan cheese, and olive oil. The ingredients are simply blended together into a rich, green paste. But, if you don't have pine nuts, you can use any nuts instead. I used walnut for this recipe and it came out delicious too!
Equipment You'll Need
Mortar and pestle or food processor.
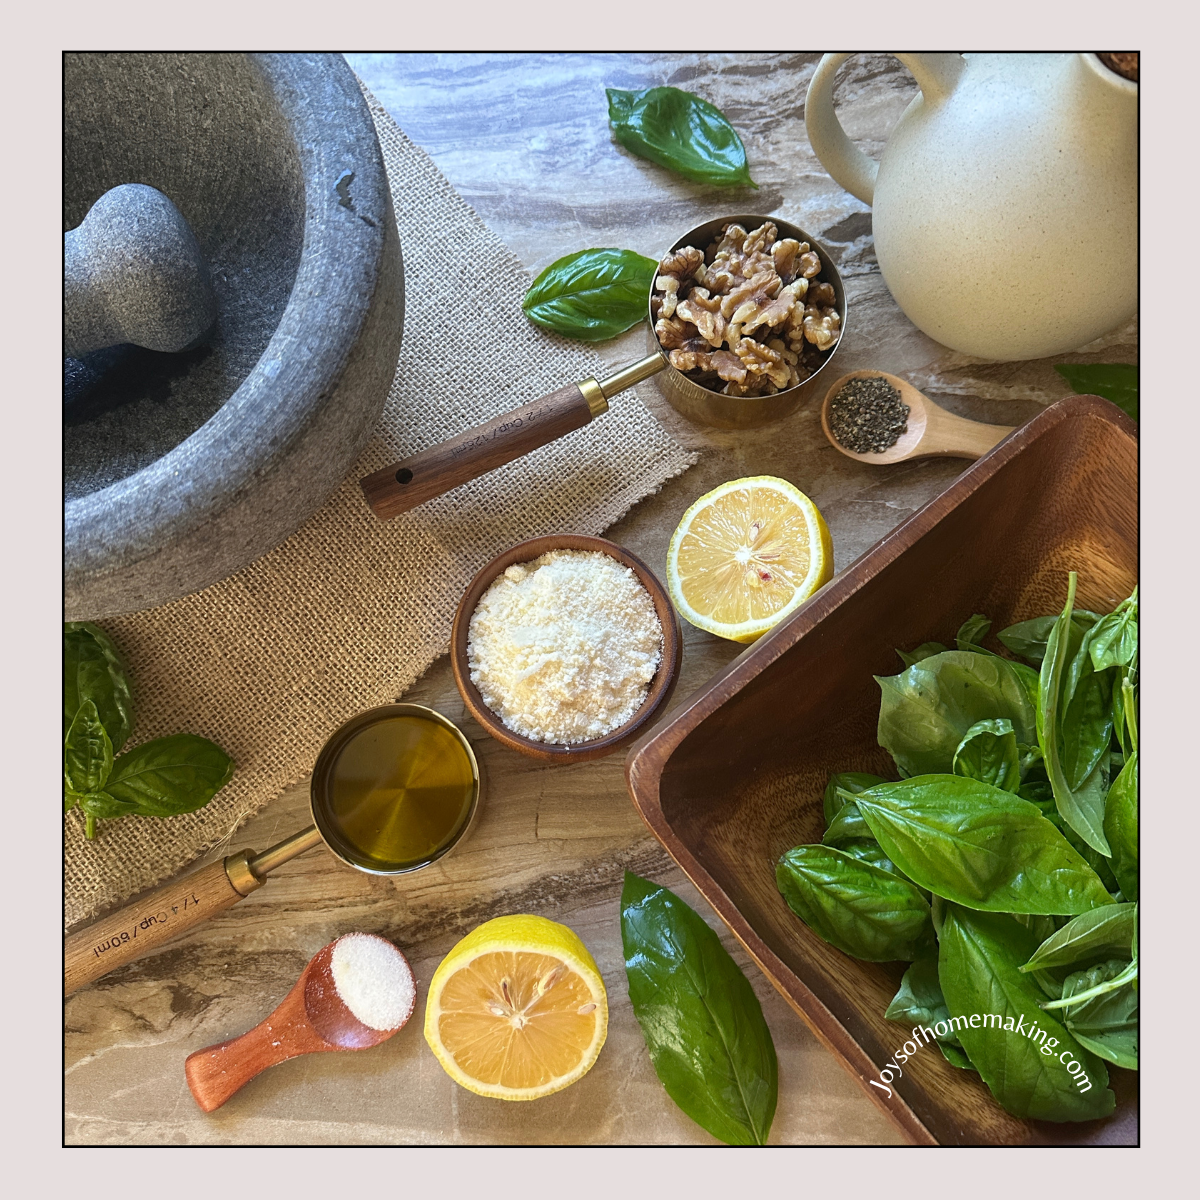
Ingredients You'll Need
- 2 cups fresh basil leaves
- ½ cup extra virgin olive oil
- ⅓ cup nuts (pine nuts or walnuts/almonds as a budget-friendly substitute)
- 2 cloves garlic
- ½ cup freshly grated Parmesan cheese
- Salt and pepper to taste
Instructions
- Lightly toast the nuts in a skillet for extra flavor (optional but recommended).
- Ground first the nuts and garlic and add in basil. I used mortar and pestle but you could also do it with a food processor. Pulse until coarsely chopped.
- Add cheese and grind/pulse again.
- Slowly pour in olive oil while processing until smooth.
- Taste and adjust seasoning with salt and pepper.
In minutes, you’ll have a jar of homemade pesto ready to go!
What to Do With Your Pesto
One of the best things about pesto is how versatile it is. Here are some delicious ways to use it:
- Swirl into soups: Adds flavor to tomato or vegetable-based soups.
- Use as pizza sauce: A fun twist on traditional red pizza sauce.
- Mix into salad dressings or dips: Combine with Greek yogurt or mayonnaise for a creamy, herby dip.
- Mix into hummus: Hummus and pesto are a perfect mix!
- Toss with pasta: A classic, simple dish that never fails.
- Spread on bread or sandwiches: Adds instant flavor to paninis or toast.
- Drizzle over grilled veggies or meats: Perfect for chicken, shrimp, or roasted vegetables.
How to Store Homemade Pesto
Fresh pesto is best enjoyed right away, but it can also be stored for later. I keep it in an airtight container and it lasts fresh for up to 7 days.
- In the fridge: To prevent your pesto from turning brown due to oxidation, pour a thin layer of olive oil over it before sealing the jar.
- In the freezer: This is the best way to store extra pesto. Freeze in small portions, using ice cube trays (and once frozen, pop the cubes into a freezer bag) or these small freezer containers. This way, you can grab just the amount you need later. Frozen pesto lasts for about 6 months.
Shelf Life of Homemade Pesto
- Room temperature: I do not recommend this since fresh basil and cheese can spoil quickly at room temperature.
- Refrigerator: If stored or sealed properly, your pesto can last for up to 7 days.
- Freezer: Up to 6 months, sometimes longer if well-sealed and protected from freezer burn.
How to Make Pesto Last Longer
If you’d like to extend the shelf life of your homemade pesto, here are some handy tips:
- Skip the cheese before freezing: Cheese can change in texture when frozen. Instead, freeze pesto without Parmesan and add it fresh when you thaw and use it.
- Use extra olive oil: Always finish with a thin layer of olive oil on top to seal out air.
- Try blanching basil leaves: Quickly blanch basil in boiling water, then plunge into ice water before blending. This helps preserve the bright green color and slows browning.
- Vacuum-seal or use freezer-safe jars: This keeps air out and prevents oxidation.
