Hello, homemaker!
Ready to make homemade mozzarella? You’re in the right place! I’m going to walk you through it step by step so you can whip up fresh mozzarella at home. It’s really simpler than you might think. Just follow the easy instructions below and you’ll have a delicious, fresh mozzarella cheese in less than an hour!
Mozzarella was actually the very first cheese I ever tried to make, and I’ll be honest with you, I completely failed on my first two attempts. But once I got the hang of it, it quickly became my favorite.
Now, I look forward to making it, not just because it’s fun to make and more delicious than store-bought. You’ll also make huge savings by making your own mozzarella, especially if you have access to cheap fresh milk. You can make batch after batch of this creamy, stretchy cheese! And oh, just imagine all the delicious dishes you can create—gooey pizzas, cheesy lasagna, melty mozzarella sticks, and more!
Why Mozzarella?
While I also enjoy making those crumbly, flavorful cheeses like farmer’s or ricotta from scratch, mozzarella is the one cheese that I need to have in my fridge or don’t want to run out of.
It doesn’t have a strong flavor and complements many dishes. My son loves gooey pizza with it so it quickly became my goal to learn how to make it.
For me, mozzarella is one of those cheeses that feels both fancy and everyday. It melts into perfection on pizza night, adds freshness to a salad, and turns garlic bread into something heavenly.
Beginner Tips
If you’re new to cheese-making, I definitely recommend using rennet. I tried making mozzarella with just vinegar and milk before but unfortunately, it just didn’t turn out as stretchy as how it’s supposed to be.
You’ll only need very little rennet each time so with a small bottle of it, you’ll be able to make LOTSS of cheese. I use this rennet brand. Also, rennet comes in tablet form so if you prefer it, just check my homemade mozarrela recipe using rennet table form below.
What Is Rennet?
Rennet is actually a natural enzyme from animal stomachs of young calves, lambs or goats. It can also come from plants, or microbial sources like fungi or bacteria. If you are vegetarian, you can use the vegetarian rennet.
I wanted to try the vegetarian rennet as well so I also bought a bottle from here. I haven’t used it for cheese-making yet, so let me know how it works out for you.
Essentially, rennet works by coagulating the casein proteins in milk, creating curds (the solid part of the cheese) and causing the liquid whey to separate from the curds. Without rennet, you would only end up with a loose, yogurt-like consistency instead of firm curds.
While vinegar does help with creating curds, for me, rennet works better at making your cheese elastic or stretchy. Once the curds form, simply reheat the curds and stretch the cheese into smooth pliable mozzarella balls.
Tools or Equipment You’ll Need
Before we dive into the instructions, let’s gather our tools.
- A large pot
- Thermometer- This is a must for cheese-making! I use a dial thermometer but digital thermometers also work as great.
- Slotted spoon
- Microwave-safe bowl or hot water bath setup
Ingredients You'll Need
I’ve included measurements for both 1 gallon of milk and 2 liters of milk—so feel free to use whichever you prefer!
For 1 gallon of milk:
- 1 gallon whole milk - Avoid ultra-pasteurized. I use flash-pasteurized.
- 1 ½ teaspoons citric acid dissolved in 1 cup cool water
- ¼ teaspoon liquid rennet (or ¼ rennet tablet dissolved in ¼ cup cool water)
- 1 teaspoon salt (or more to taste)
For 2 liters of milk:
- ½ teaspoon salt (or more to taste)
- 2 liters whole milk (avoid ultra-pasteurized)
- ¾ teaspoon citric acid dissolved in ½ cup cool water
- ⅛ teaspoon liquid rennet (or ⅛ rennet tablet dissolved in 2 tablespoons cool water)- This is equivalent to approximately 0.6 ml of liquid. Use a 2 ml syringe or dropper for more accurate measurements.
Step-by-Step: Making Mozzarella
1. Heat and Acidify the Milk
Pour your milk into a large pot and stir in the citric acid solution. This helps the milk acidify so it will set properly. Gently heat to about 90°F while stirring slowly.
2. Add the Rennet
Next, add your rennet solution and stir in an up-and-down motion (not swirling). Cover the pot and let it rest for 5 minutes. When you check, the milk should have set into a custard-like consistency. This is when you realize—you’re really making cheese!
How to know if it’s ready for cutting? Dip your finger into the cheese. It should have a custard-like consistency. If it comes out clean, then it’s ready. If some curds or liquid stick to it, give it more minutes.
3. Cut the Curds
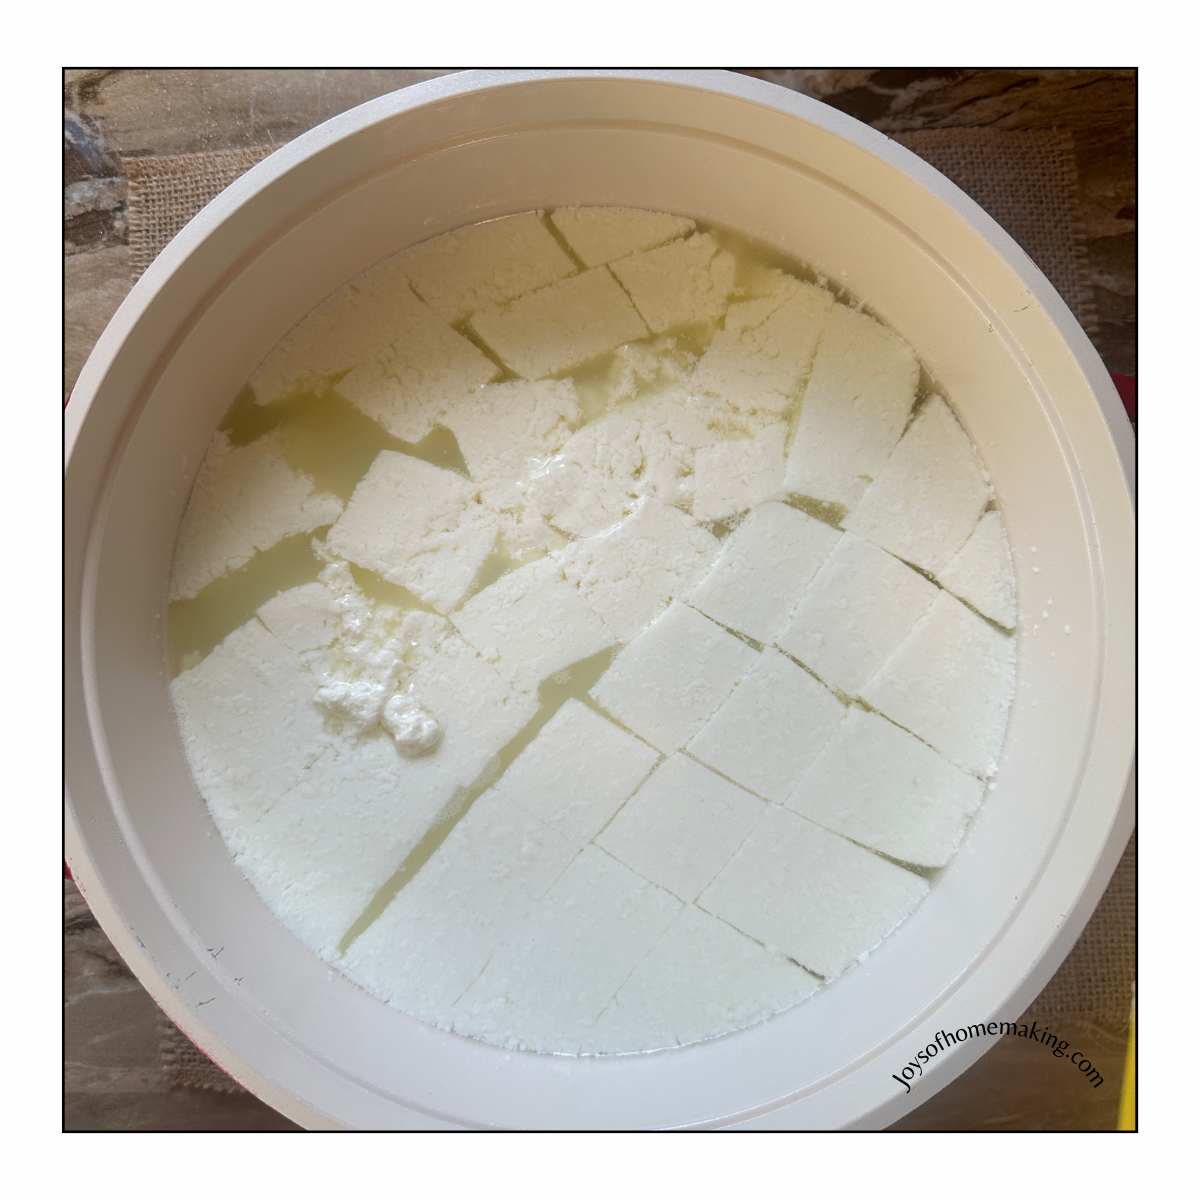
Using a long knife, cut the curd into 1-inch cubes. Try to reach the bottom of the pot. Then, heat the curds slowly to 105°F, gently stirring to keep them from sticking.
4. Separate Curds and Whey
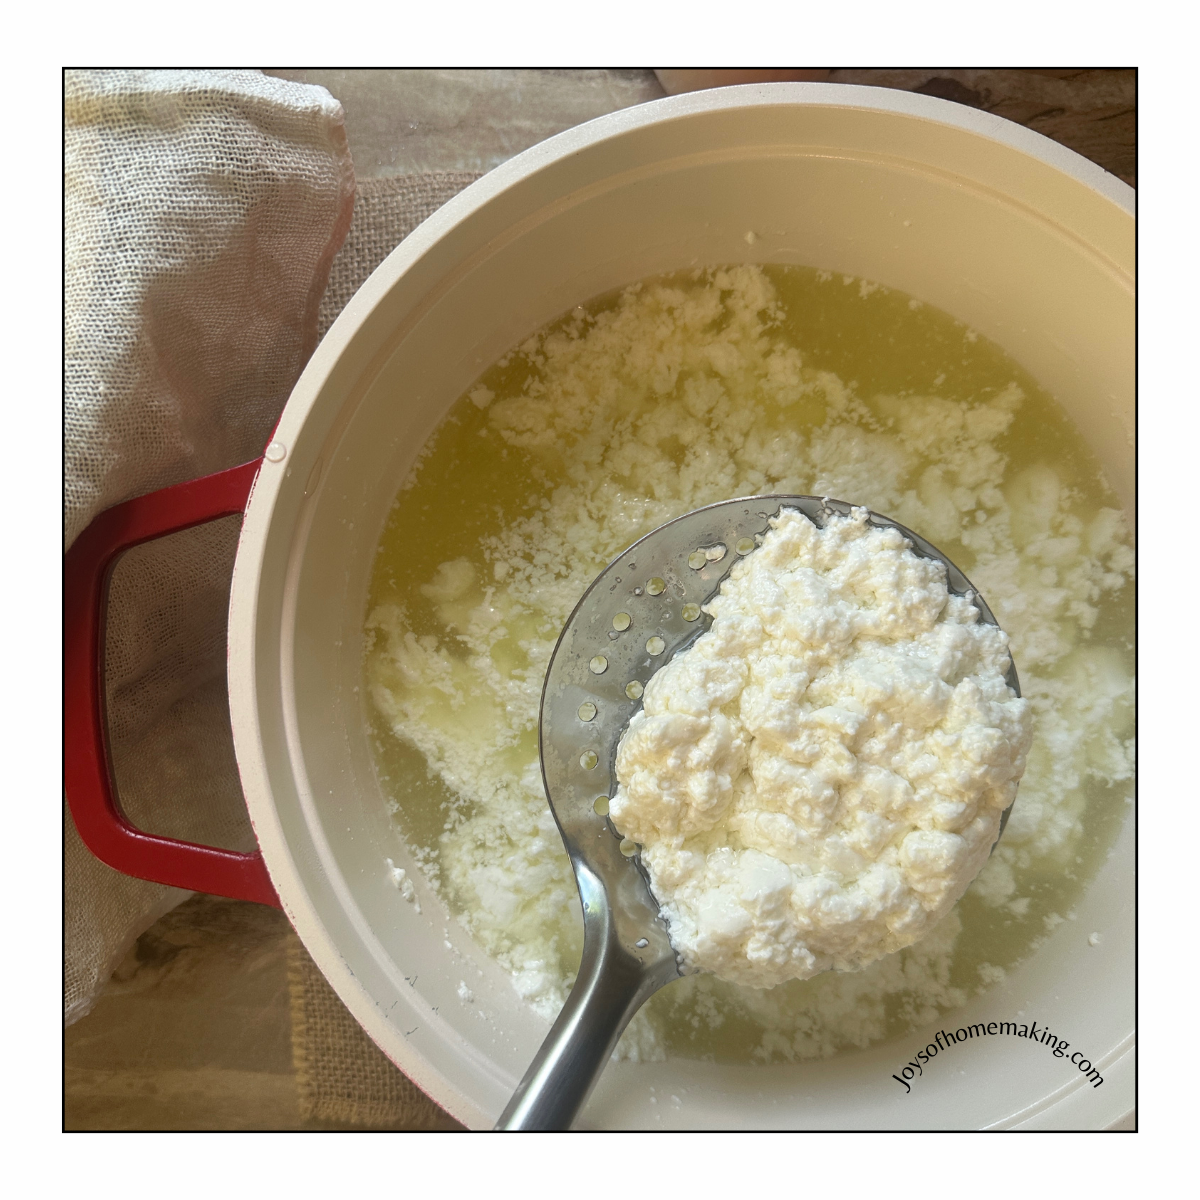
With a slotted spoon, scoop the curds into a bowl. You’ll notice lots of liquid whey left in the pot—don’t toss it yet! It’s great for baking bread, feeding plants, or adding to smoothies.
5. Heat and Stretch
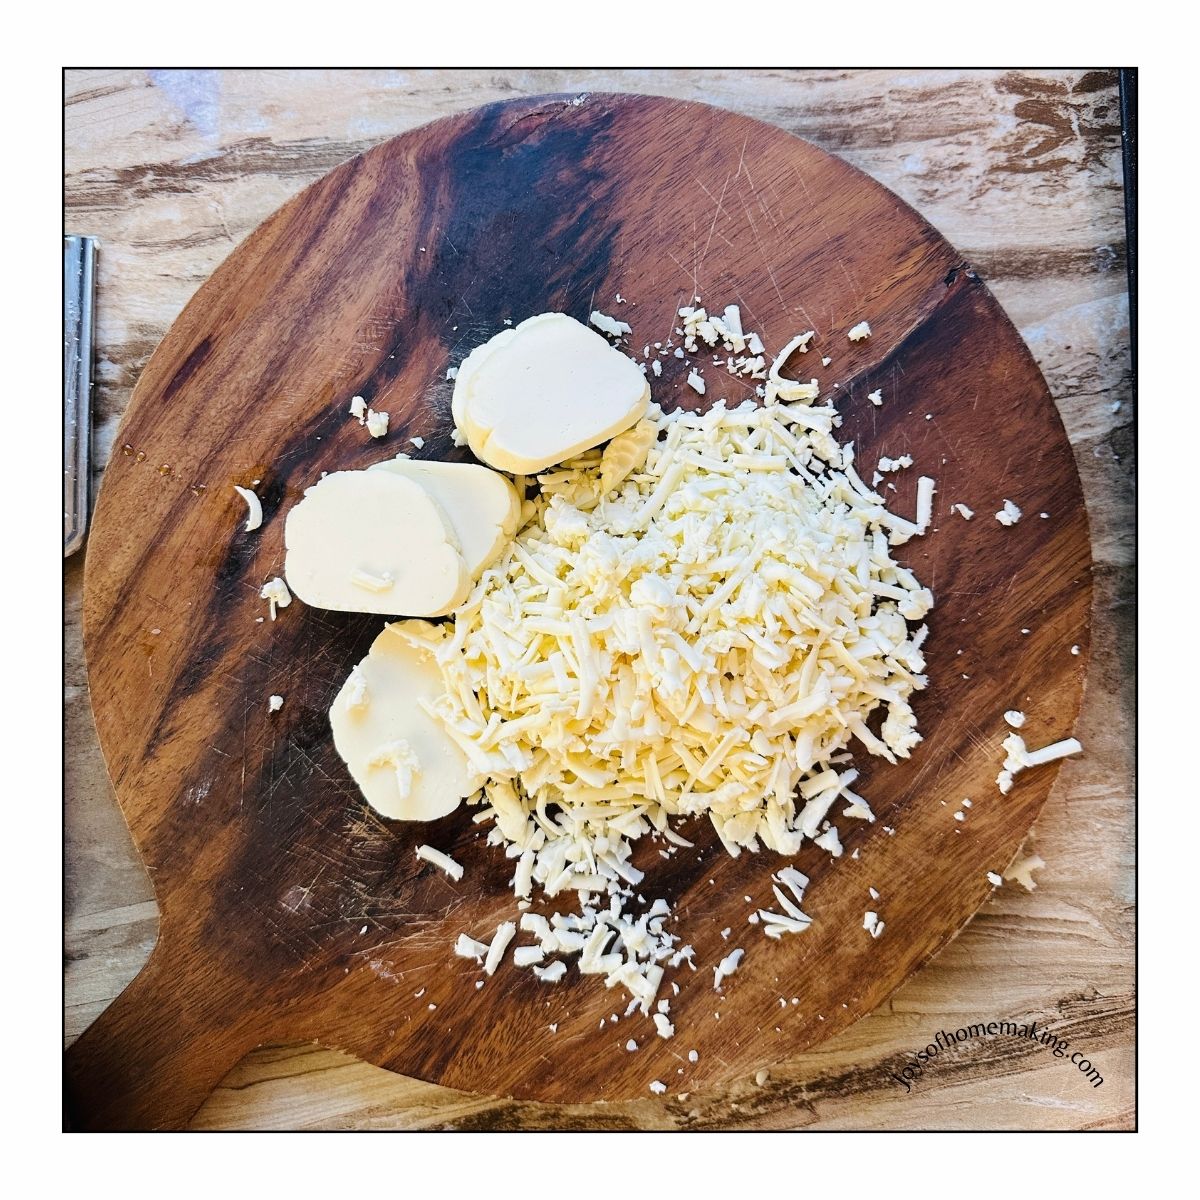
Now for the fun part! Microwave the curds for 1 minute (or place them in a bowl over hot water). Drain off any whey, sprinkle on the salt, and knead the curds like bread dough. Heat again in 30-second bursts until the cheese becomes smooth and stretchy.
When it stretches like taffy without breaking—you’ve got mozzarella magic!
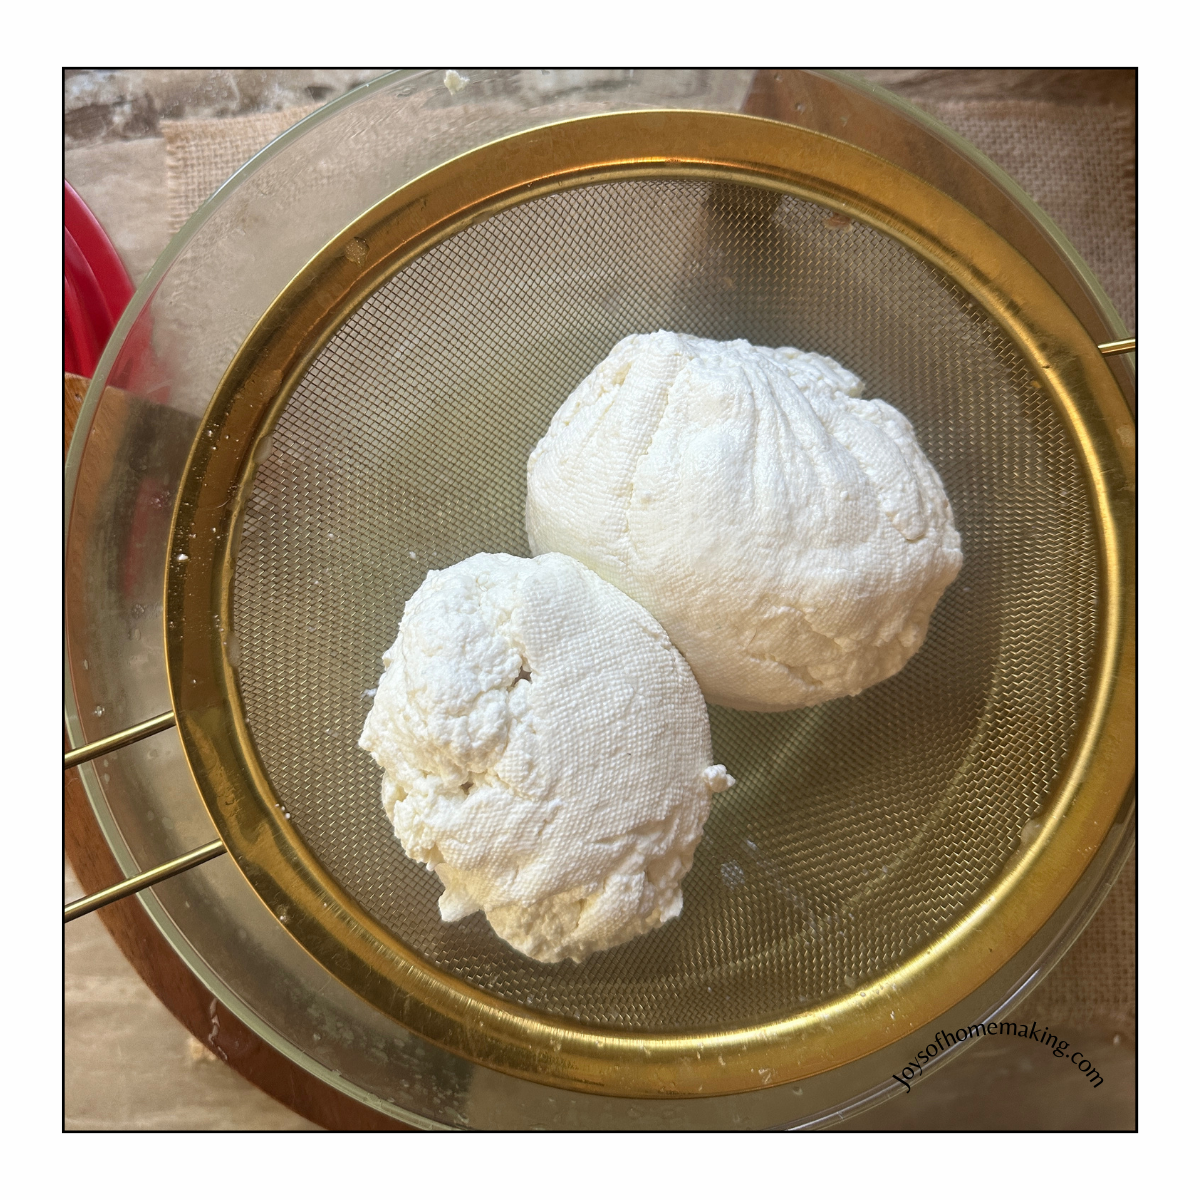
6. Shape and Cool
Form your cheese into balls or logs. Drop them into a bowl of cold water for a few minutes to set the shape.
And just like that, you have homemade mozzarella.
Tips from My Kitchen
- If your mozzarella turns out crumbly, don’t panic. It usually means the milk was too hot or you stirred too vigorously. It will still taste amazing!
- For the creamiest results, try raw or fresh local milk (if available).
- Fresh mozzarella is best enjoyed the same day, but you can store it in a brine or whey in the fridge for up to a week.
“When you tear into your first ball of mozzarella, still warm, and lay it on a slice of tomato with a sprinkle of basil—you’ll understand why people fall in love with cheese-making.” - Joys of Homemaking