"At the dinner table, a basket of warm rolls is often the first invitation to linger longer."
Hello, homemaker!
Ever thought of making homemade dinner rolls? This recipe is for you!
I just love pulling a tray of golden, buttery rolls out of the oven. Its delicious smell fills the kitchen, the tops are slightly shiny, and when you break one open, it’s soft and pillowy inside.
These homemade dinner rolls have easily become a favorite in my kitchen. Honestly, we devour the entire batch in one sitting!
After trying trying a few recipes, I finally found the one. This recipe makes the perfect dinner rolls—fluffy on the inside, buttery and slightly flaky (depending on the flour you use) on the outside. Once I started making these at home, I stopped buying Dinner Rolls from the store !
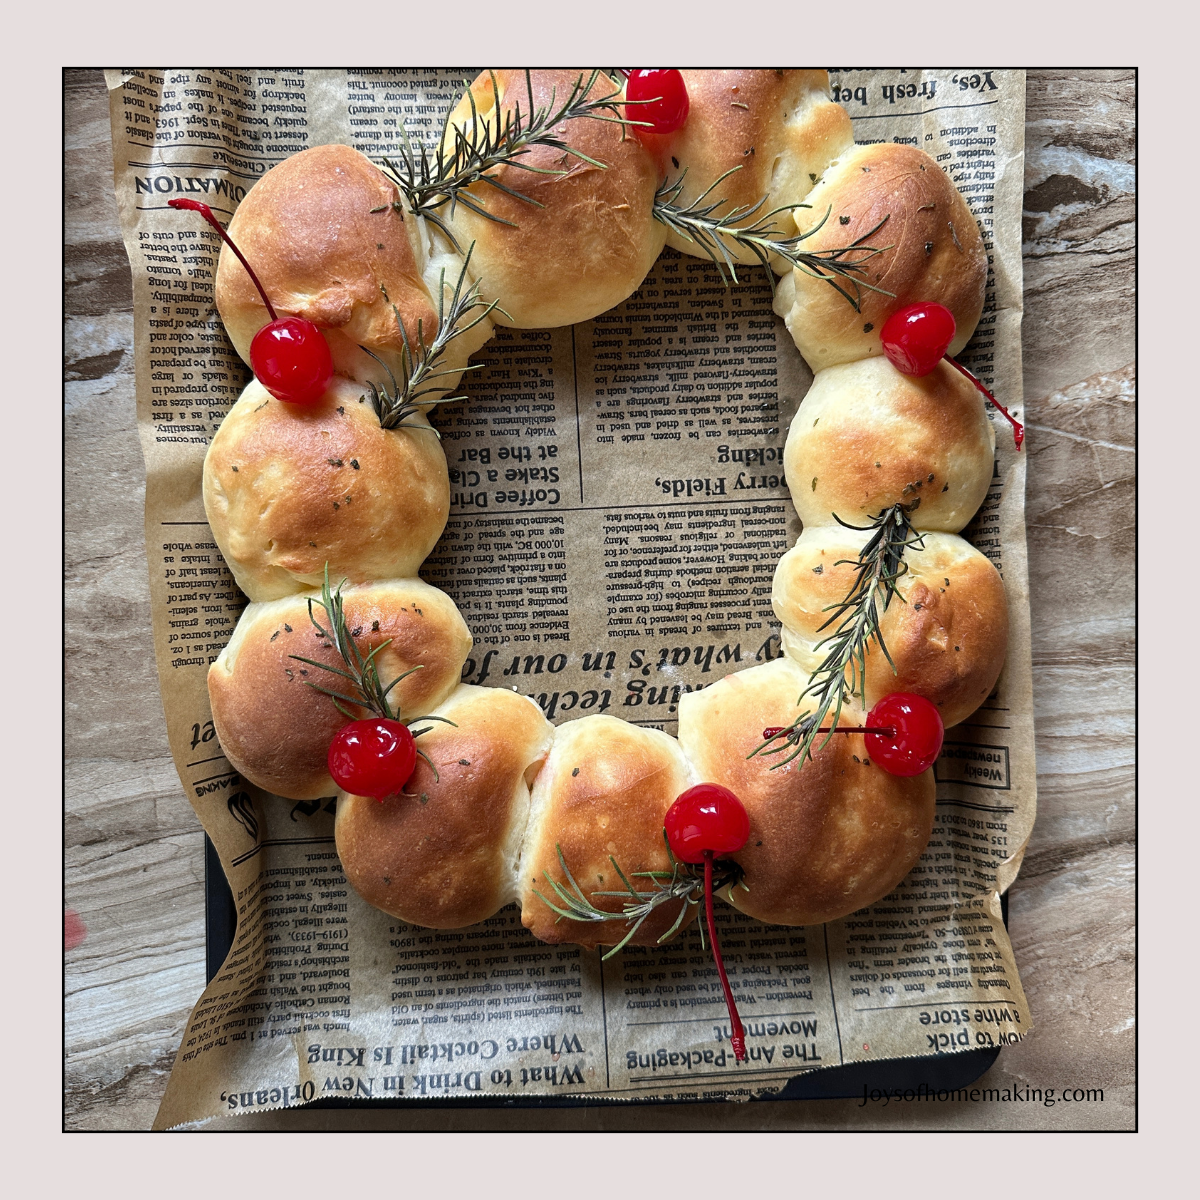
I even use this recipe to make this fun Pumpkin Bread (perfect for Thanksgiving or Halloween parties), Christmas Dinner Rolls, or just simply stuff it with the fillings we love. This recipe is such as a keeper--you can make SO many delicious variations of dinner rolls with it!
Why You’ll Love This Recipe
- Fluffy & light – These rolls rise beautifully and stay soft for days.
- Buttery flavor – Melted butter is brushed on top for that irresistible golden finish.
- Simple ingredients – No complicated steps or fancy tools required.
- Family favorite – Perfect for holiday meals, weeknight dinners, or just because!
Why You Won't Love This Recipe
Honestly, I can't think of any reason not to love this bread EXCEPT for the time needed to make it. But that's almost always the case with any type of bread. There is no shortcut to making this bread fluffy and soft but to wait for it to rise and that needs at least three hours total.
However, if you don't have 3 hours to spare, you can make this bread ahead of time. Let the dough rise for 1-2 hours. After the first rise, cut the dough into 16 pieces and shape the rolls. Store the rolls, covered, in the refrigerator for up to 16 hours. Take it out the next day, 3 hours before baking, and let it rise on the counter. Then, bake!
Ingredients You’ll Need
- 1 cup warm milk (about 110°F)
- 2 ¼ teaspoons active dry yeast (1 packet)
- 3 tablespoons granulated sugar
- 3 cups bread flour or all-purpose flour (plus a little extra for kneading)
- 1 teaspoon salt
- 1 large egg
- 4 tablespoons unsalted butter, softened (plus more for brushing)
Step-by-Step Instructions
1. Activate the Yeast
In a small bowl, combine warm milk, sugar, and yeast. Let it sit for 5–10 minutes until it becomes foamy. This step ensures your yeast is active and ready to work.
2. Make the Dough
In a large mixing bowl, combine flour and salt. Add the yeast mixture, egg, and softened butter. Mix until a sticky dough forms.
3. Knead the Dough
Turn the dough onto a lightly floured surface and knead for about 8–10 minutes, until smooth and elastic. If you’re using a stand mixer, knead with a dough hook for 5 minutes.
I usually just use the mixer for 3-5 minutes and knead the dough for about one minute just to feel the consistency of the dough. The dough should not be too sticky and it should be easy to knead. Feel free to add some flour to achieve that consistency.
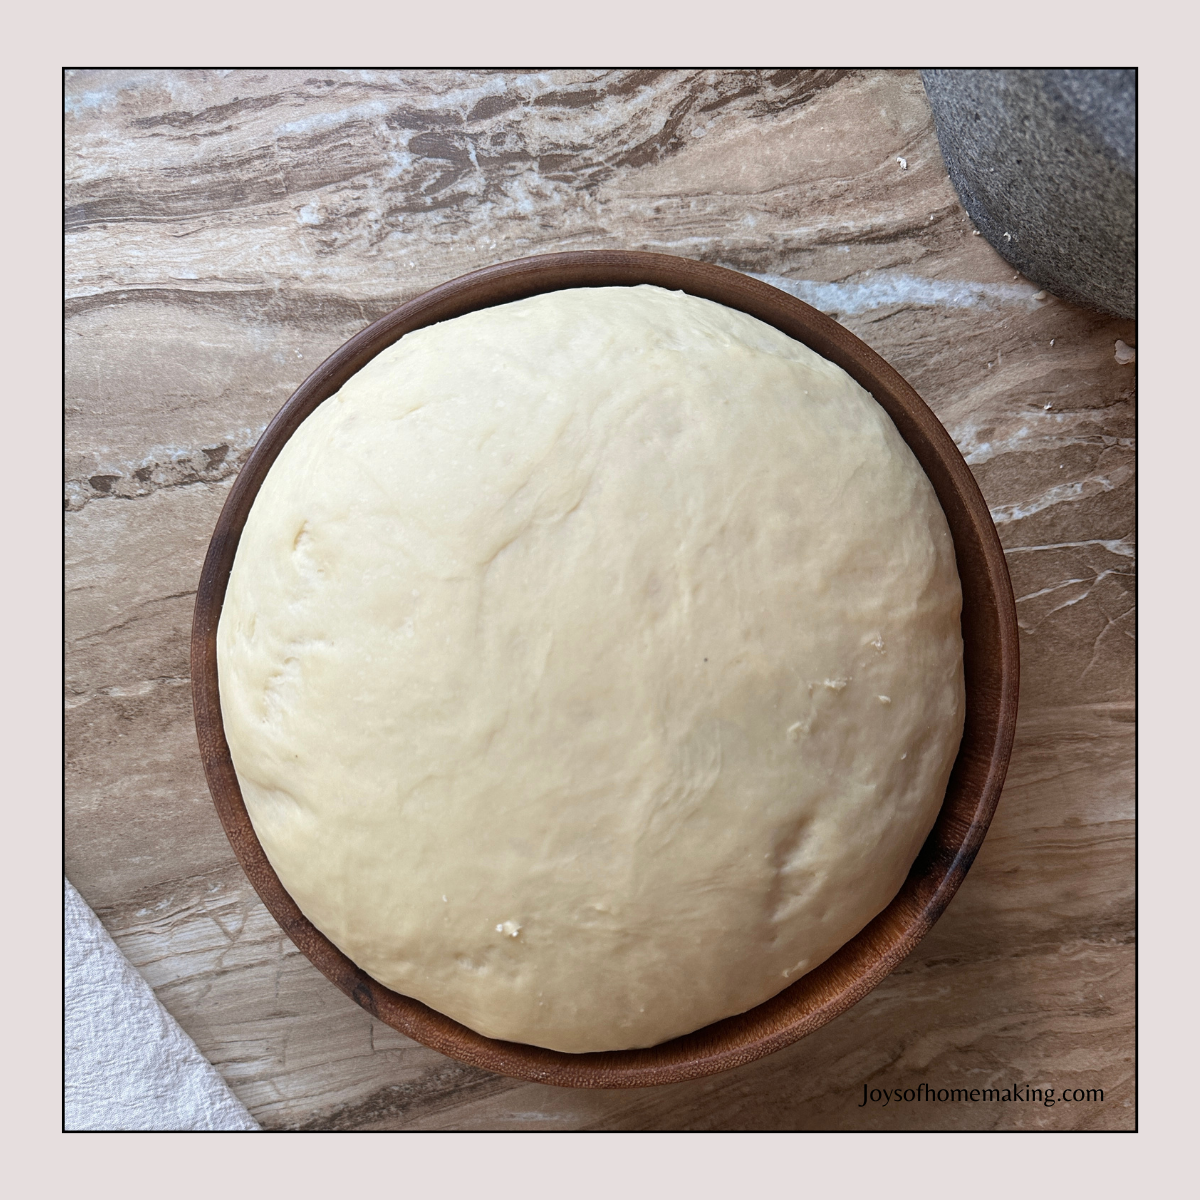
4. First Rise
Place the dough in a greased bowl, cover with a clean towel, and let it rise in a warm place. I usually let it rise for 2 hours, or until doubled in size.
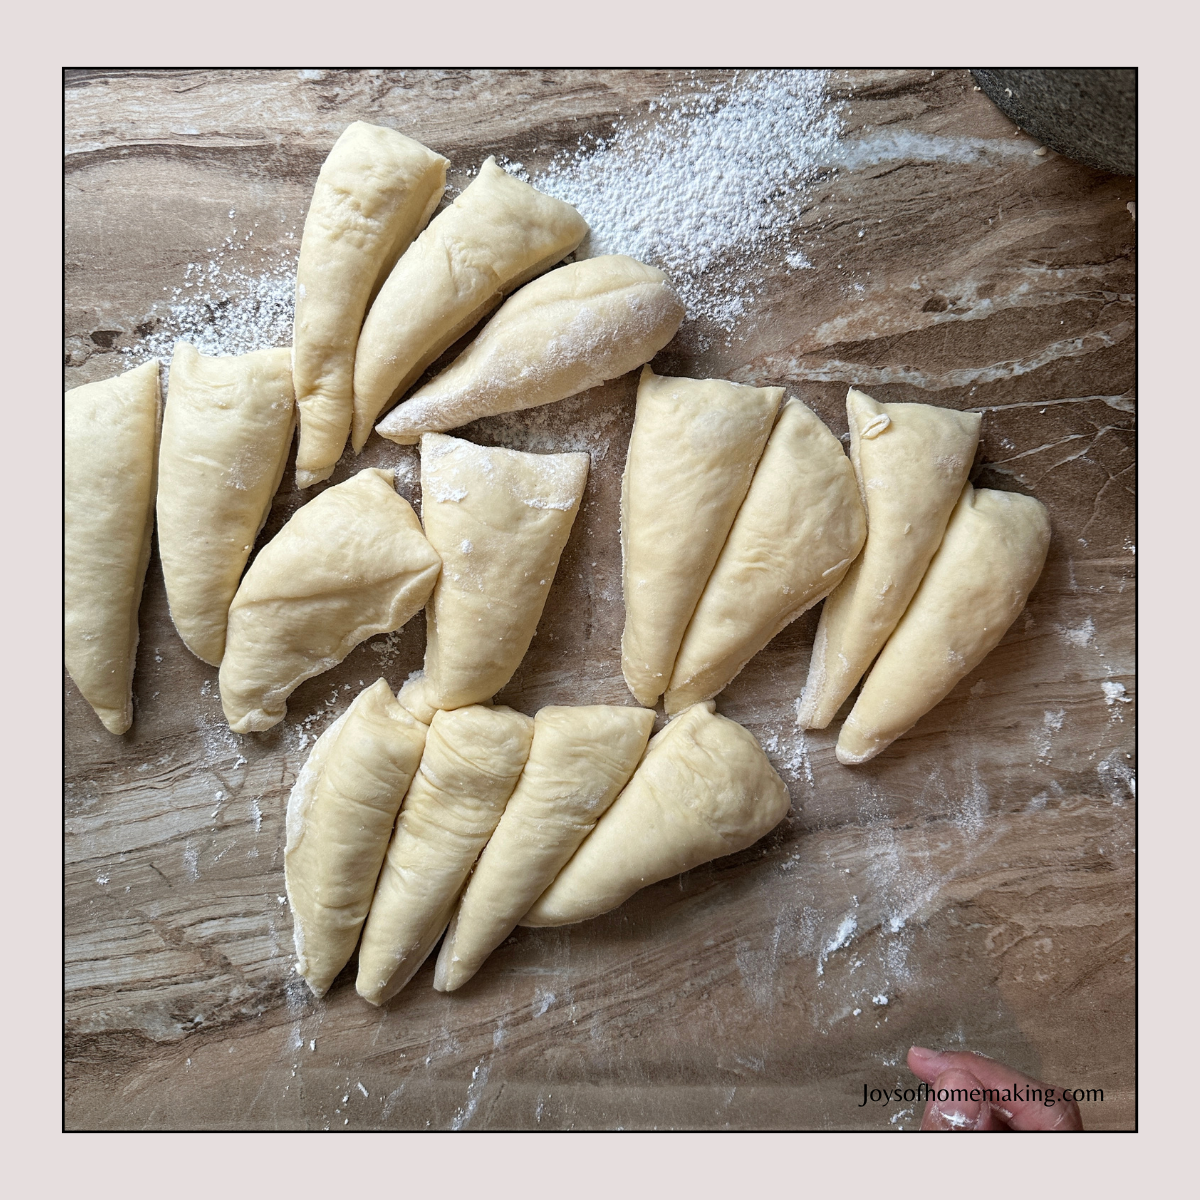
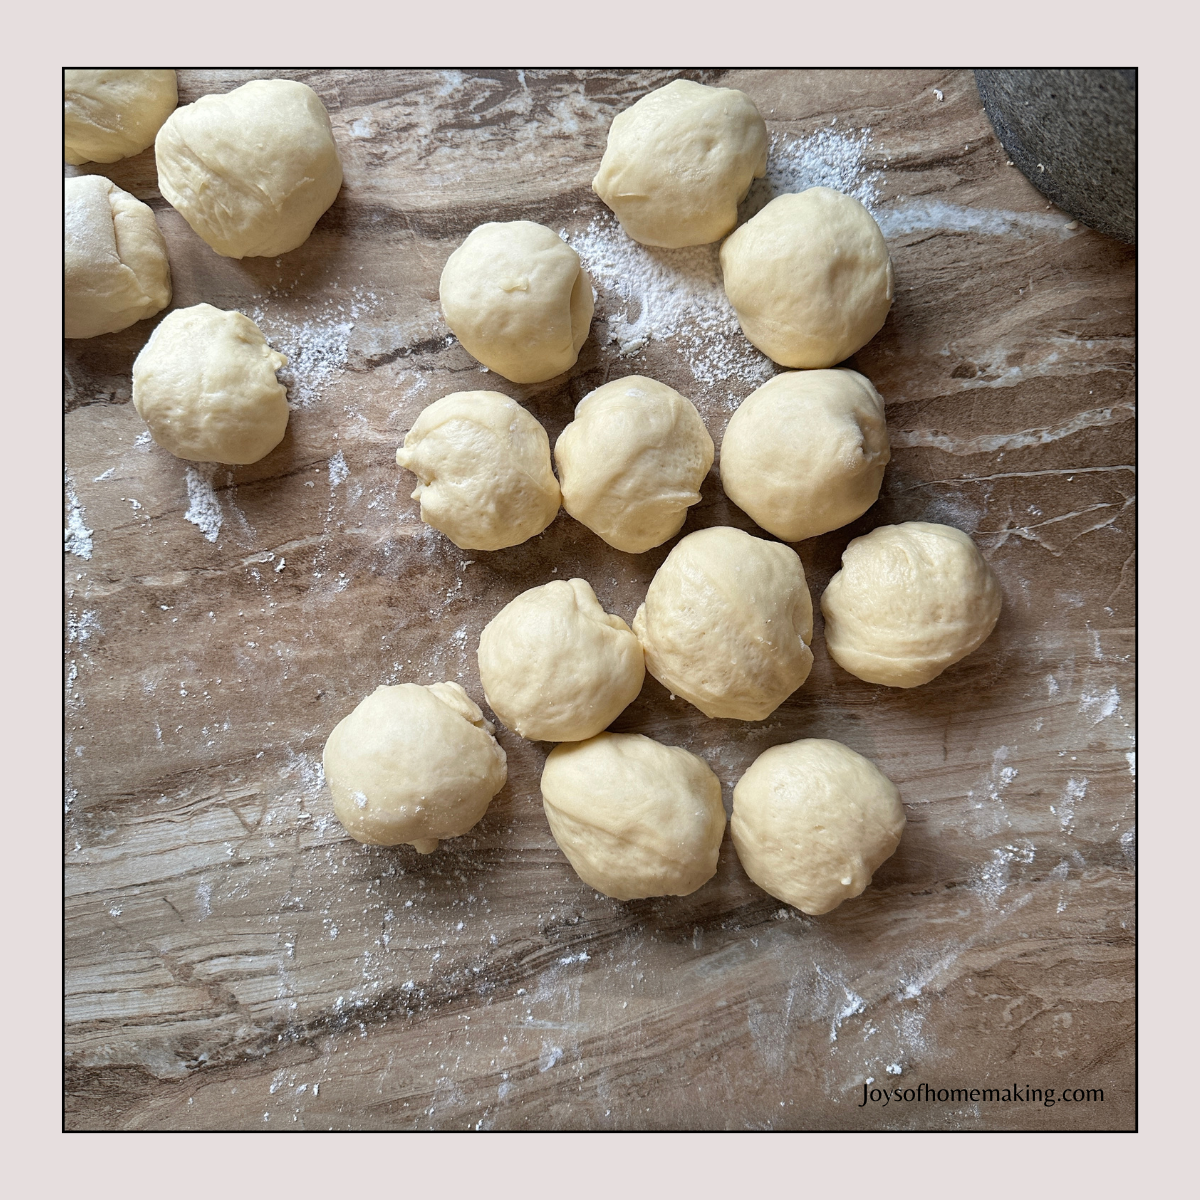
5. Shape the Rolls
Punch down the dough and divide it into 16 equal pieces. Roll each piece into a smooth ball and place on a greased baking dish or sheet pan, leaving a little space between them.
6. Second Rise
Cover again and let the rolls rise for 1 hour until puffy.
7. Bake
Preheat your oven to 375°F (190°C). Bake rolls for 15–18 minutes, or until golden brown on top.
8. Butter & Serve
Brush the warm rolls generously with melted butter right out of the oven. Serve immediately and watch them disappear!
Tips for Success
- Warm environment: If your kitchen is cold, let the dough rise in the oven with just the light on.
- Make ahead: You can prepare the dough the night before and let it rise in the fridge.
- Extra flavor: Sprinkle a little sea salt or garlic butter on top for a savory twist.
Why Homemade is Best
Store-bought rolls are convenient, but they can’t compete with the taste and texture of homemade. These rolls are warm, fresh, and made with love—the perfect addition to any dinner table. Whether you’re hosting a holiday feast, serving Sunday supper, or just want something cozy on a weeknight, these rolls will make any meal special.
Final Thoughts
This homemade dinner roll recipe has earned a permanent spot in my family’s recipe box. The rolls are soft, fluffy, and buttery—everything you want in the perfect bread to accompany dinner. Trust me, once you try these, you’ll never look back.
So grab your flour and yeast, and bake a batch of these little pillows of joy. Just be warned: they’re so good, you might need to make a double batch!
Ingredients
Equipment
Method
- ACTIVATE THE YEAST
- In a small bowl, combine warm milk, sugar, and yeast. Let it sit for 5–10 minutes until it becomes foamy. This step ensures your yeast is active and ready to work.
- MAKE THE DOUGH
- In a large mixing bowl, combine flour and salt. Add the yeast mixture, egg, and softened butter. Mix until a sticky dough forms.
- KNEAD THE DOUGH
- Turn the dough onto a lightly floured surface and knead for about 8–10 minutes, until smooth and elastic. If you’re using a stand mixer, knead with a dough hook for 5 minutes.
- I usually just use the mixer for 3-5 minutes and knead the dough for about one minute just to feel the consistency of the dough. The dough should not be too sticky and it should be easy to knead. Feel free to add some flour to achieve that consistency.
- FIRST RISE
- Place the dough in a greased bowl, cover with a clean towel, and let it rise in a warm place. I usually let it rise for 2 hours, or until doubled in size.
- SHAPE THE ROLLS
- Punch down the dough and divide it into 16 equal pieces. Roll each piece into a smooth ball and place on a greased baking dish or sheet pan, leaving a little space between them.
- SECOND RISE
- Cover again and let the rolls rise for 1 hour until puffy.
- BAKE
- Preheat your oven to 375°F (190°C). Bake rolls for 15–18 minutes, or until golden brown on top.
- BUTTER & SERVE
- Brush the warm rolls generously with melted butter right out of the oven. Serve immediately and watch them disappear!
"At the dinner table, a basket of warm rolls is often the first invitation to linger longer."